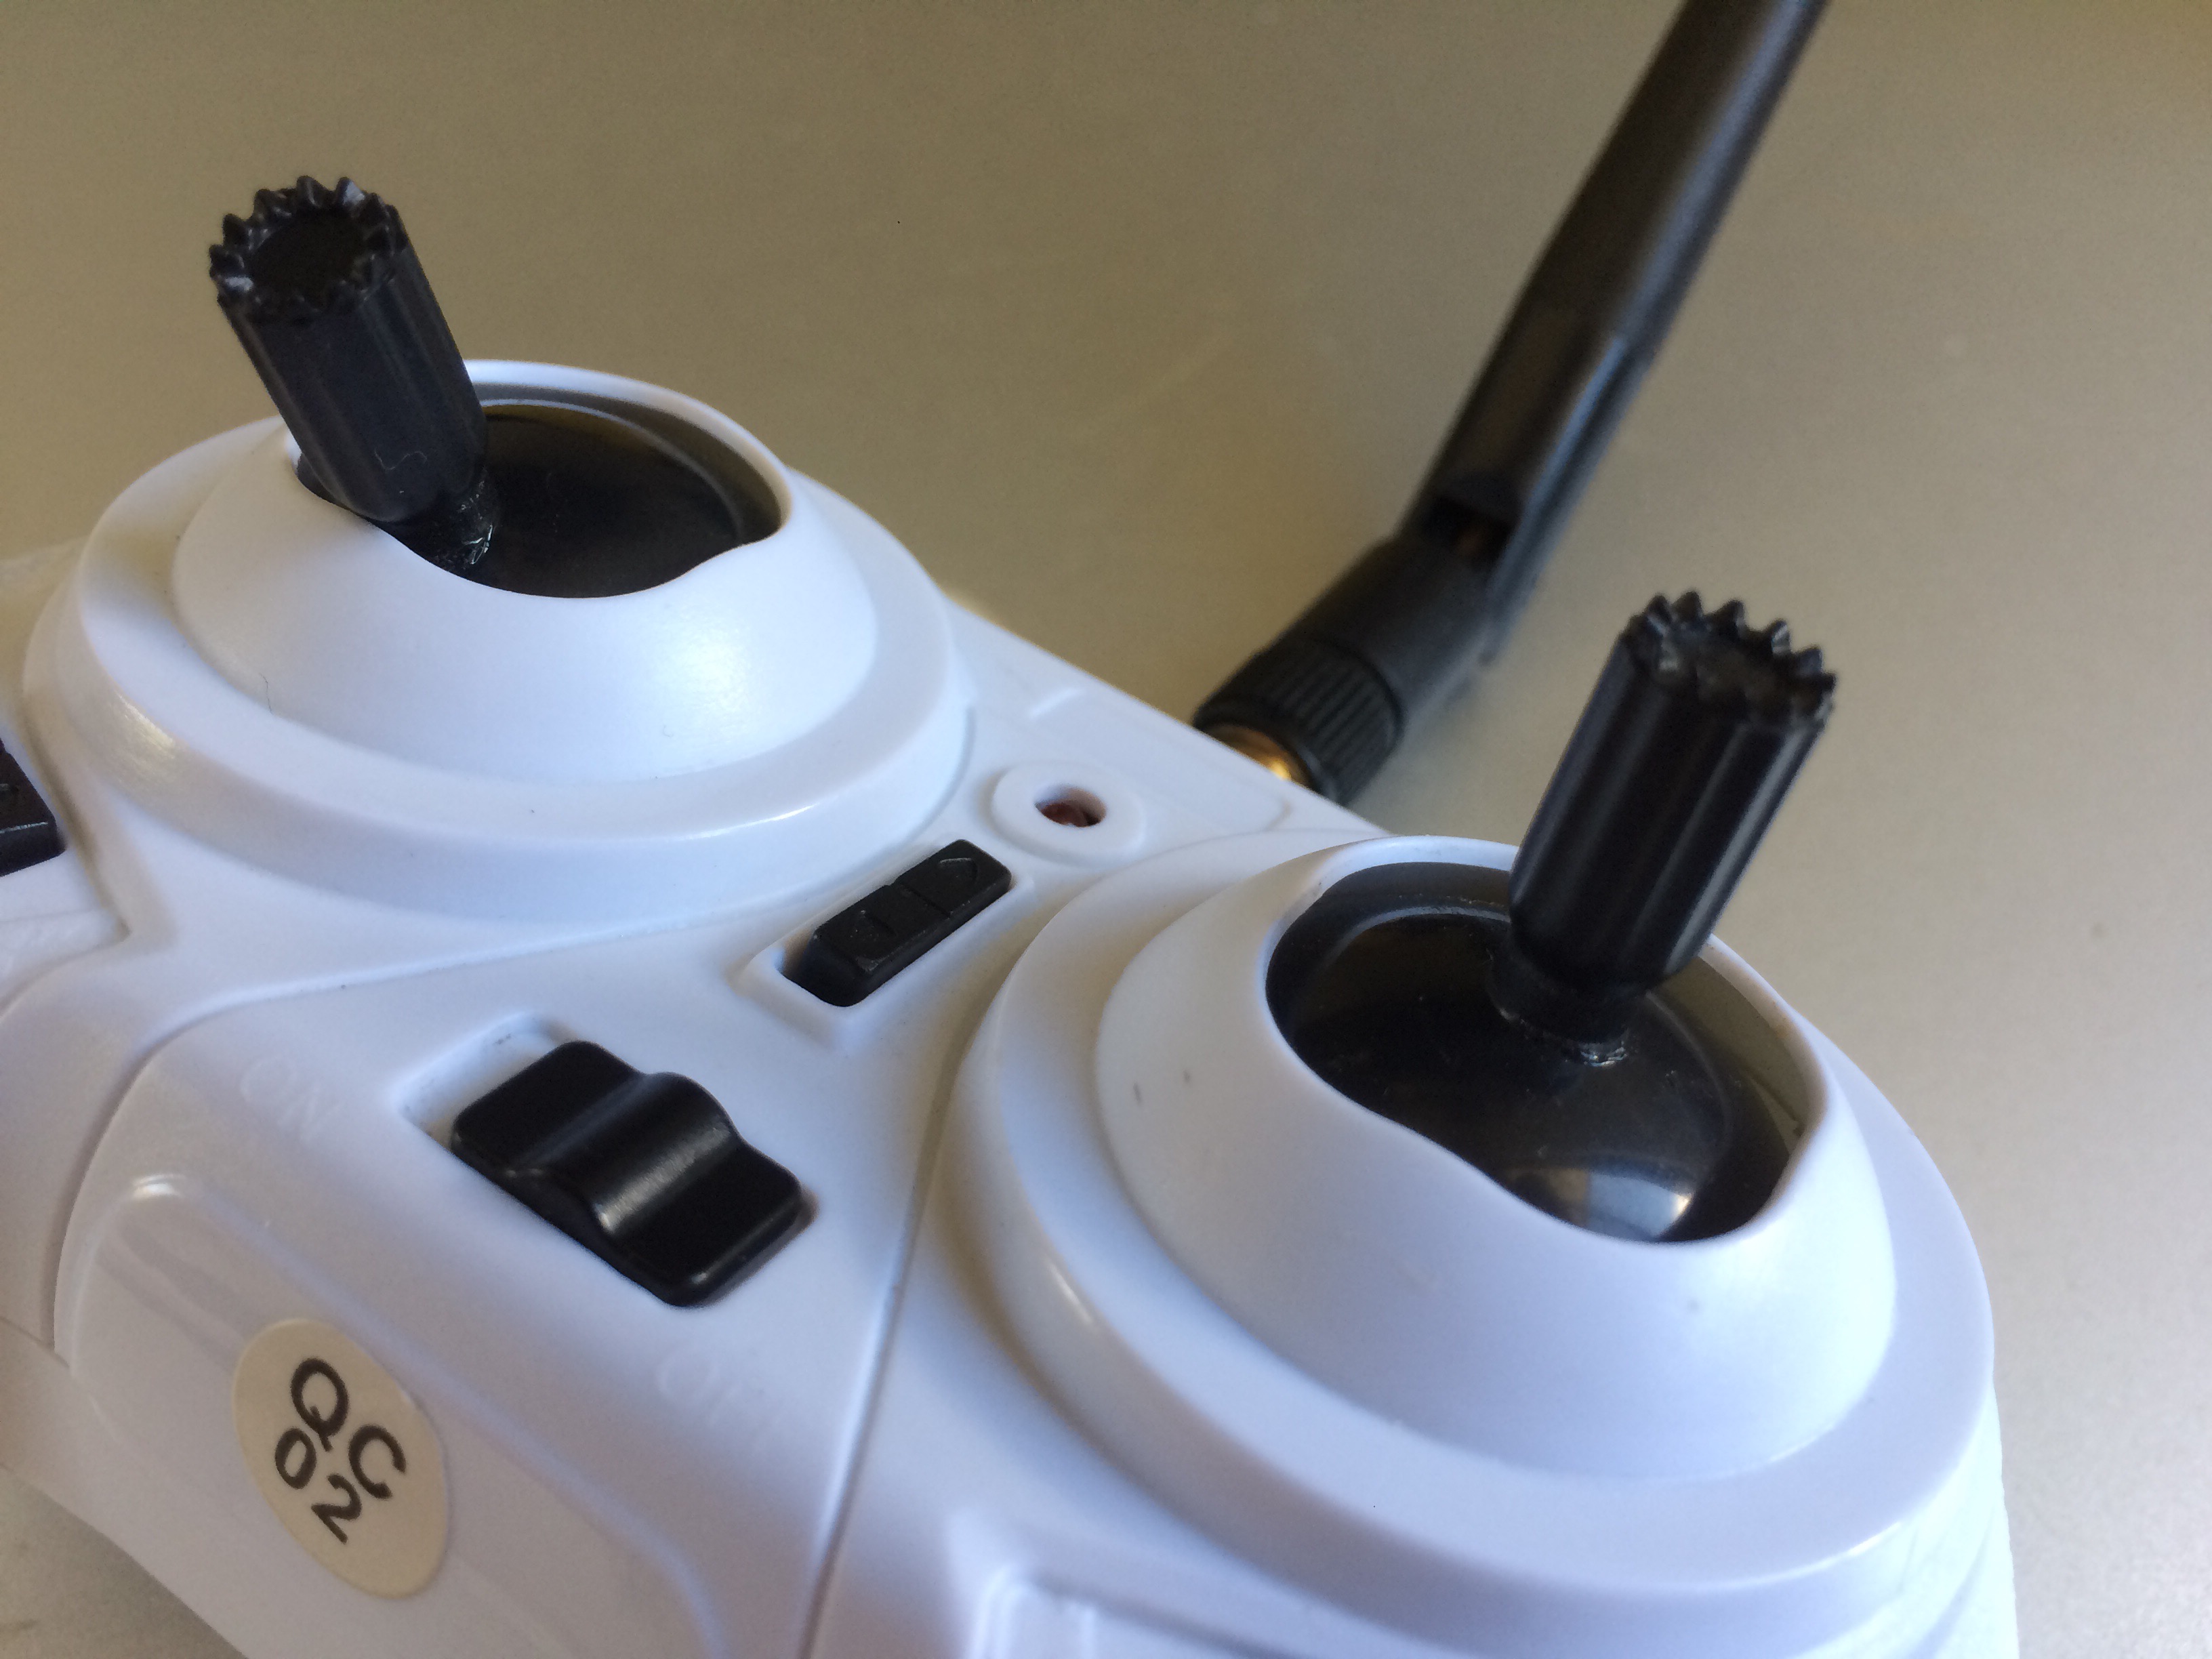
Upgraded my F36 transmitter sticks. The extensions were a little loose but nothing that a dab of glue couldn’t fix. The resulting longer travel translates your thumb input to smaller angles so the quad is not as twitchy and abrupt as before. Plus looks more like a proper transmitter now!

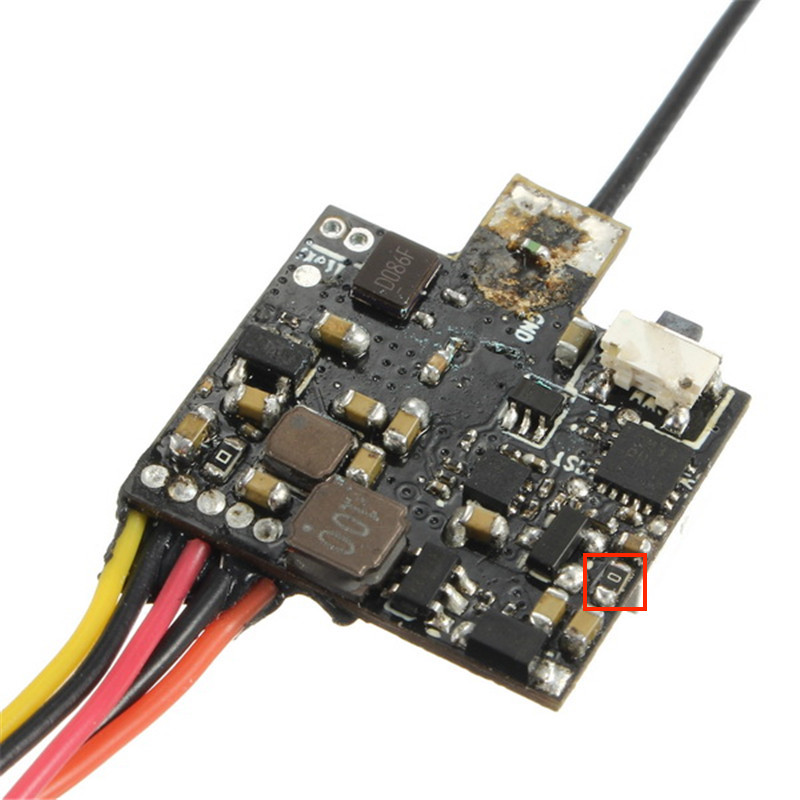
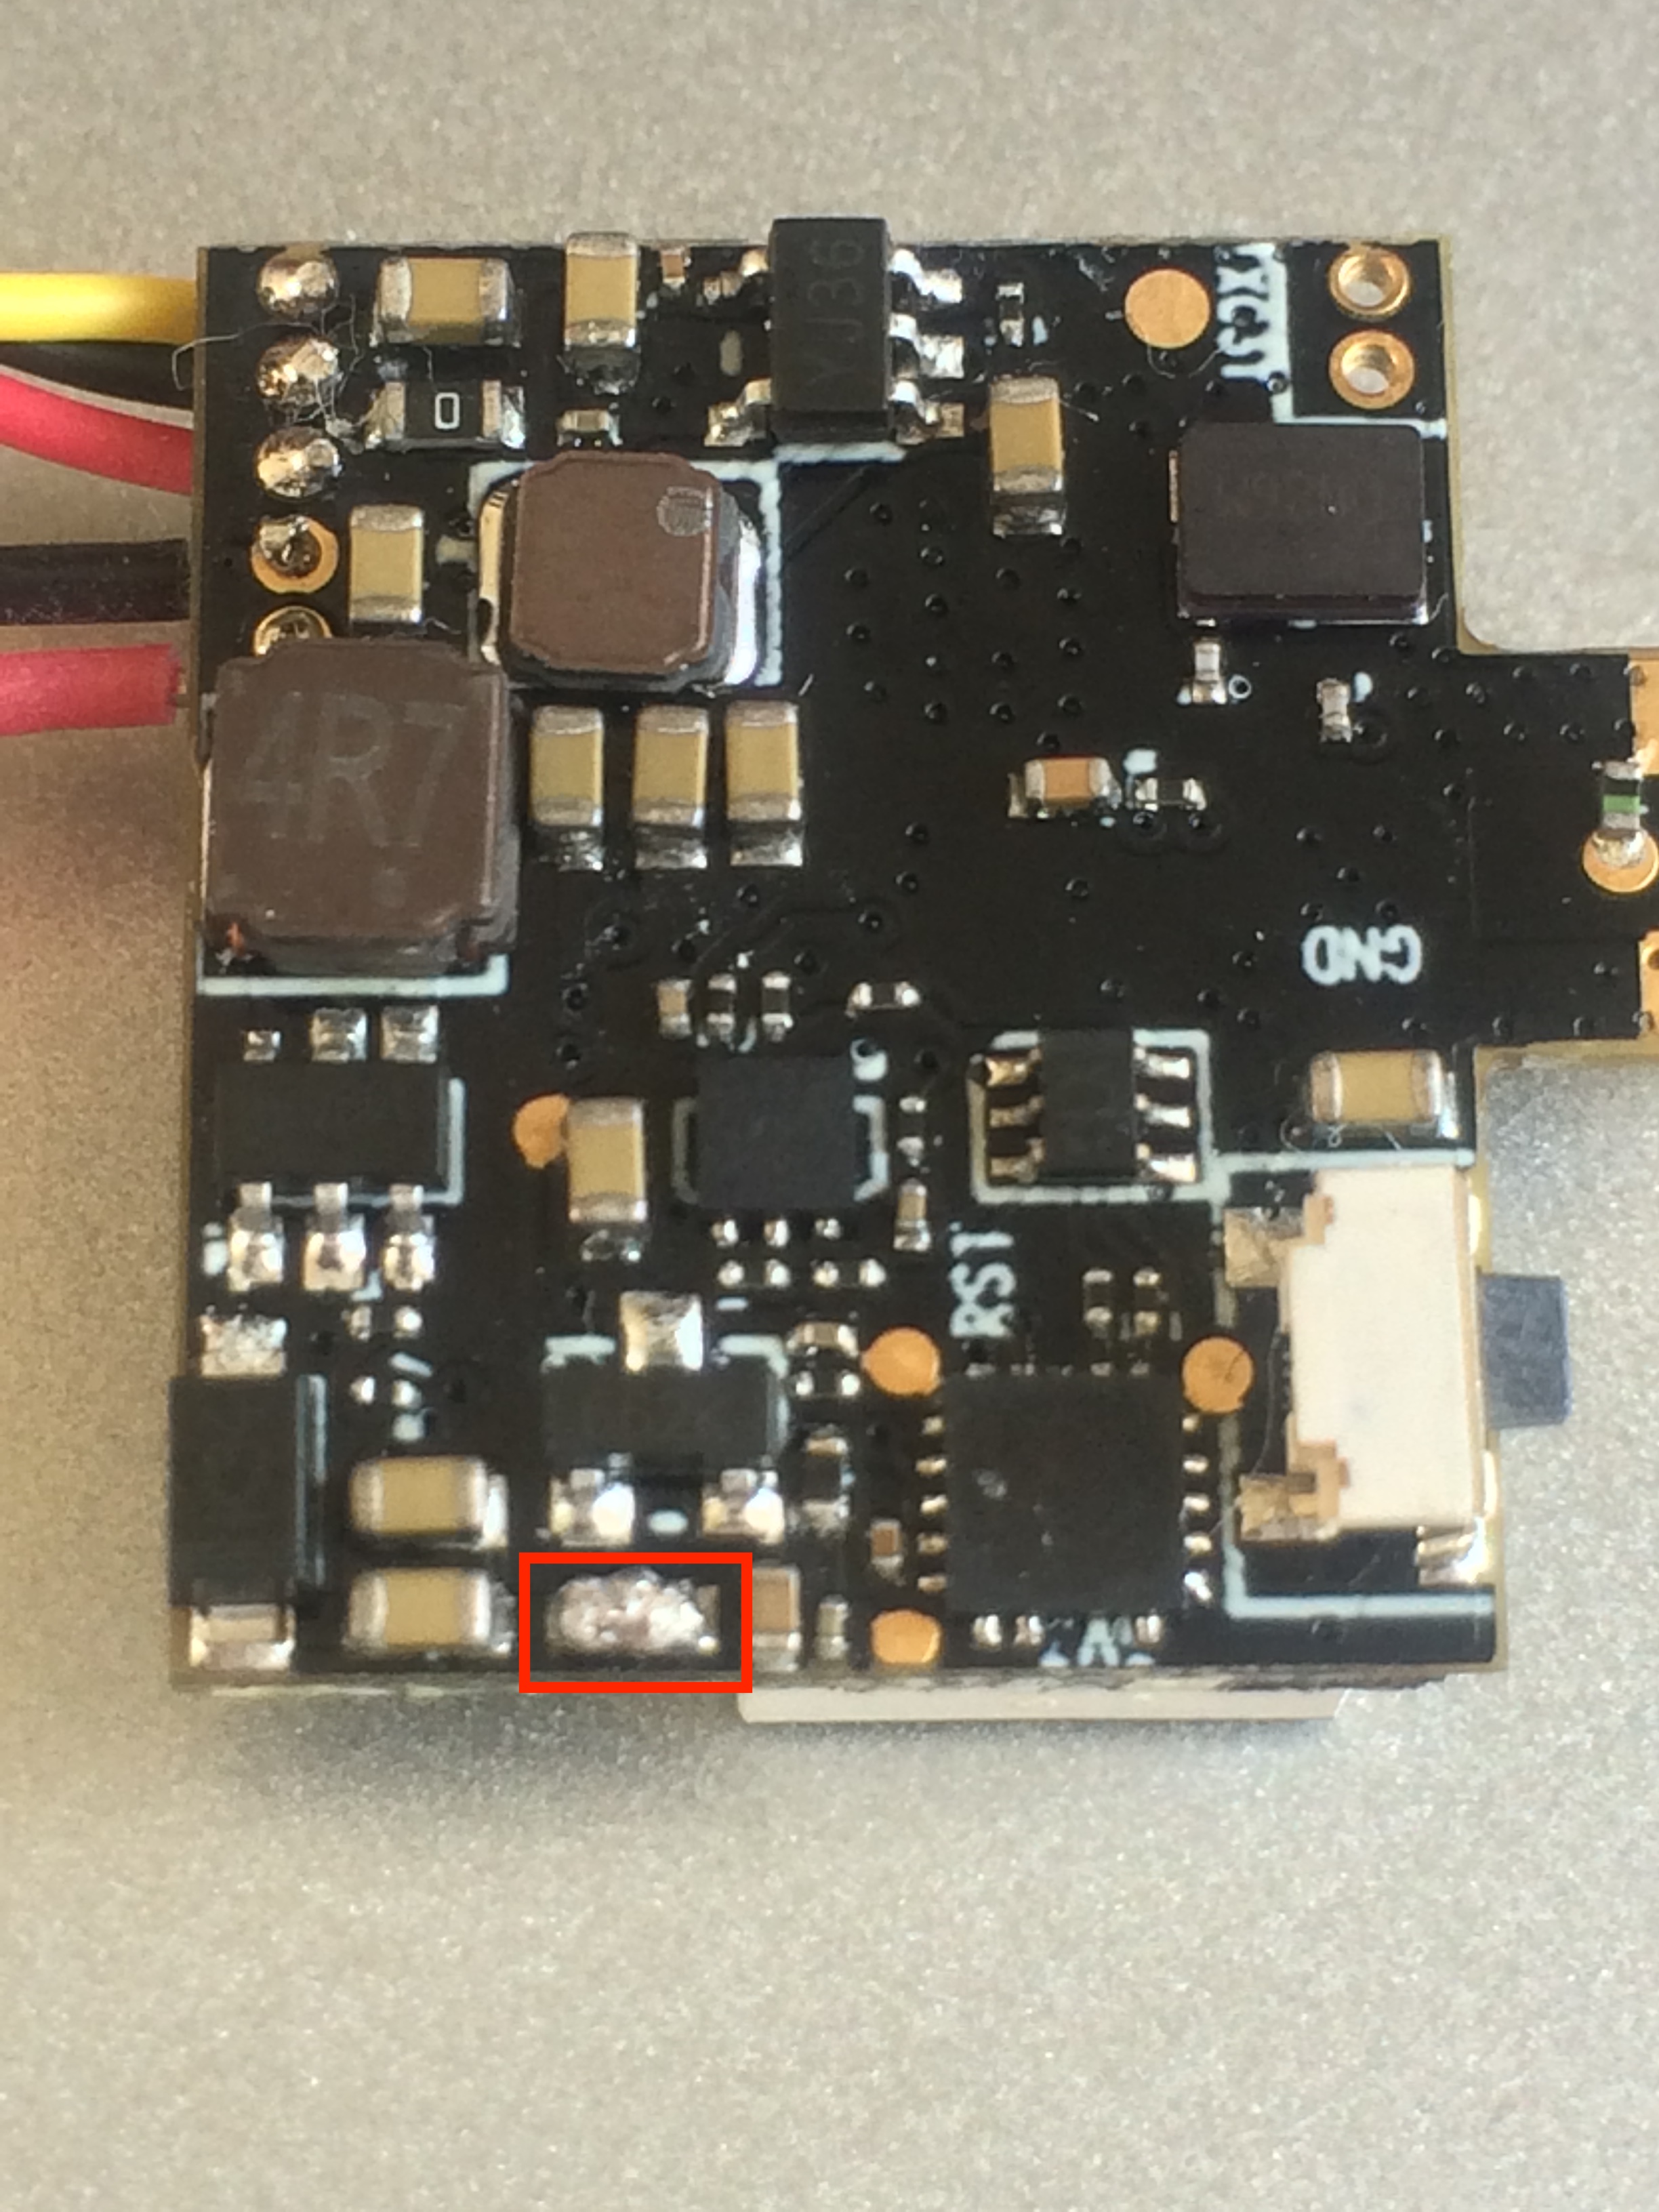 And just like that the VTX03 lit up back to life!