The Furibee F36 transmitter with its internal antenna doesn’t have much range. This is fine with line of sight (LOS) flying but with first-person view (FPV) flying, you’d probably want a bit more range. We can drill a hole through the casing and thread the antenna through and out of it which can increase range. But why stop there? Let’s install an external antenna.
Parts and Equipment
For this build, you need the following:
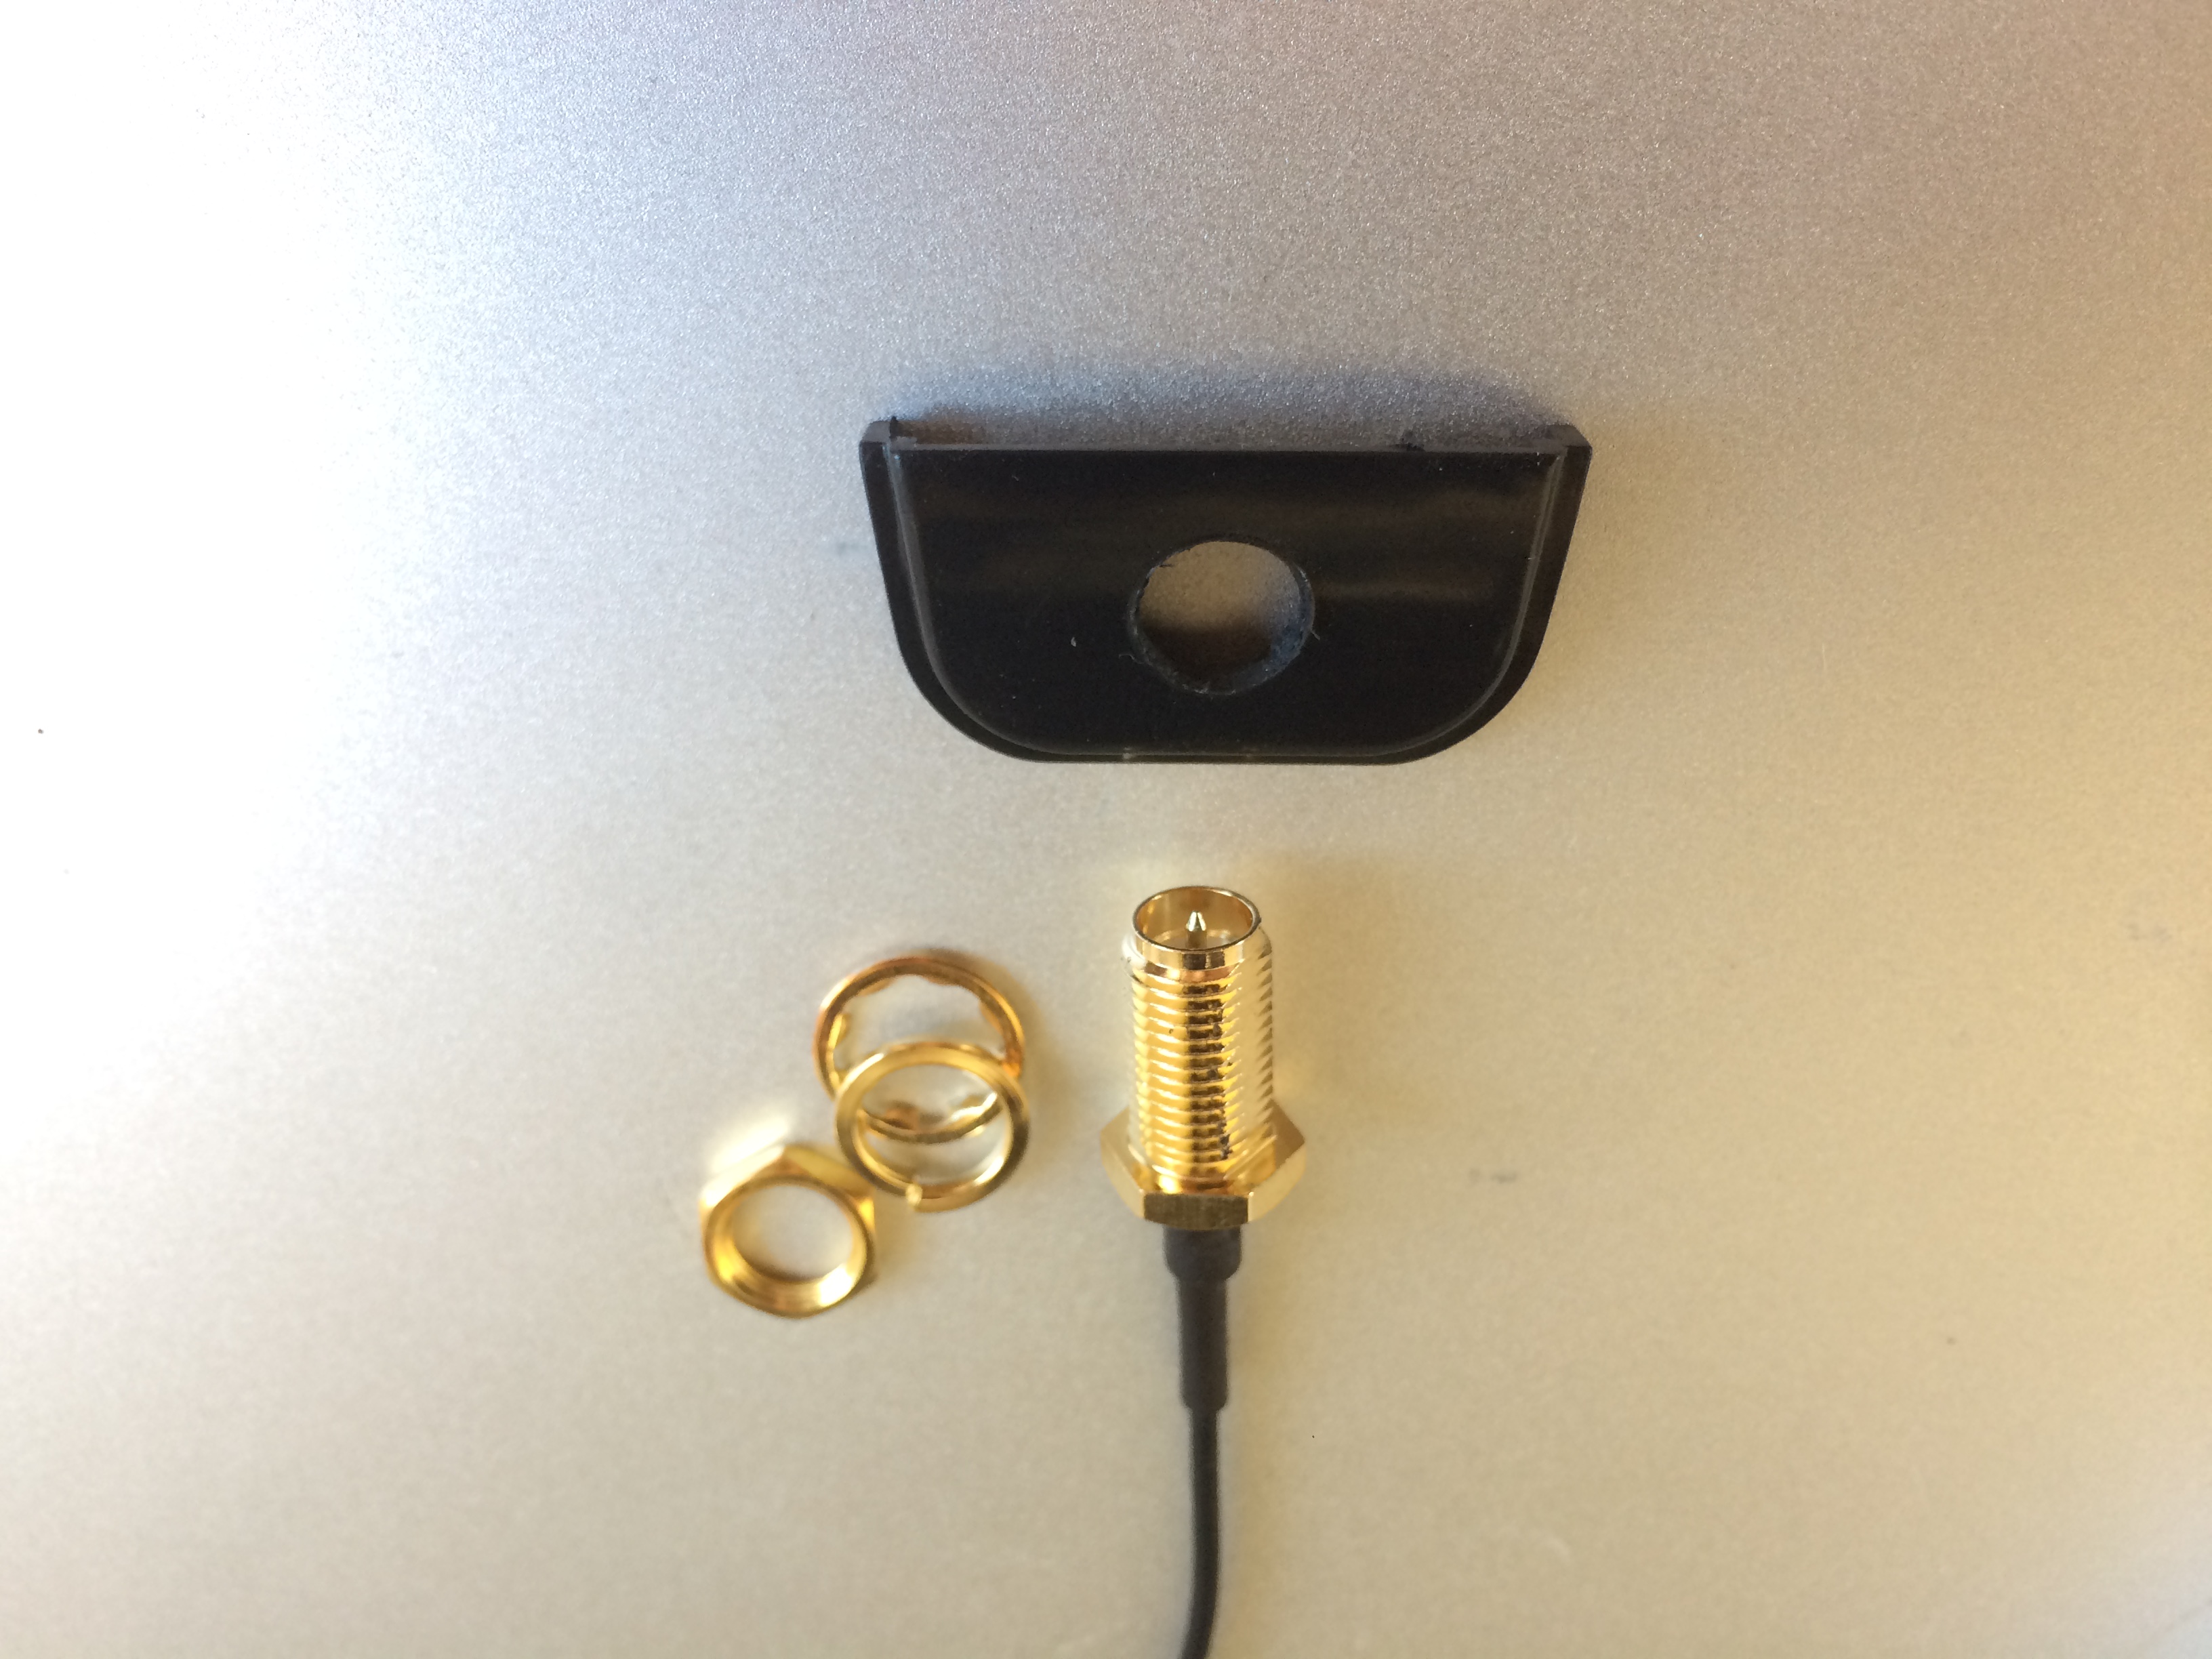
- 2.4GHz 3dBi RP-SMA WiFi antenna IPX/U.FL pigtail cable
- Soldering iron
- Soldering wire
- Wire snips
- Philips screwdriver
Procedure
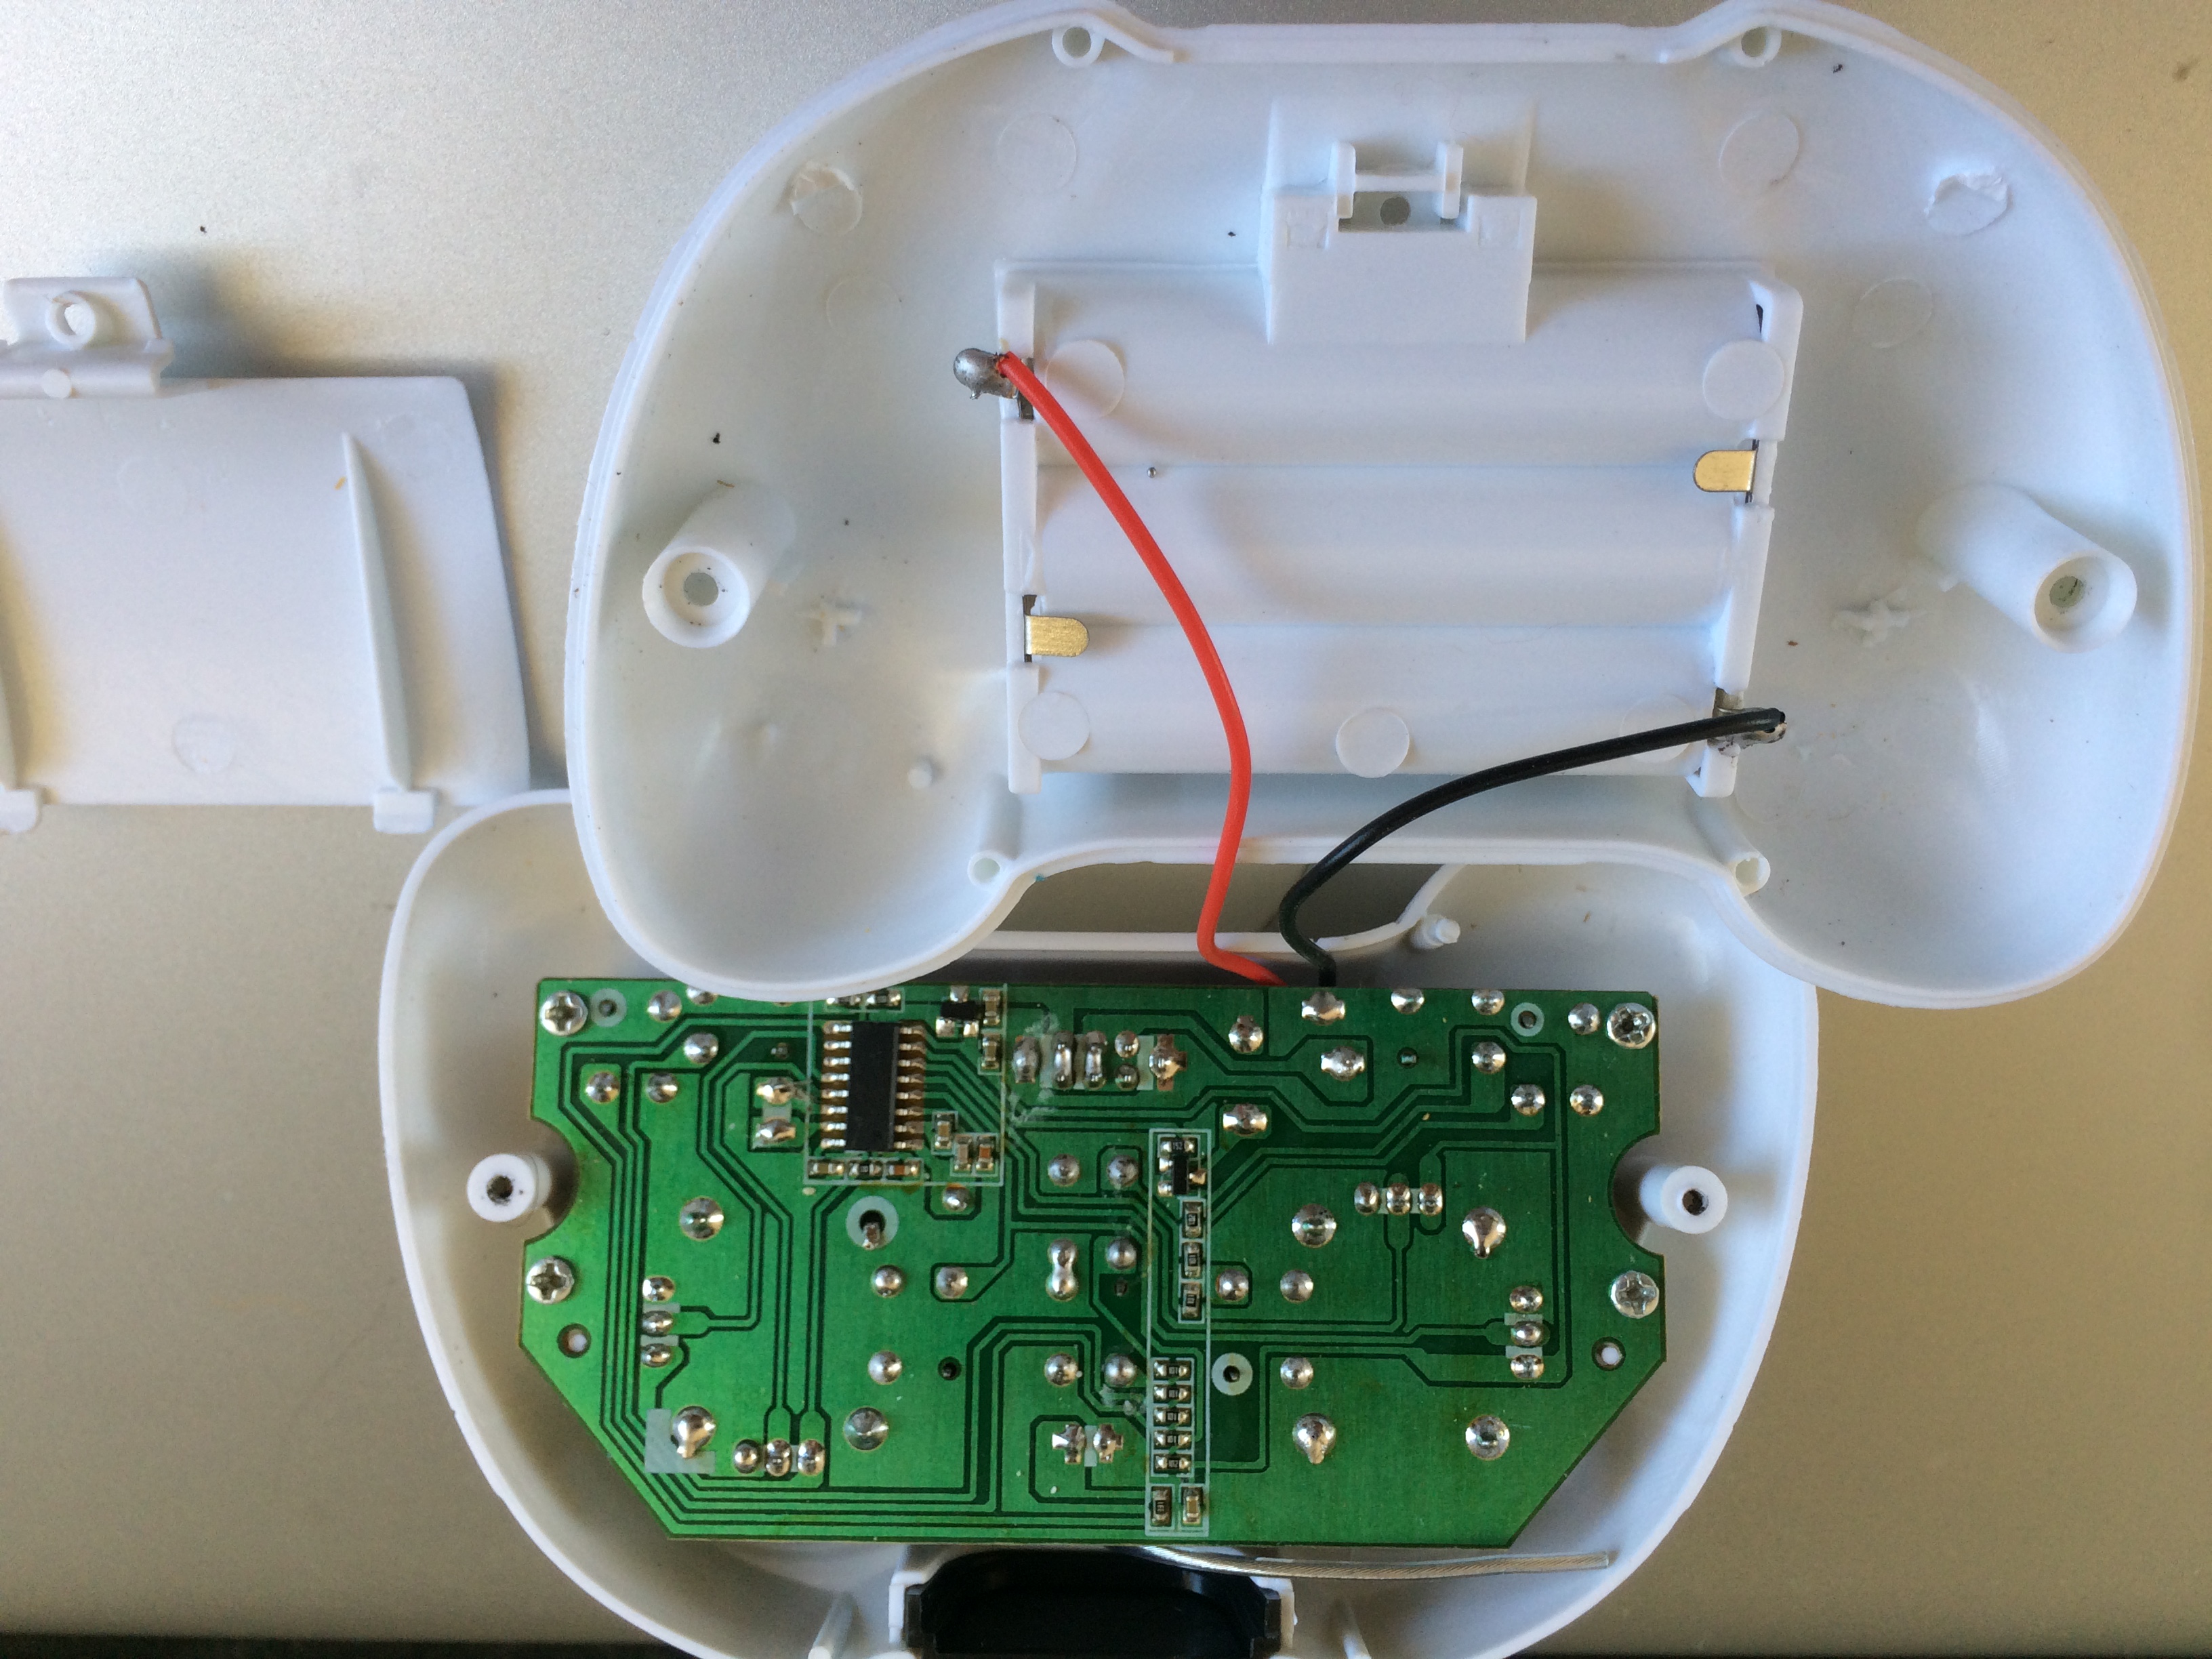
- Use Philips screwdriver to unscrew the bottom panel and open the F36 transmitter
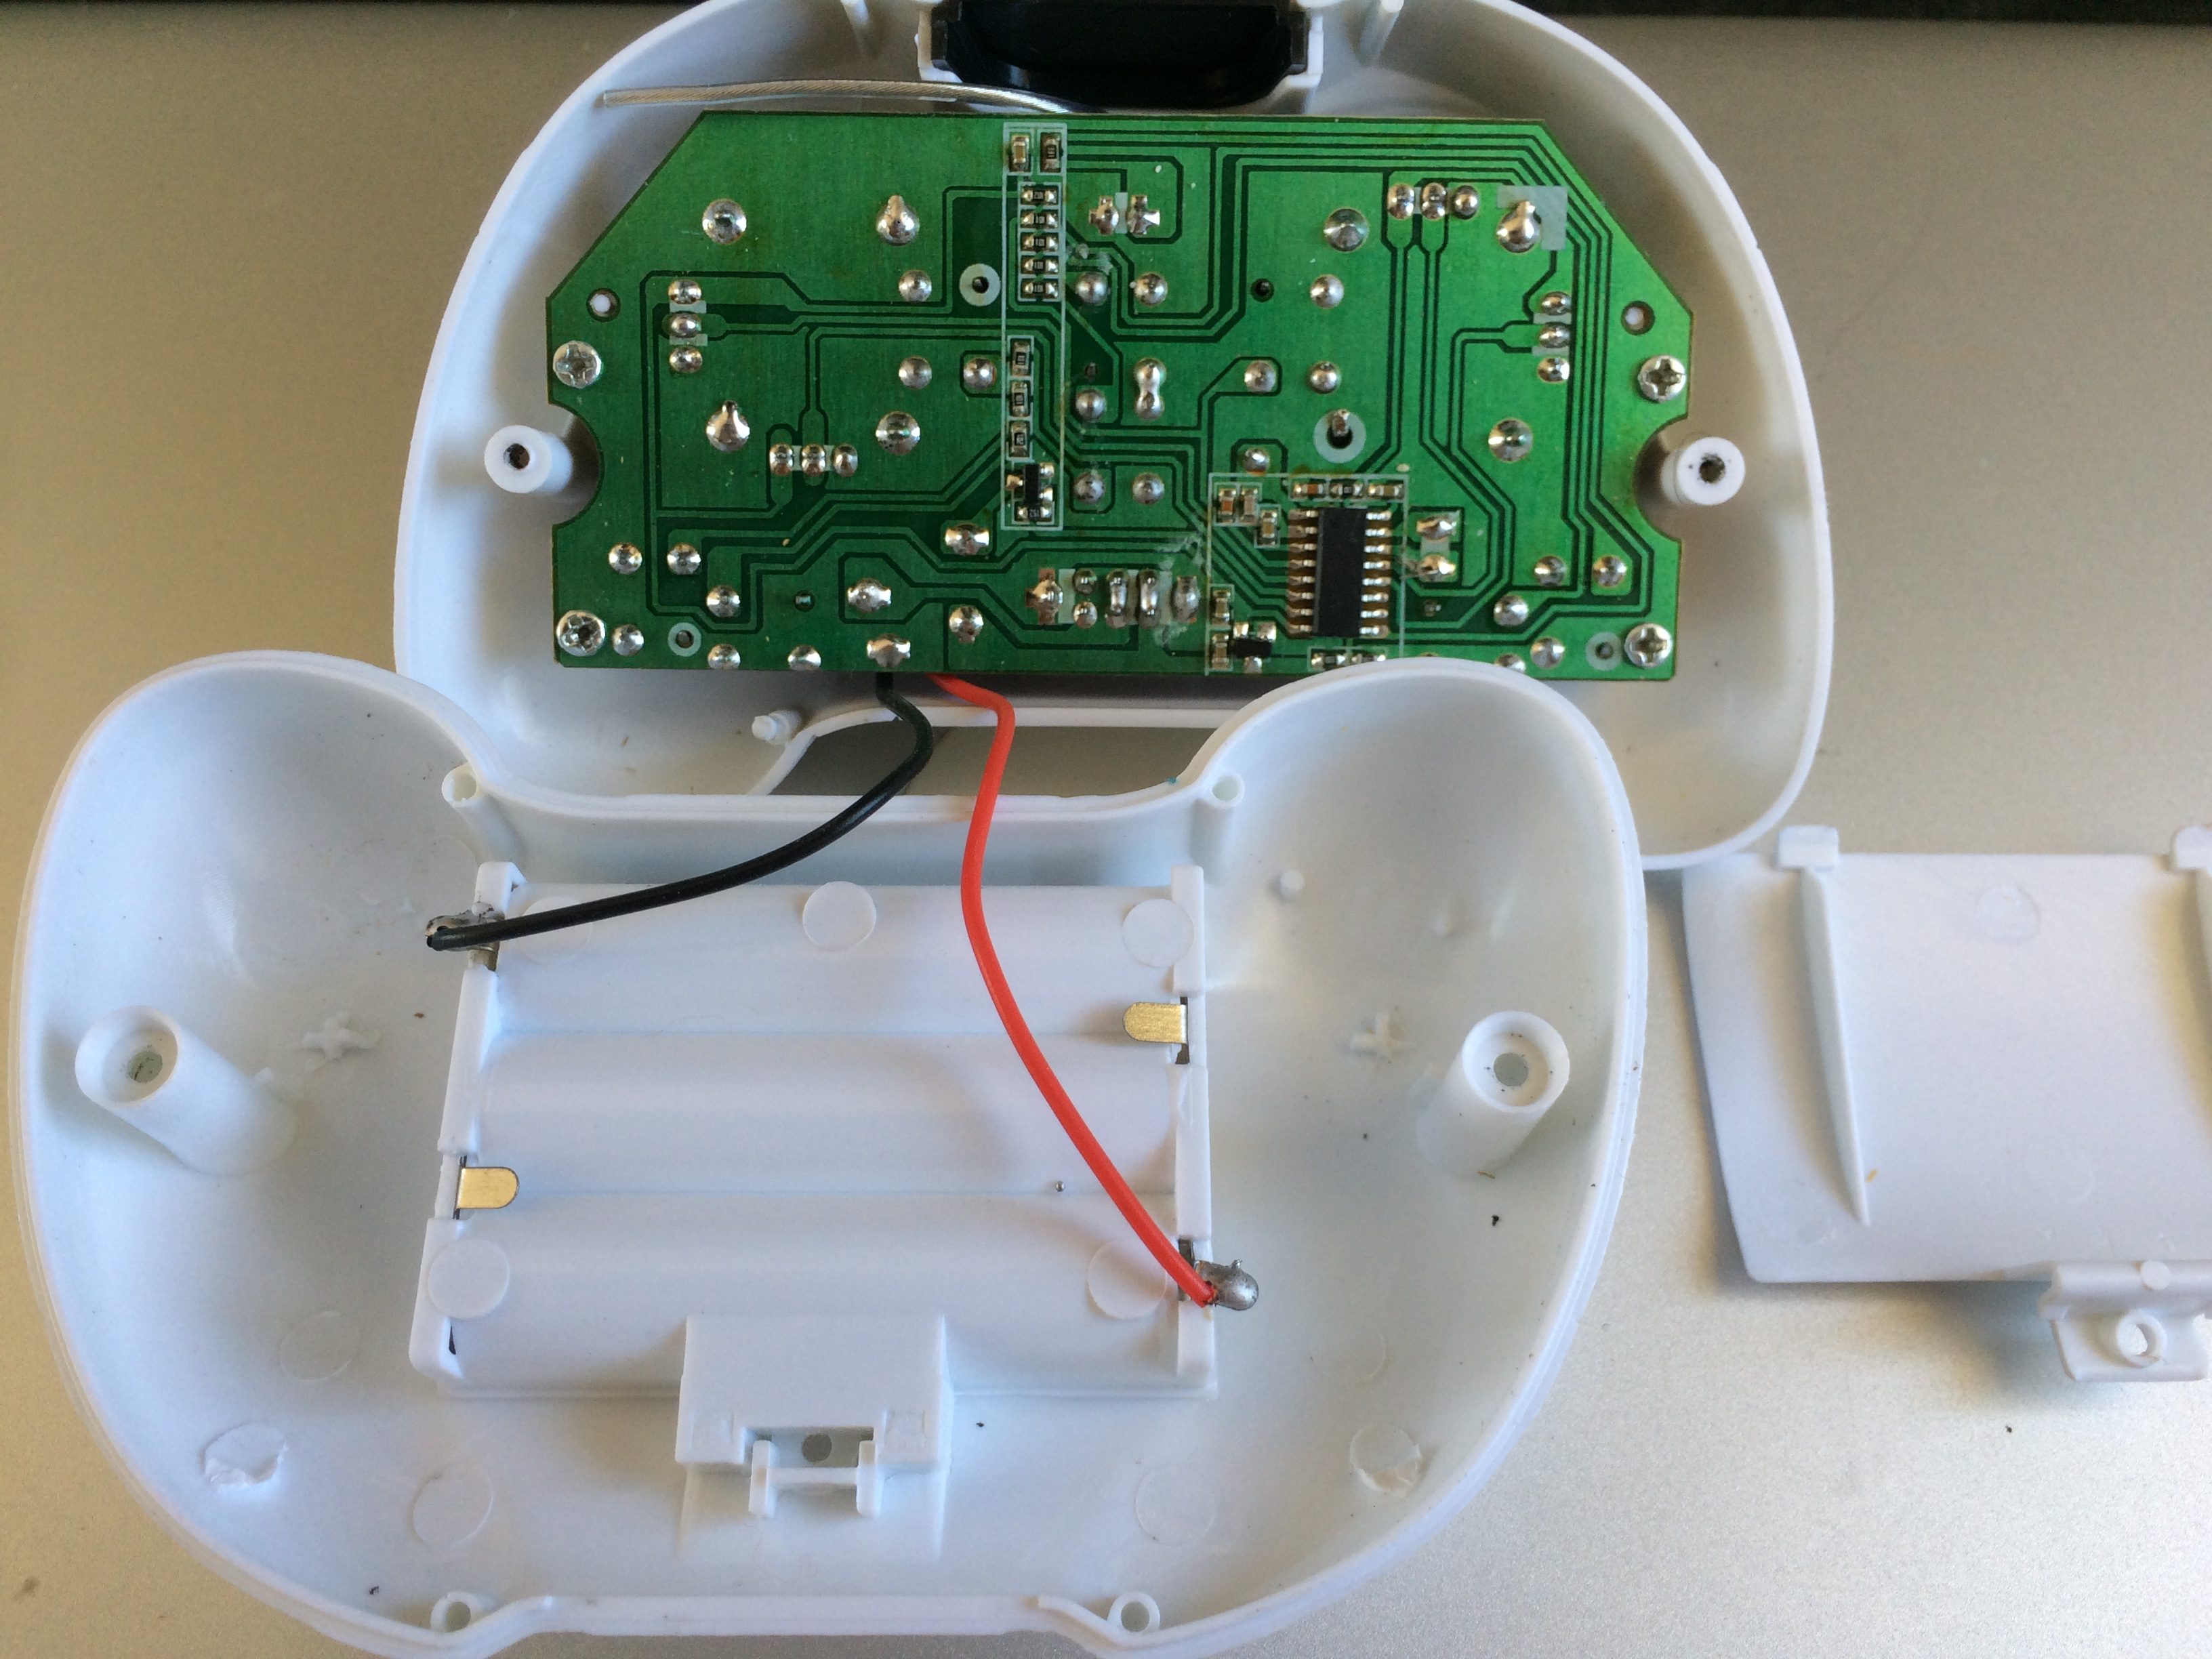
- Unscrew the board from the transmitter case
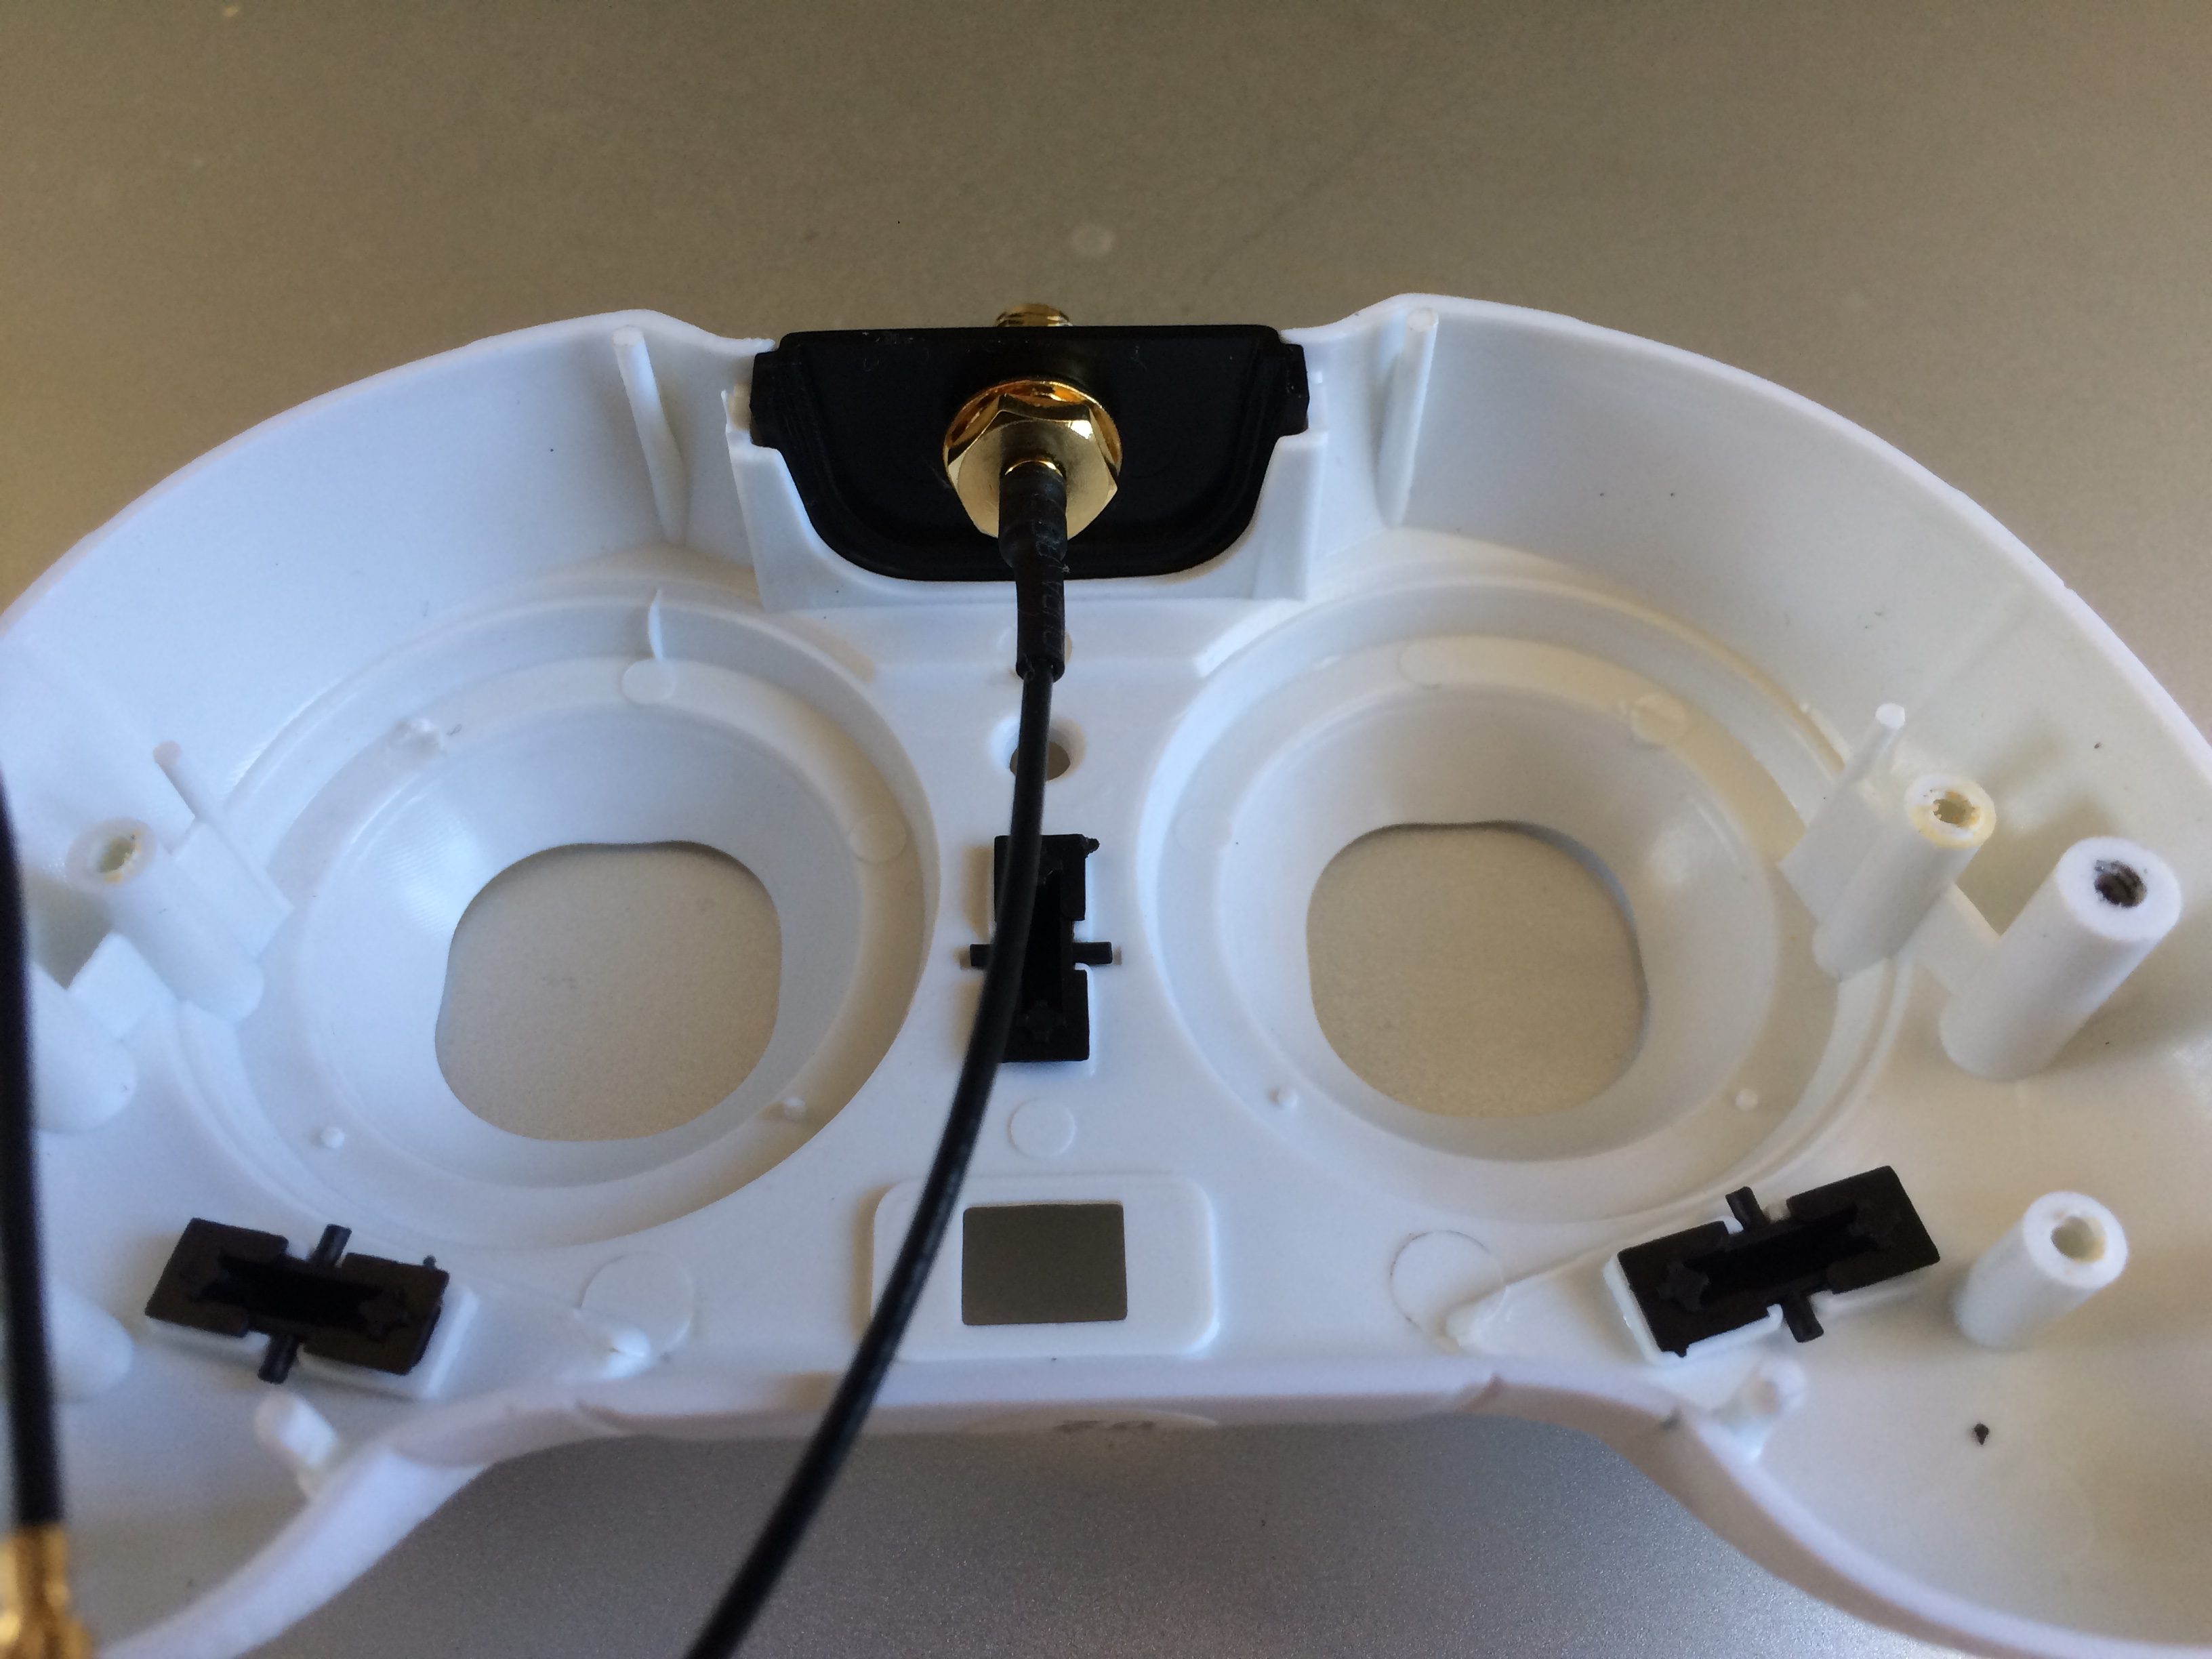
- Remove the black plastic panel at the front of the transmitter. Drill and/or cut a hole. I made a mistake with the positioning. The hole must be as close as possible to the top of the black plastic panel in order for the RP-SMA connector to fit.
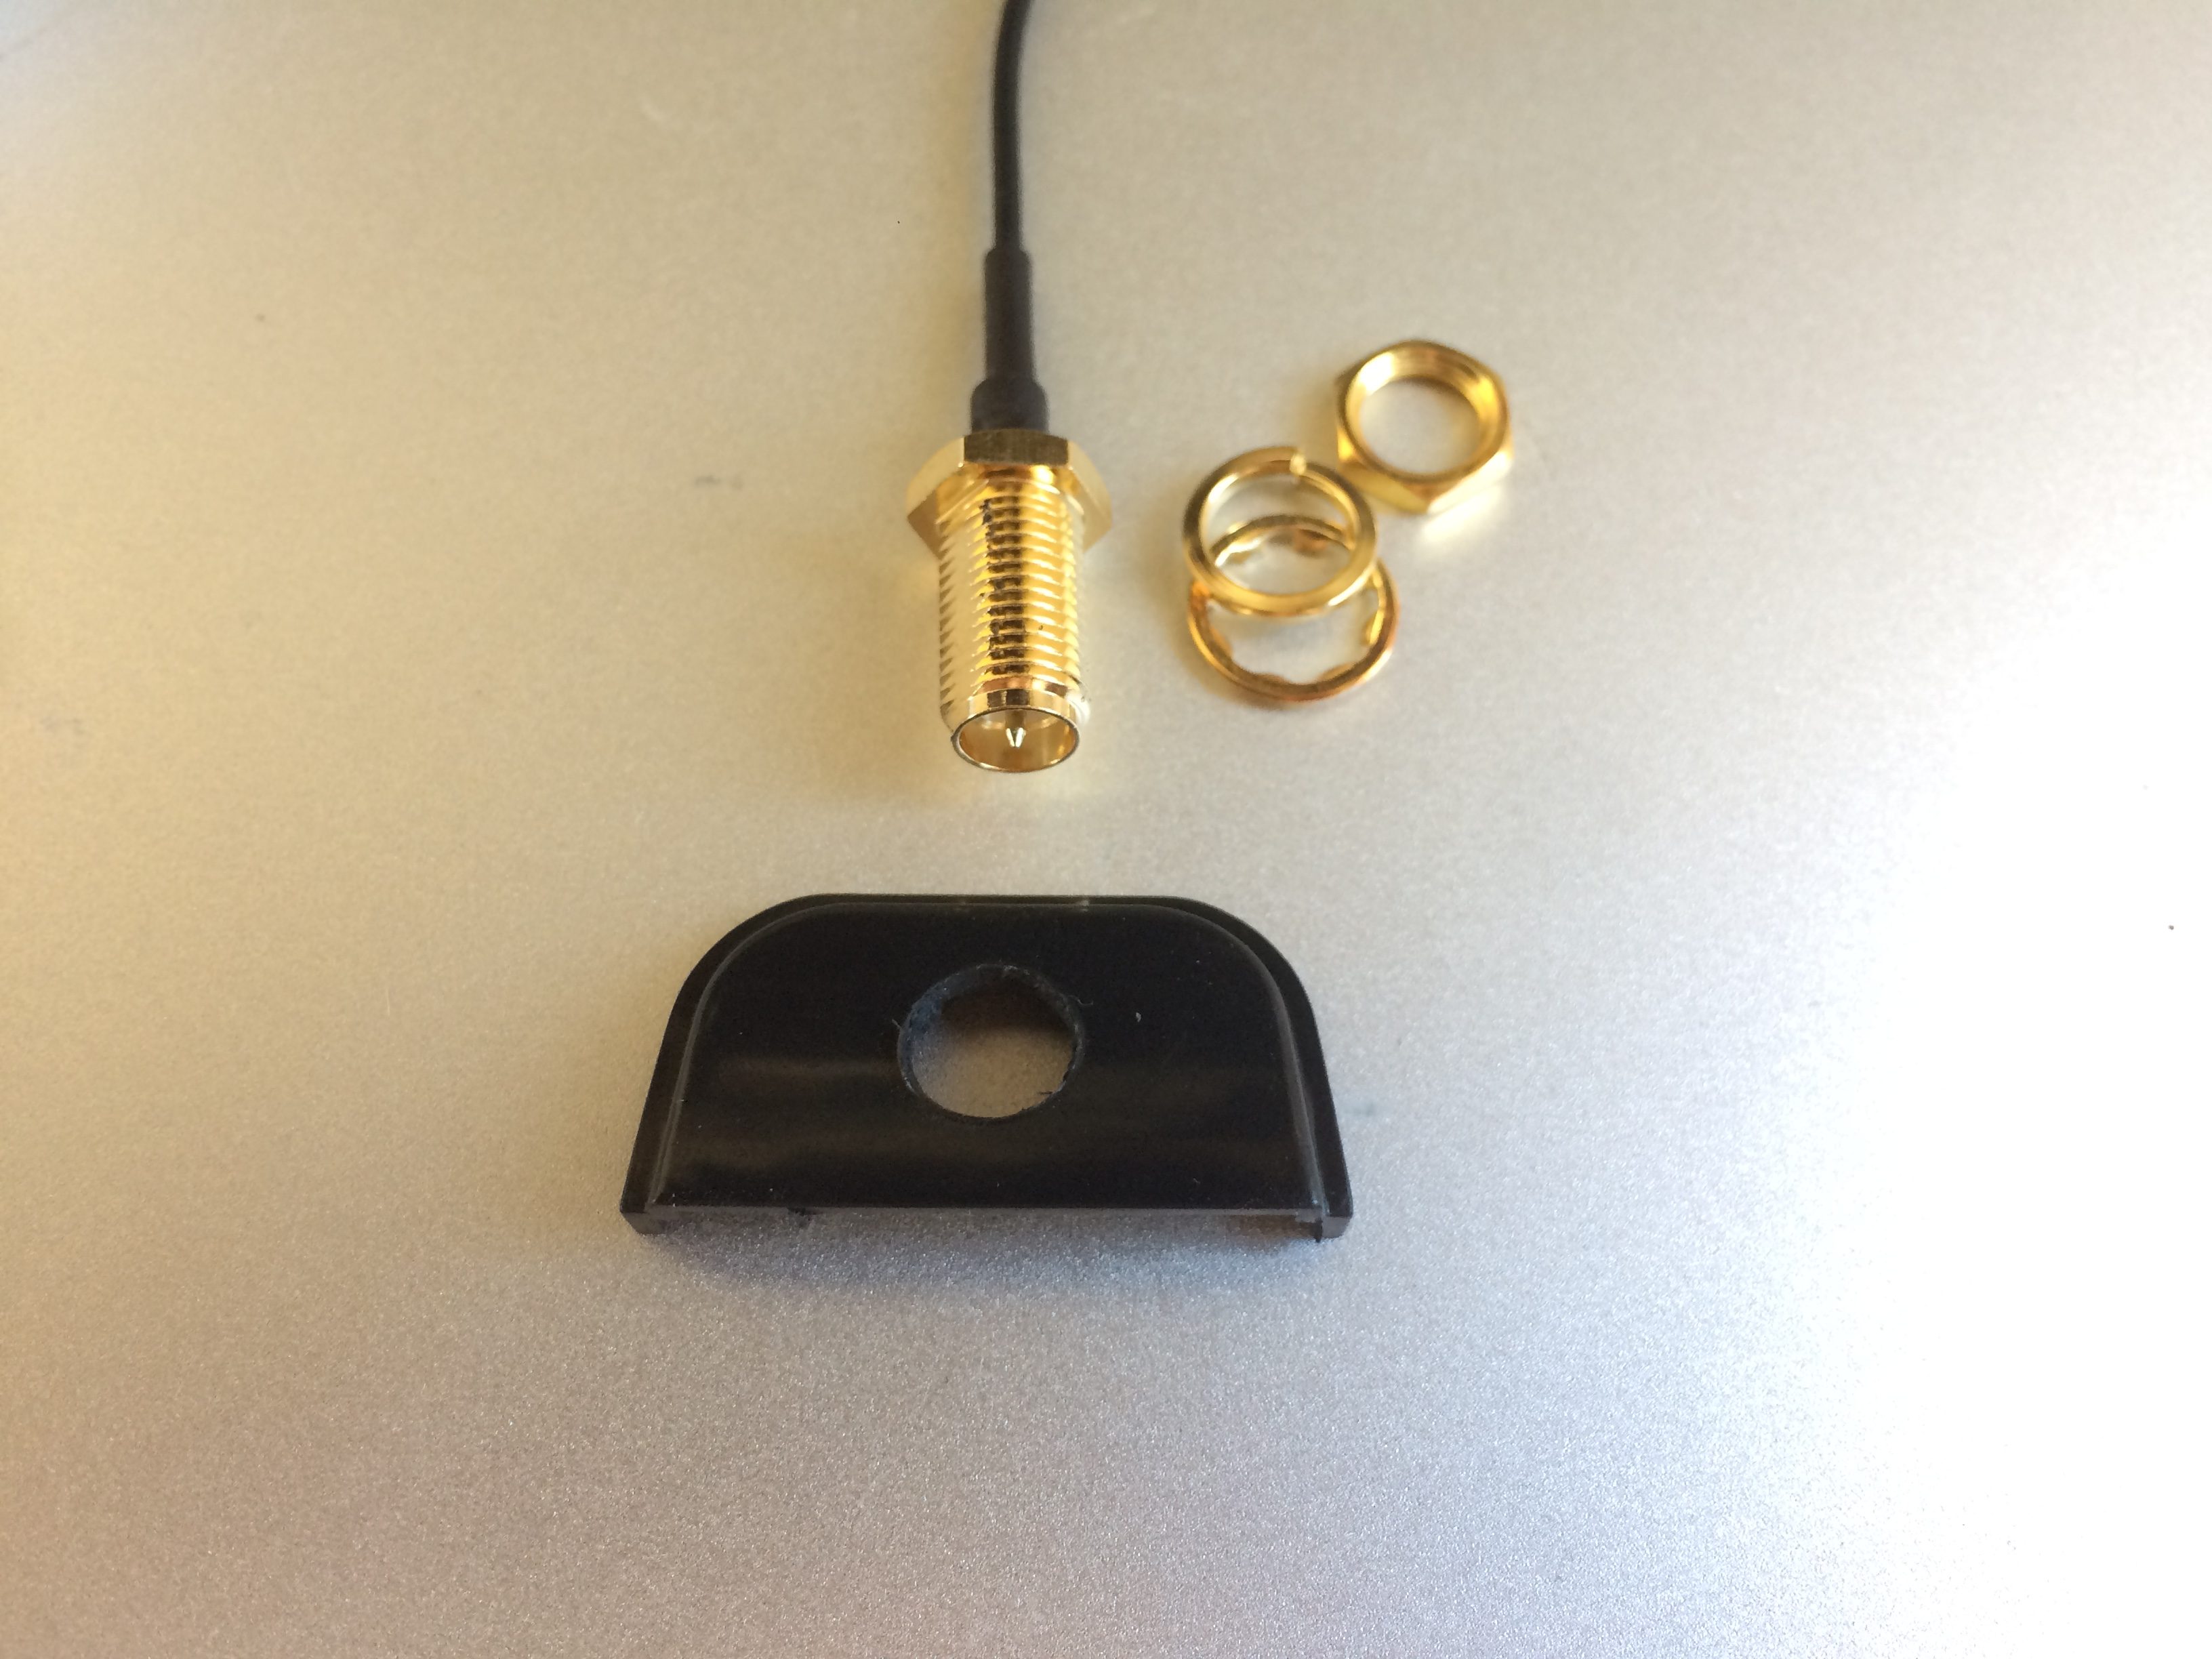
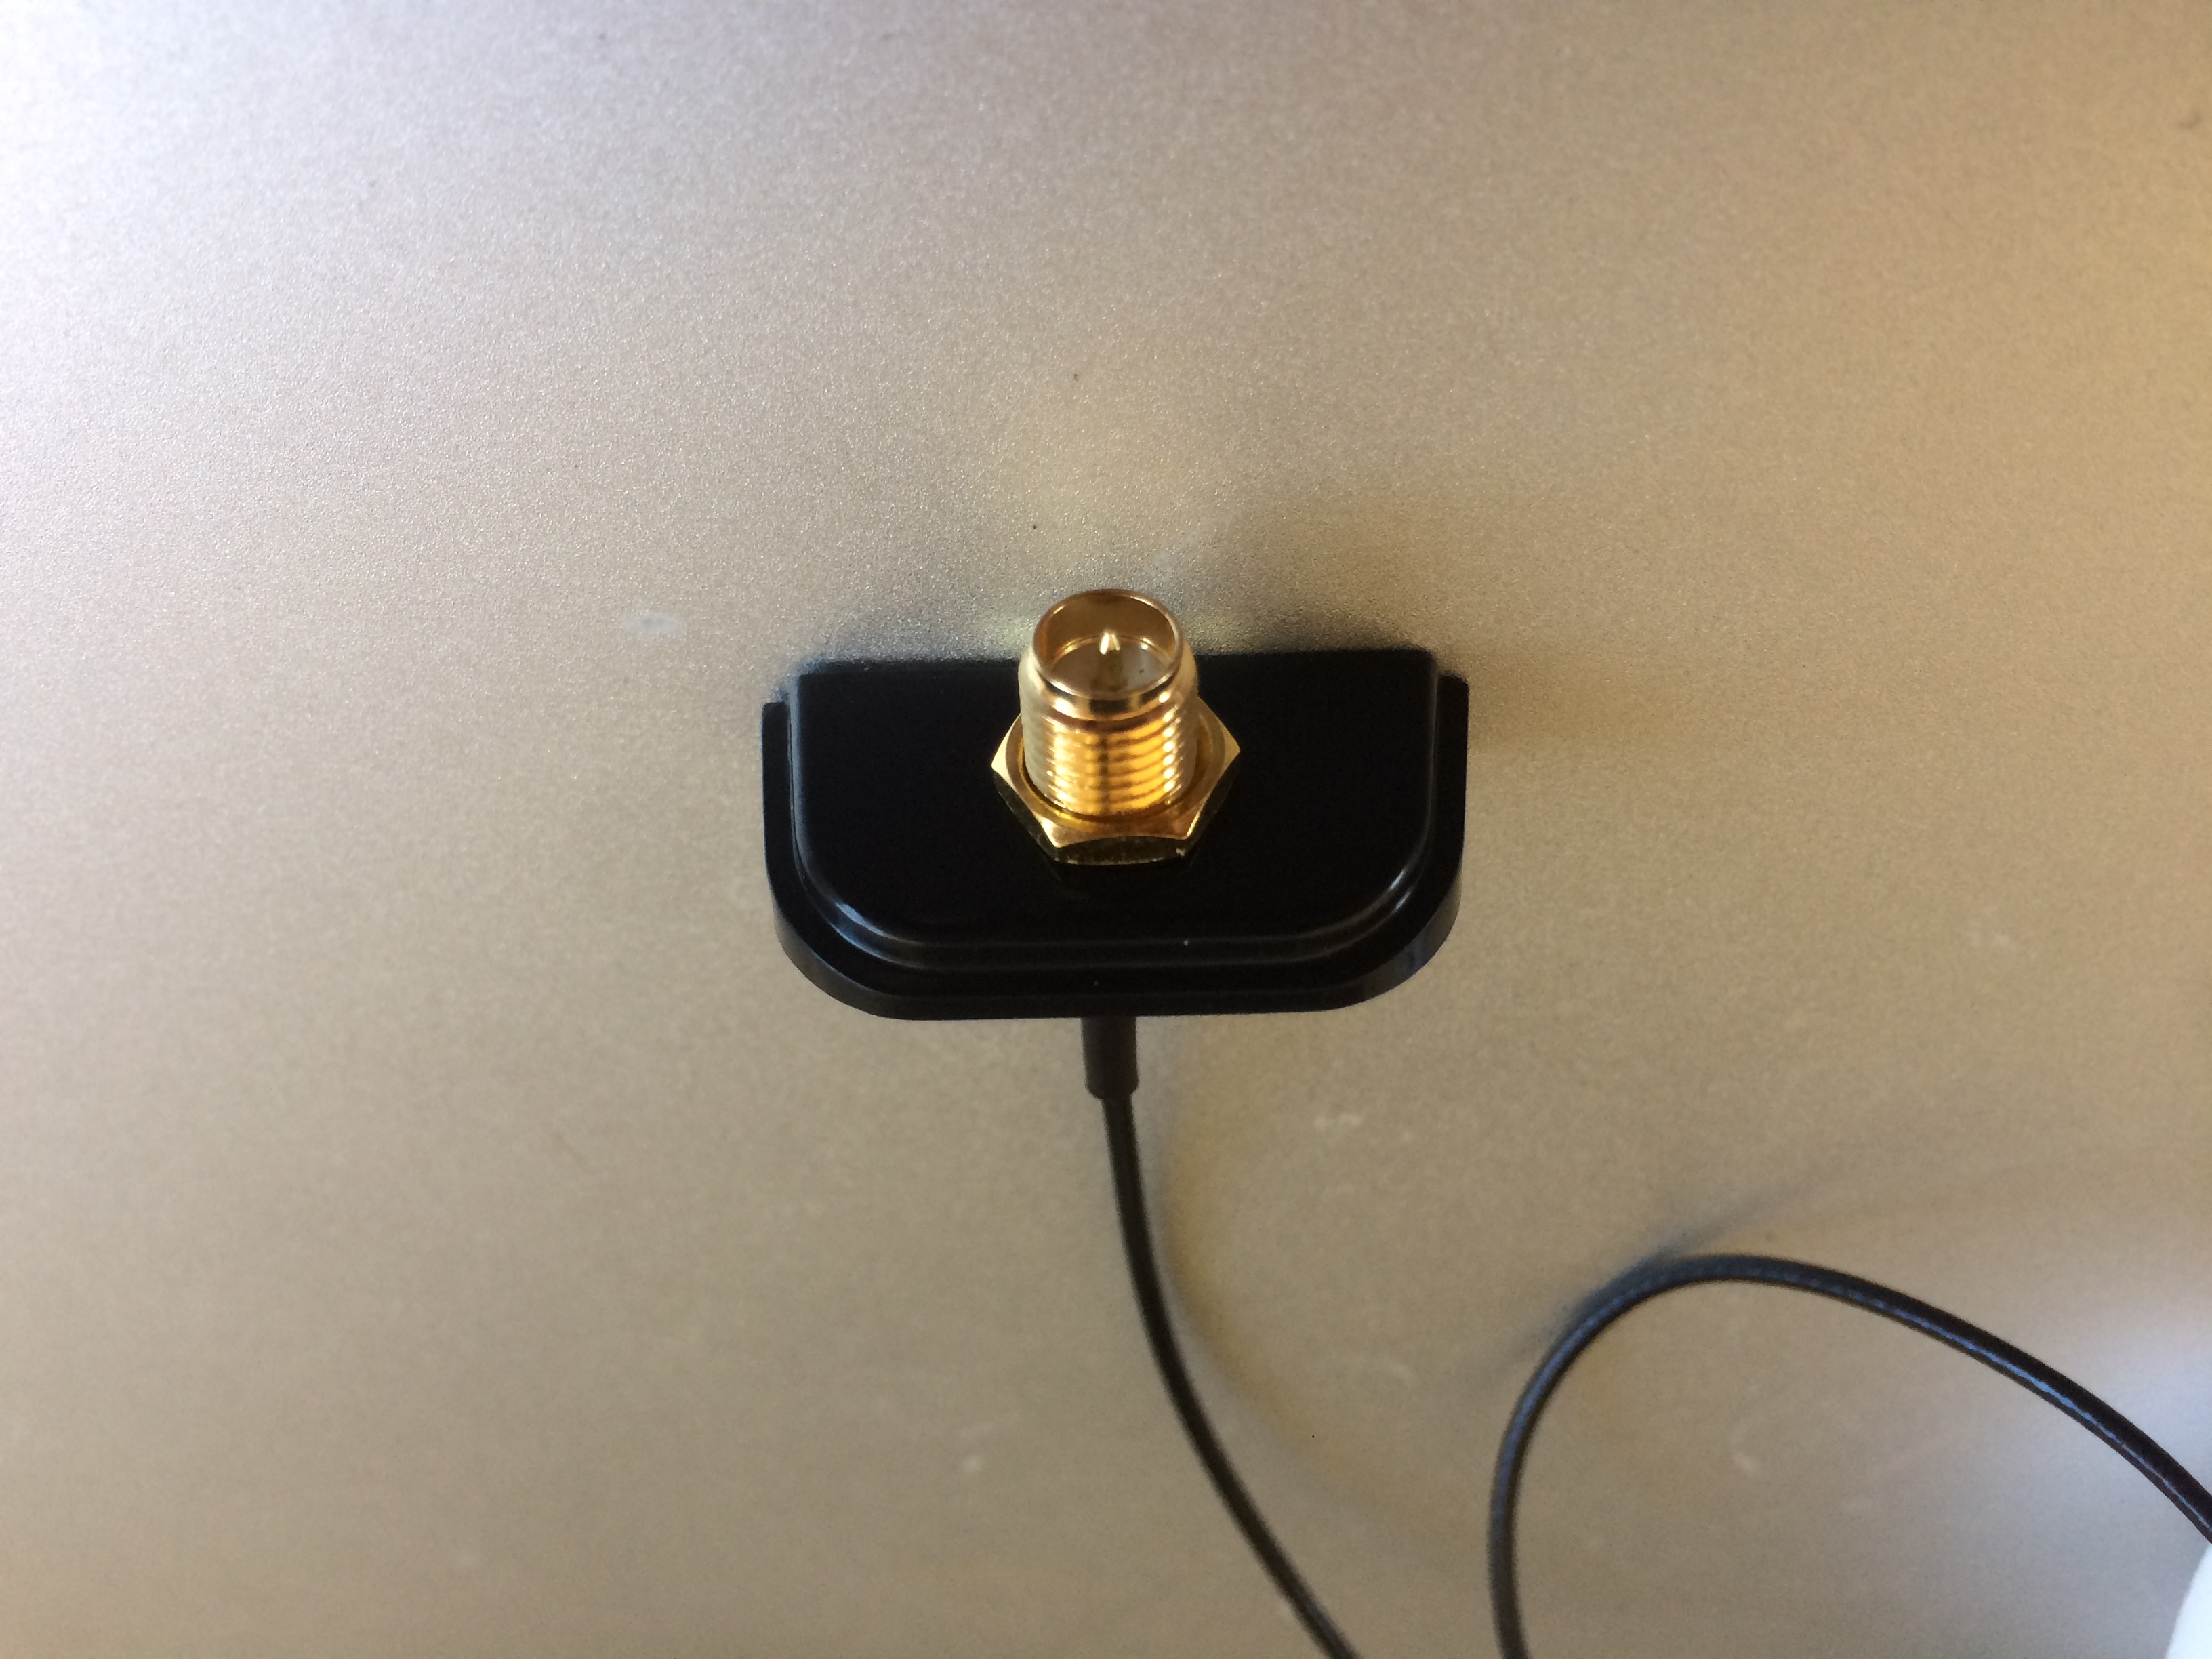
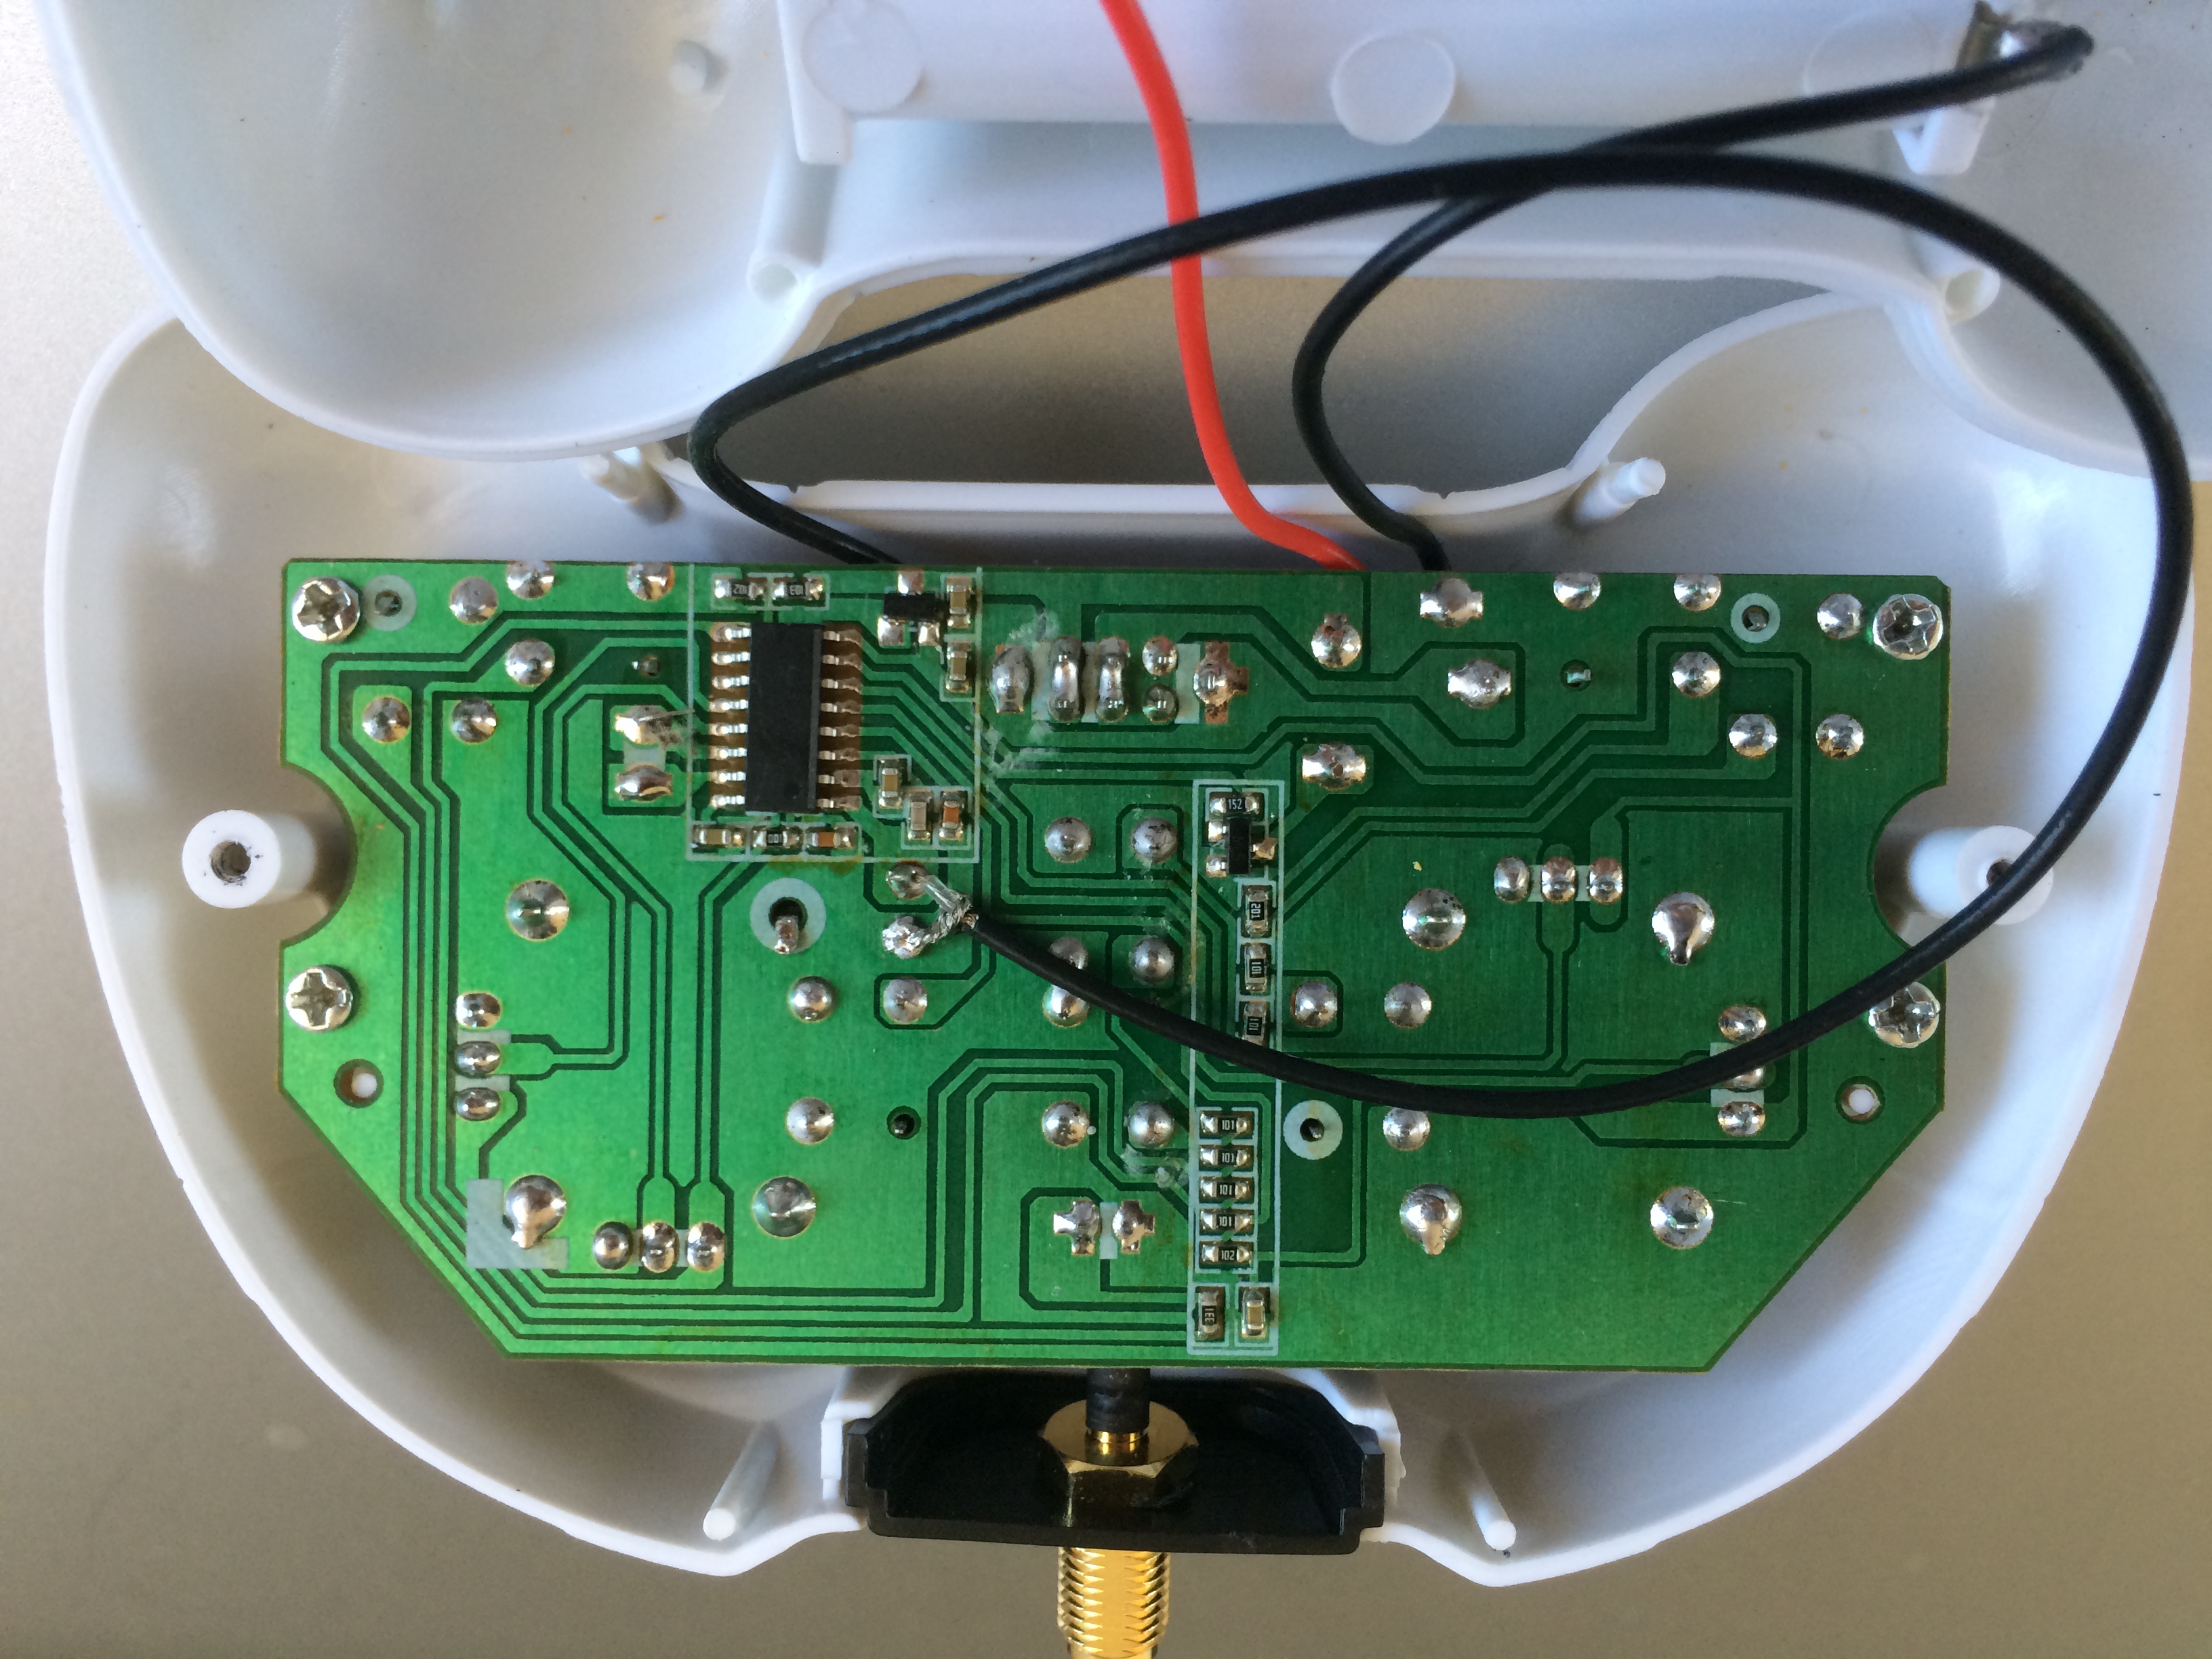
- Push the the RP-SMA connector through and lock in place with the hex nut and washer

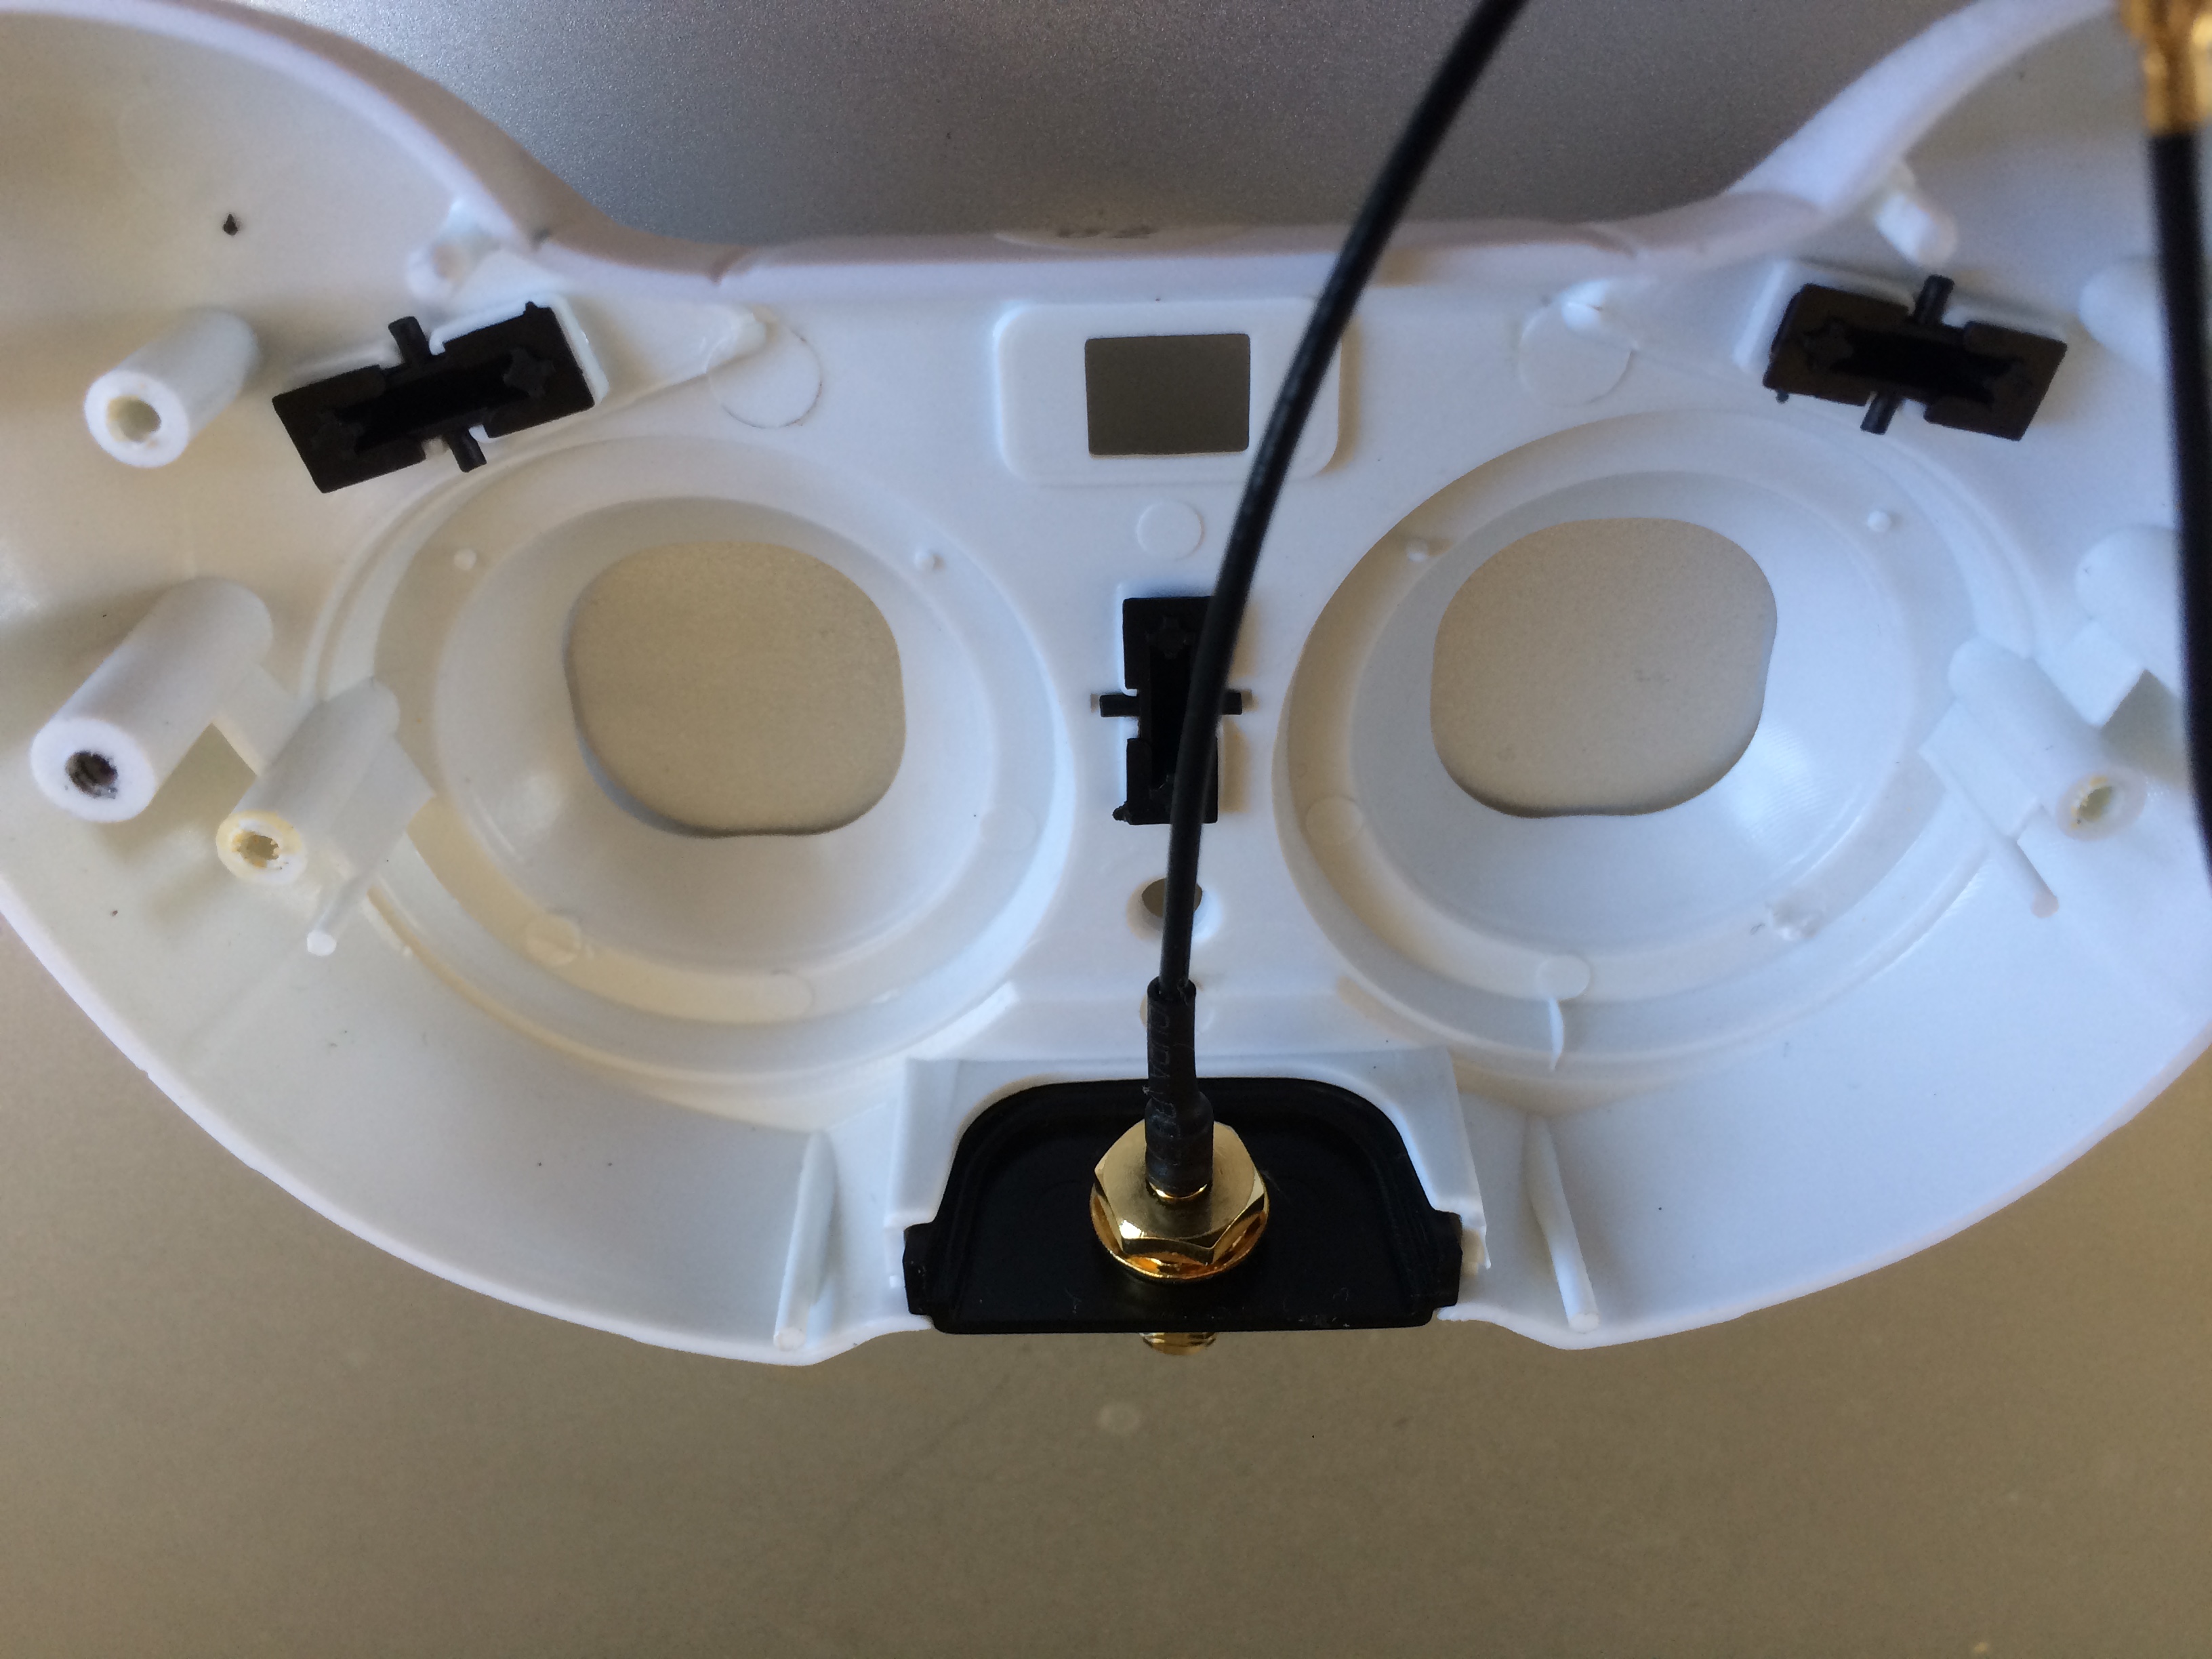
- Reinstall the black plastic panel
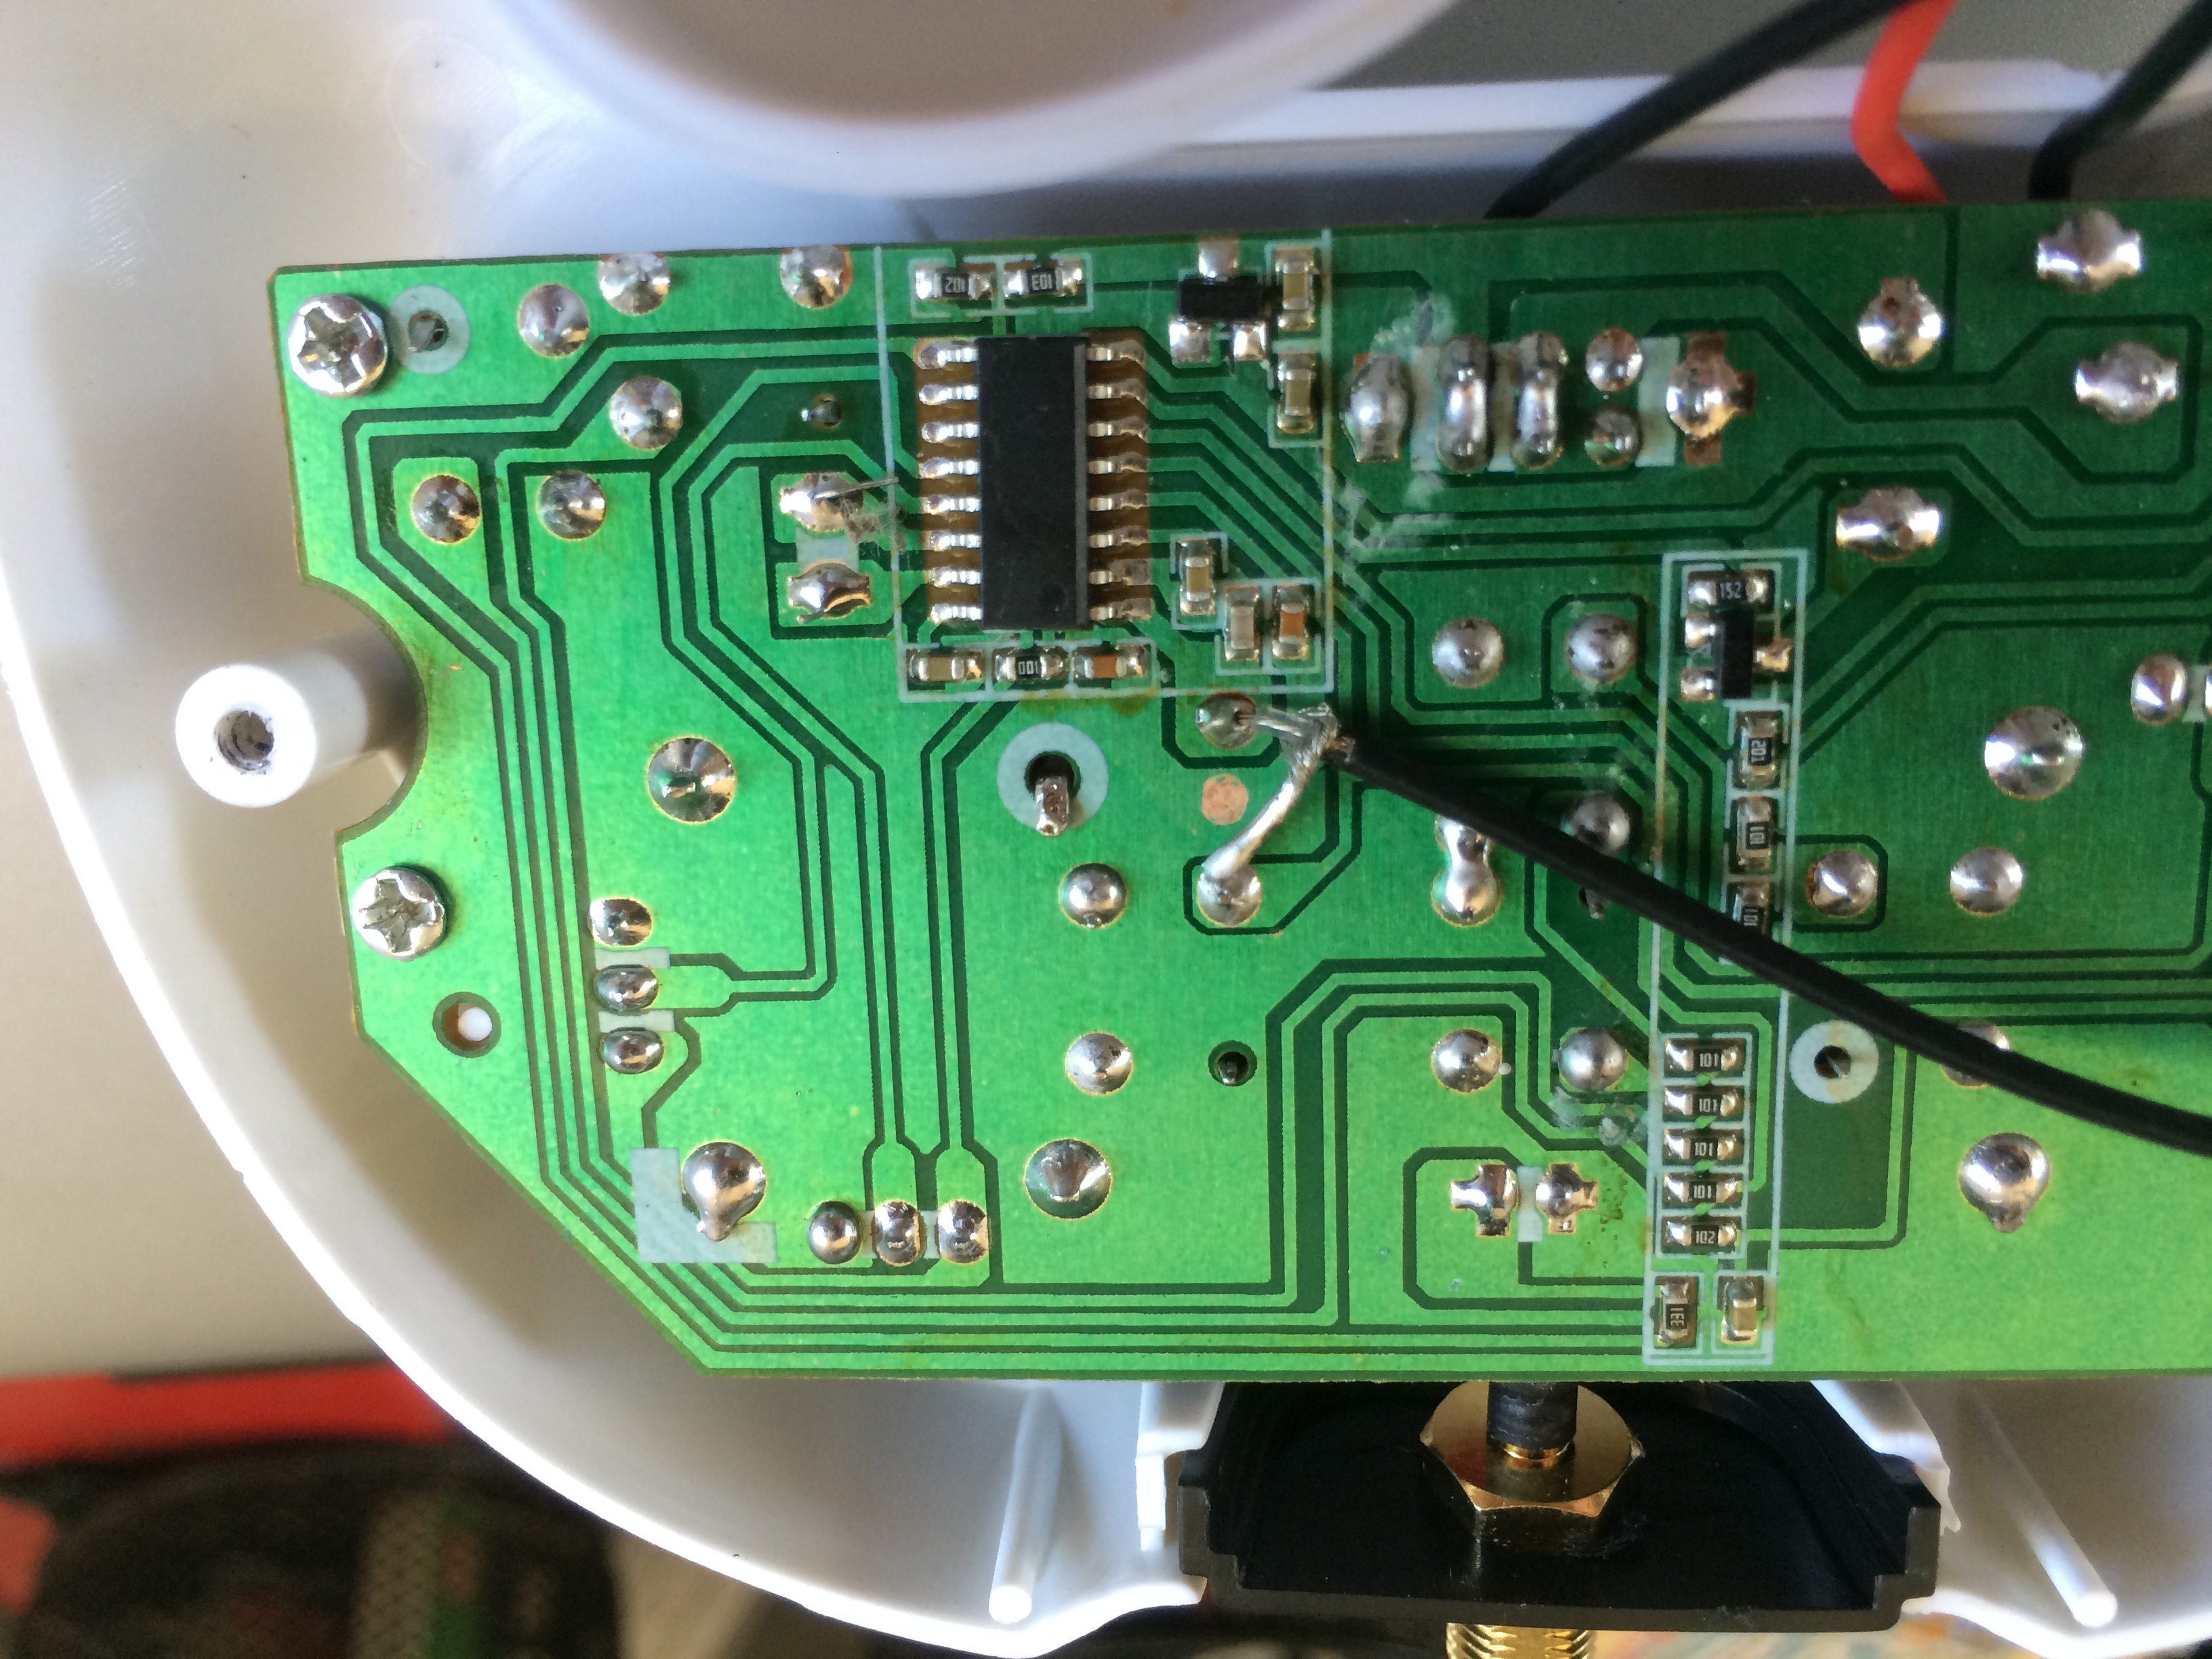
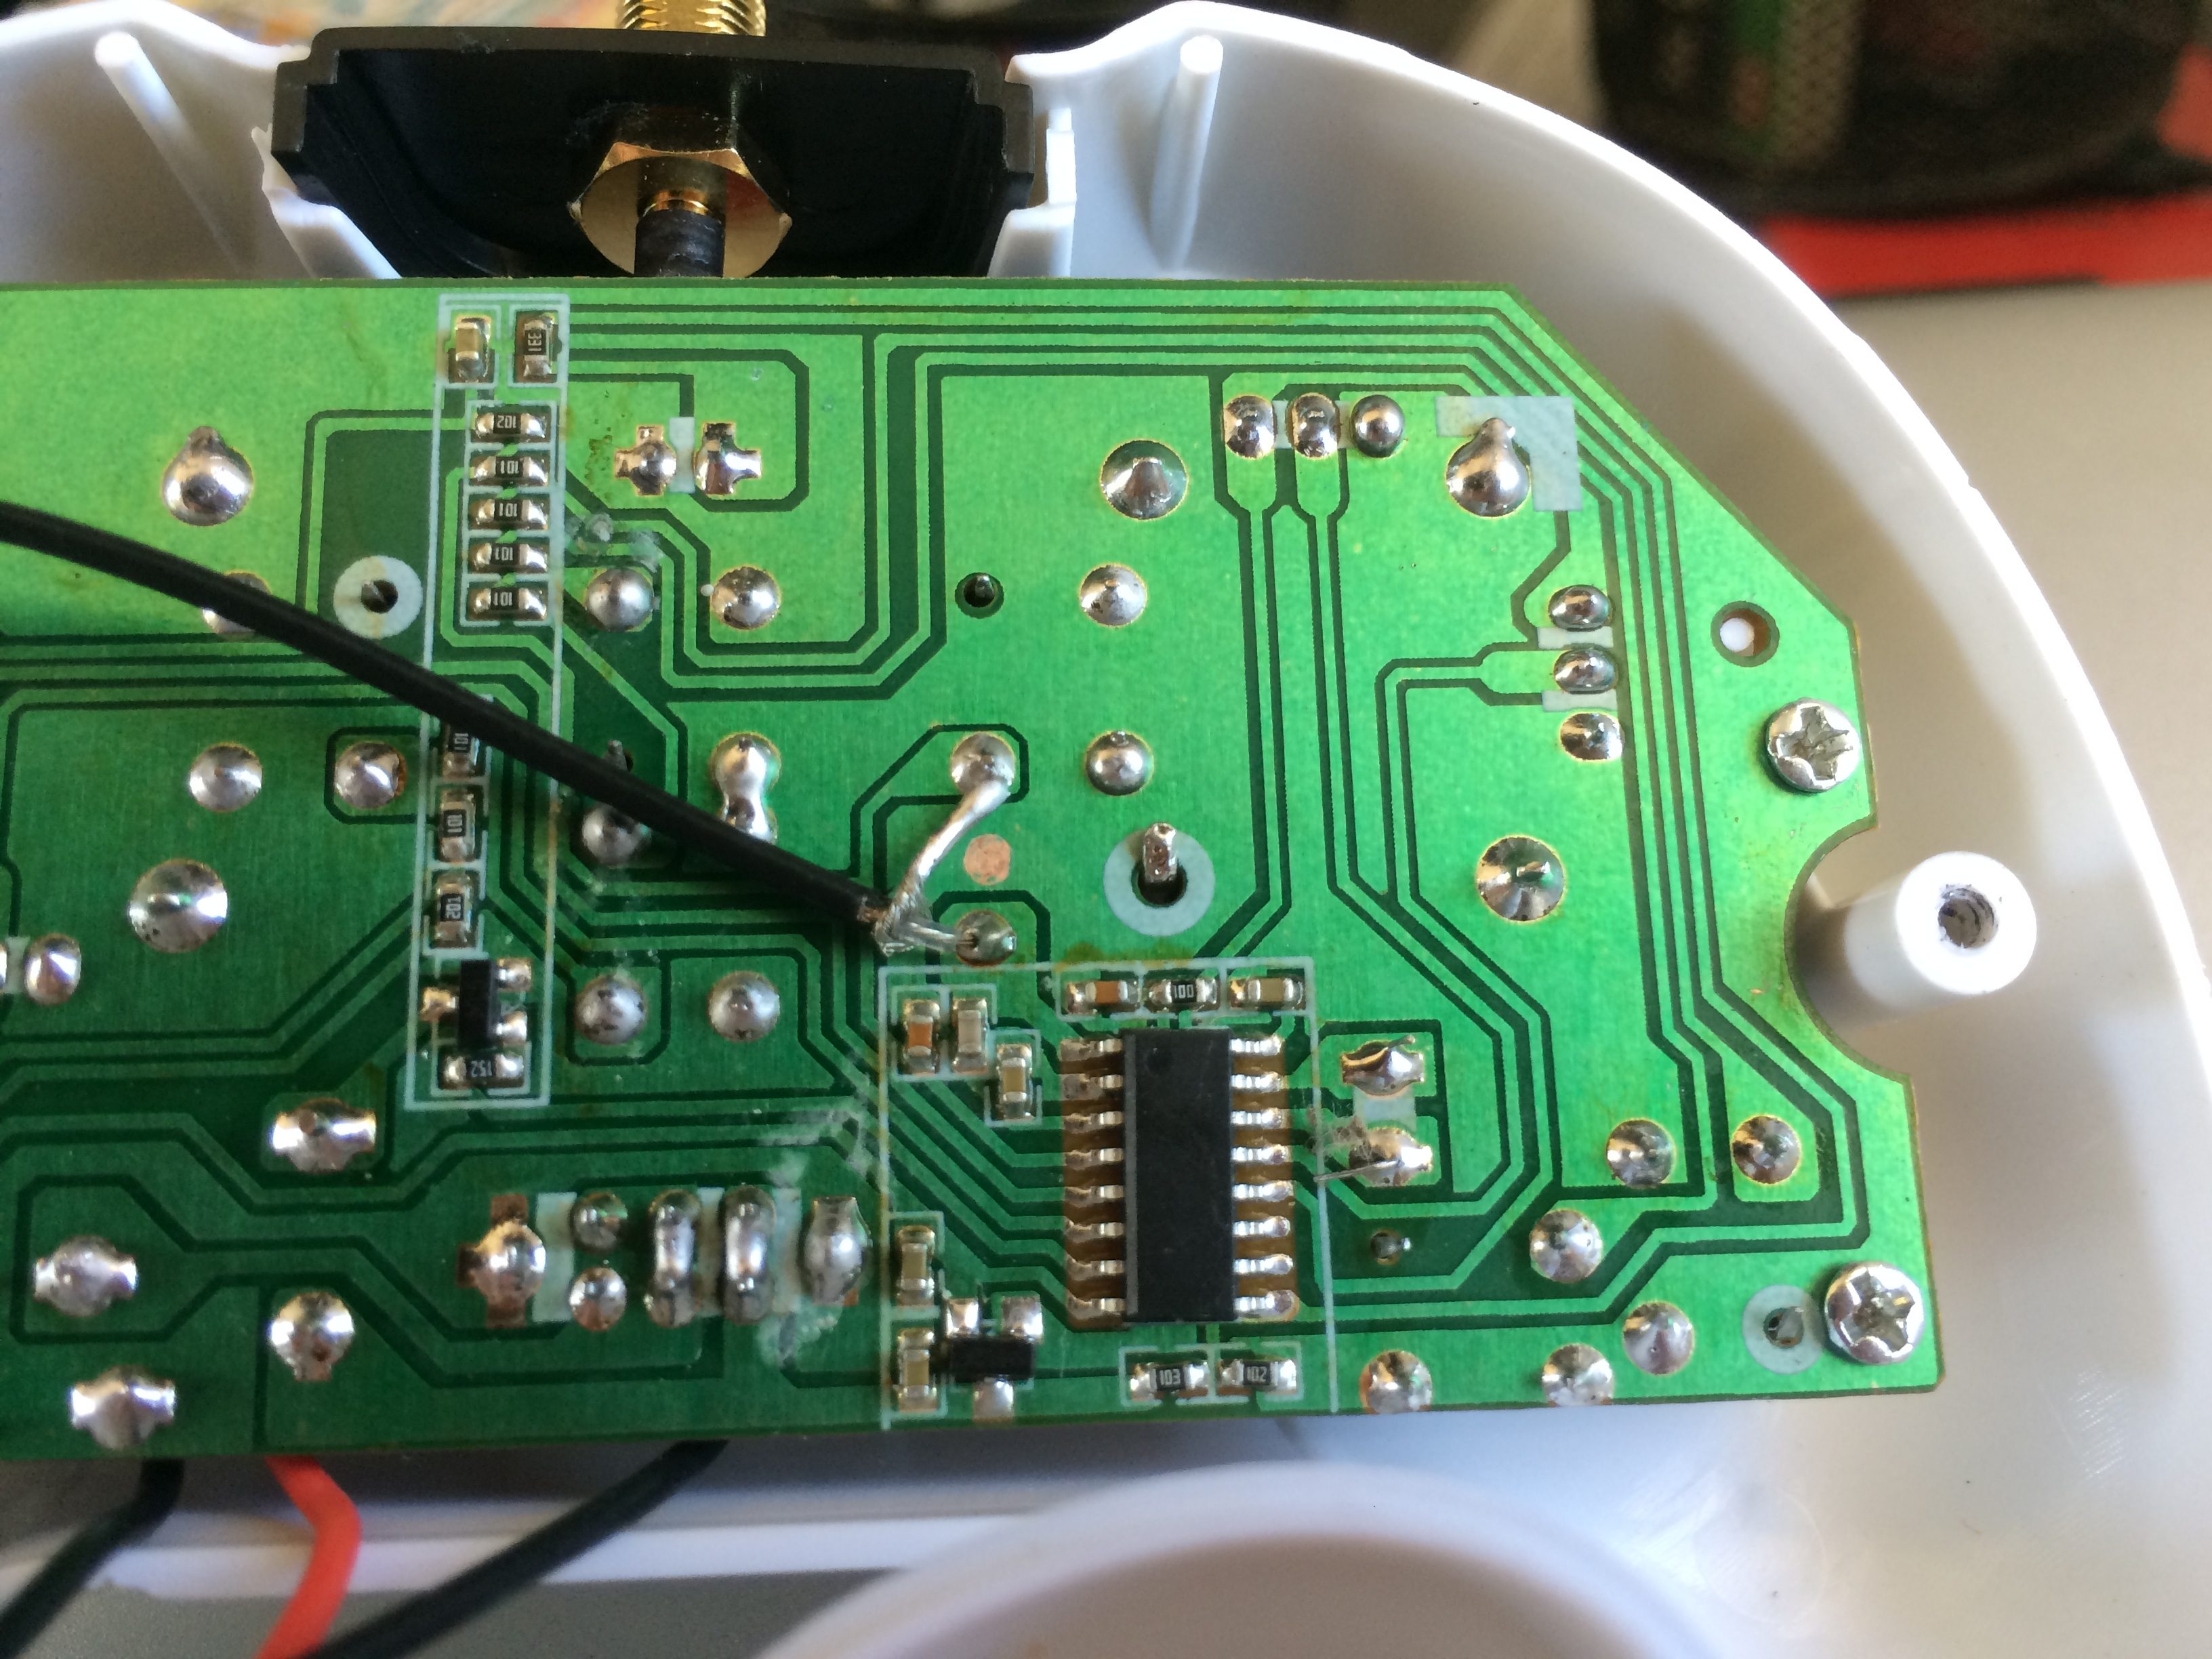
- Scrape some PCB coating off at the indicated location to expose the copper layer. This is GND and we will use it to ground the antenna. The joint under it is the antenna pad.
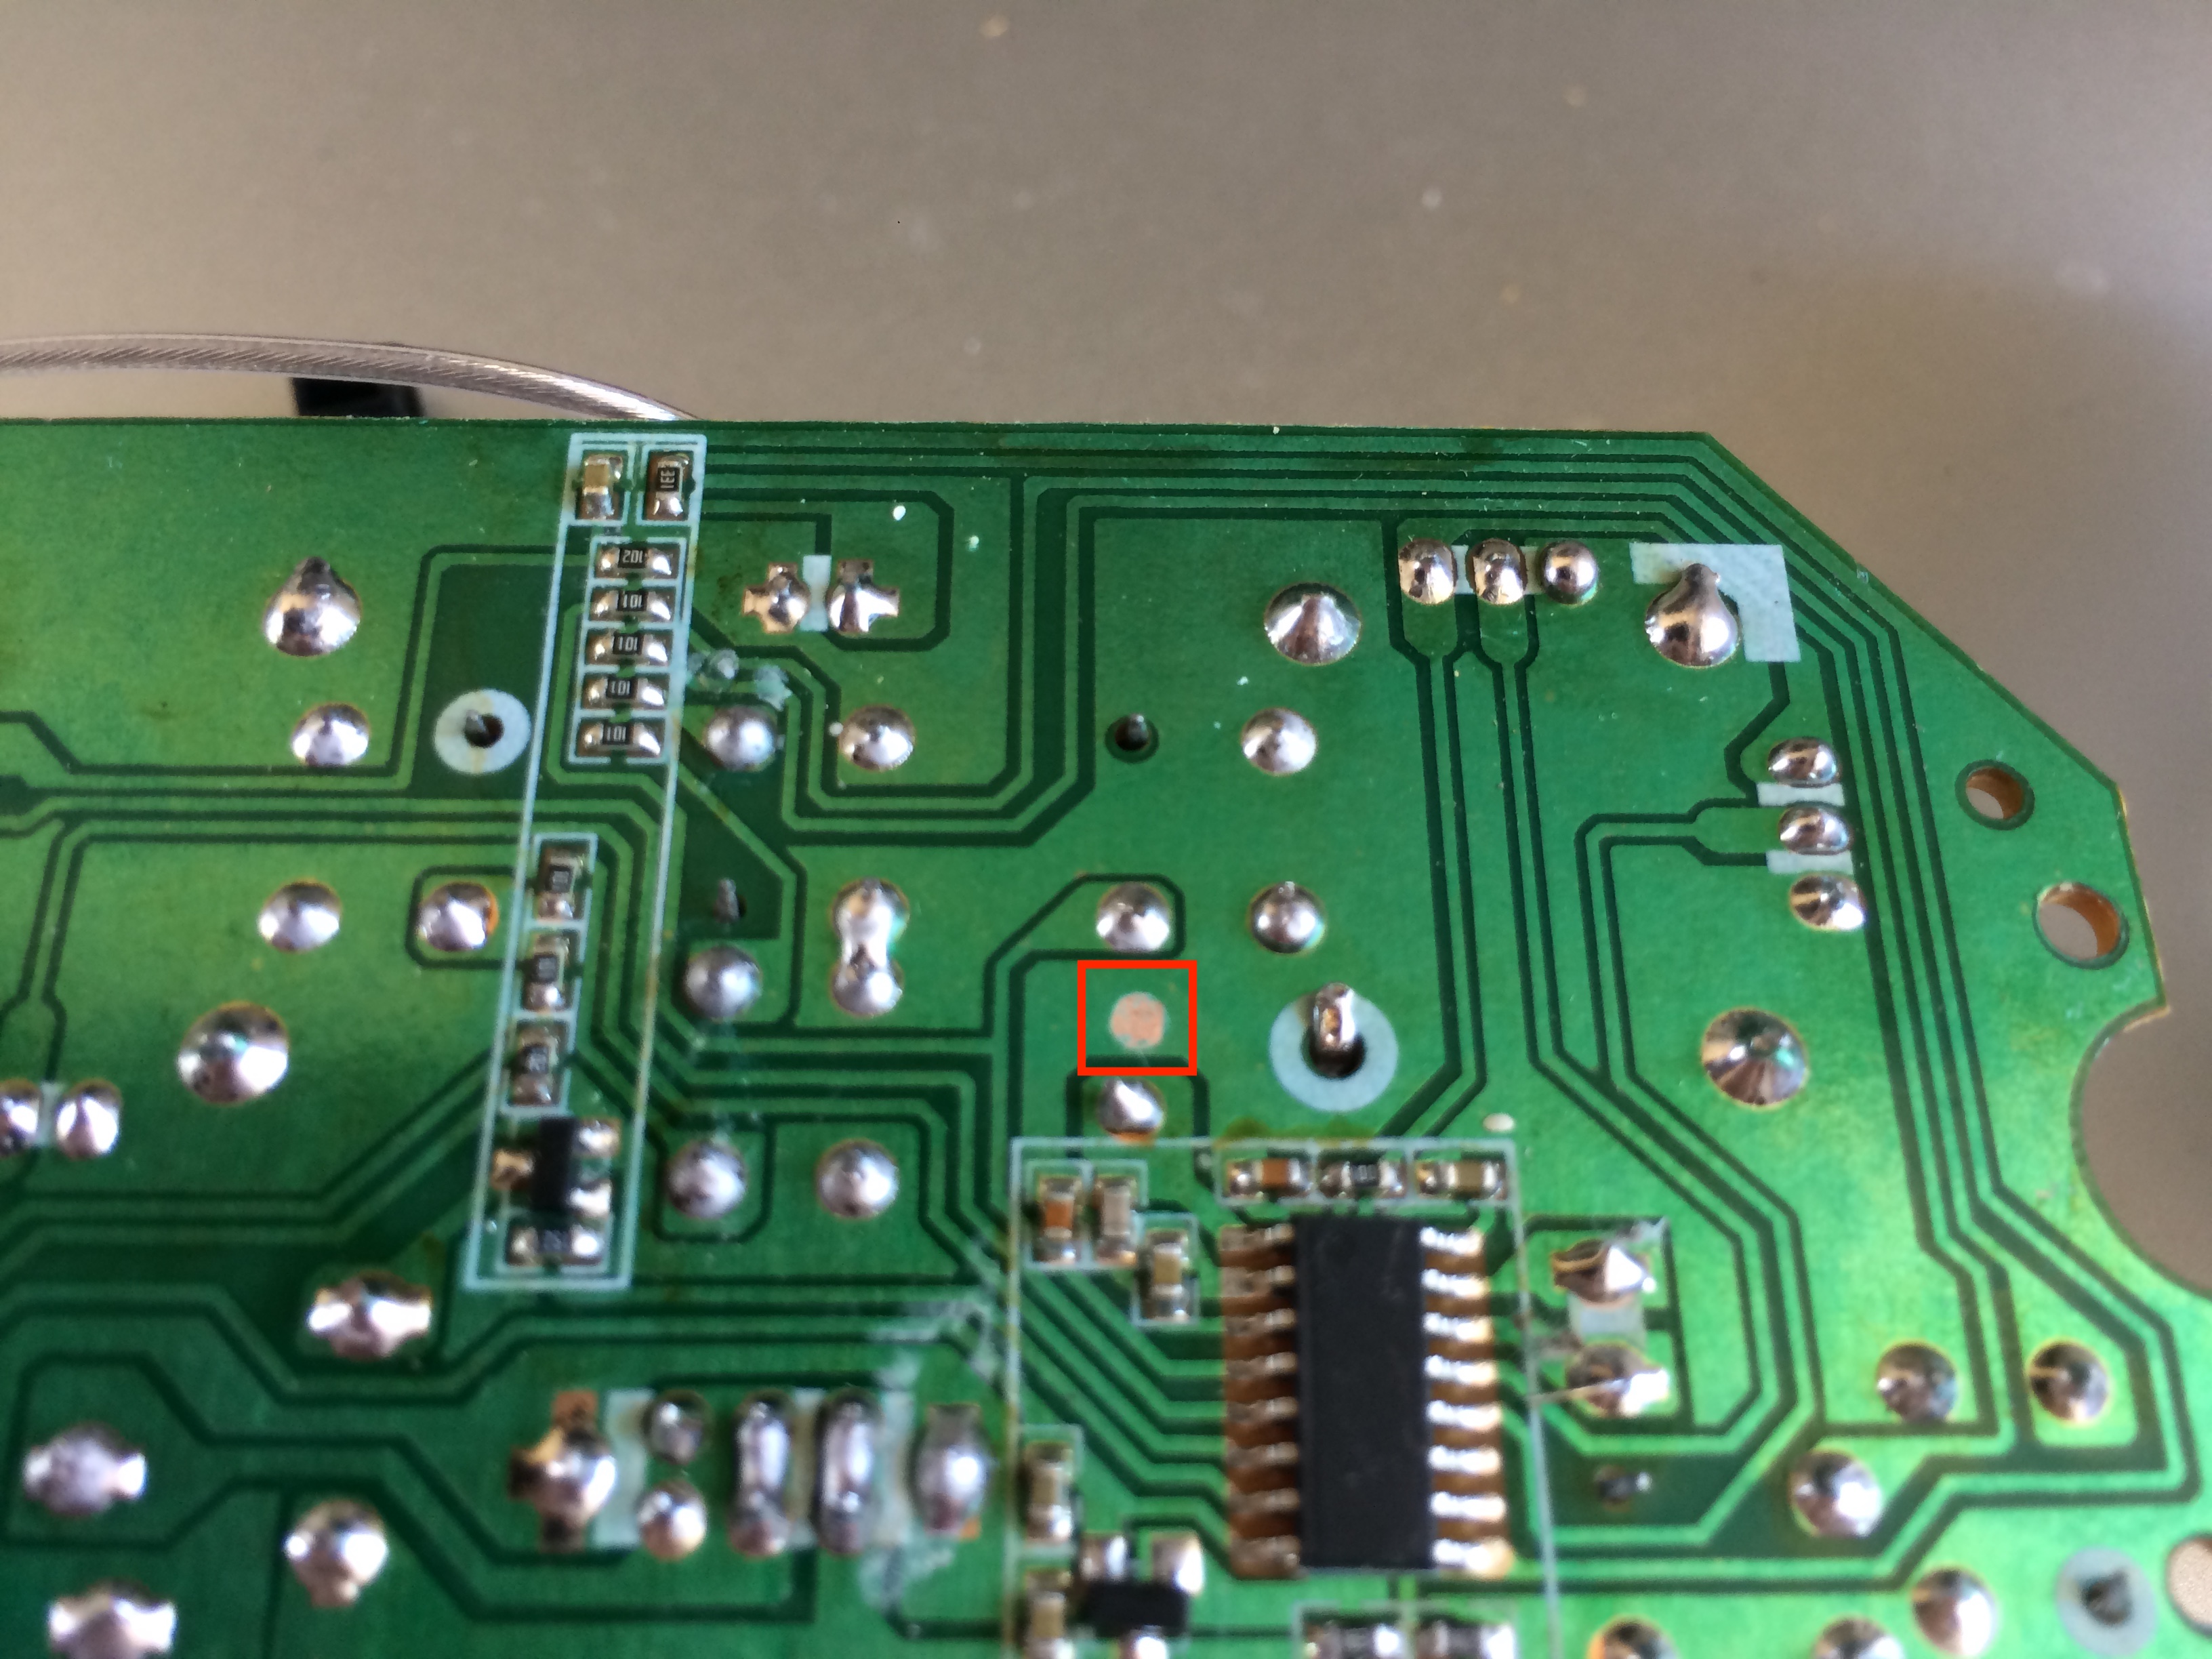
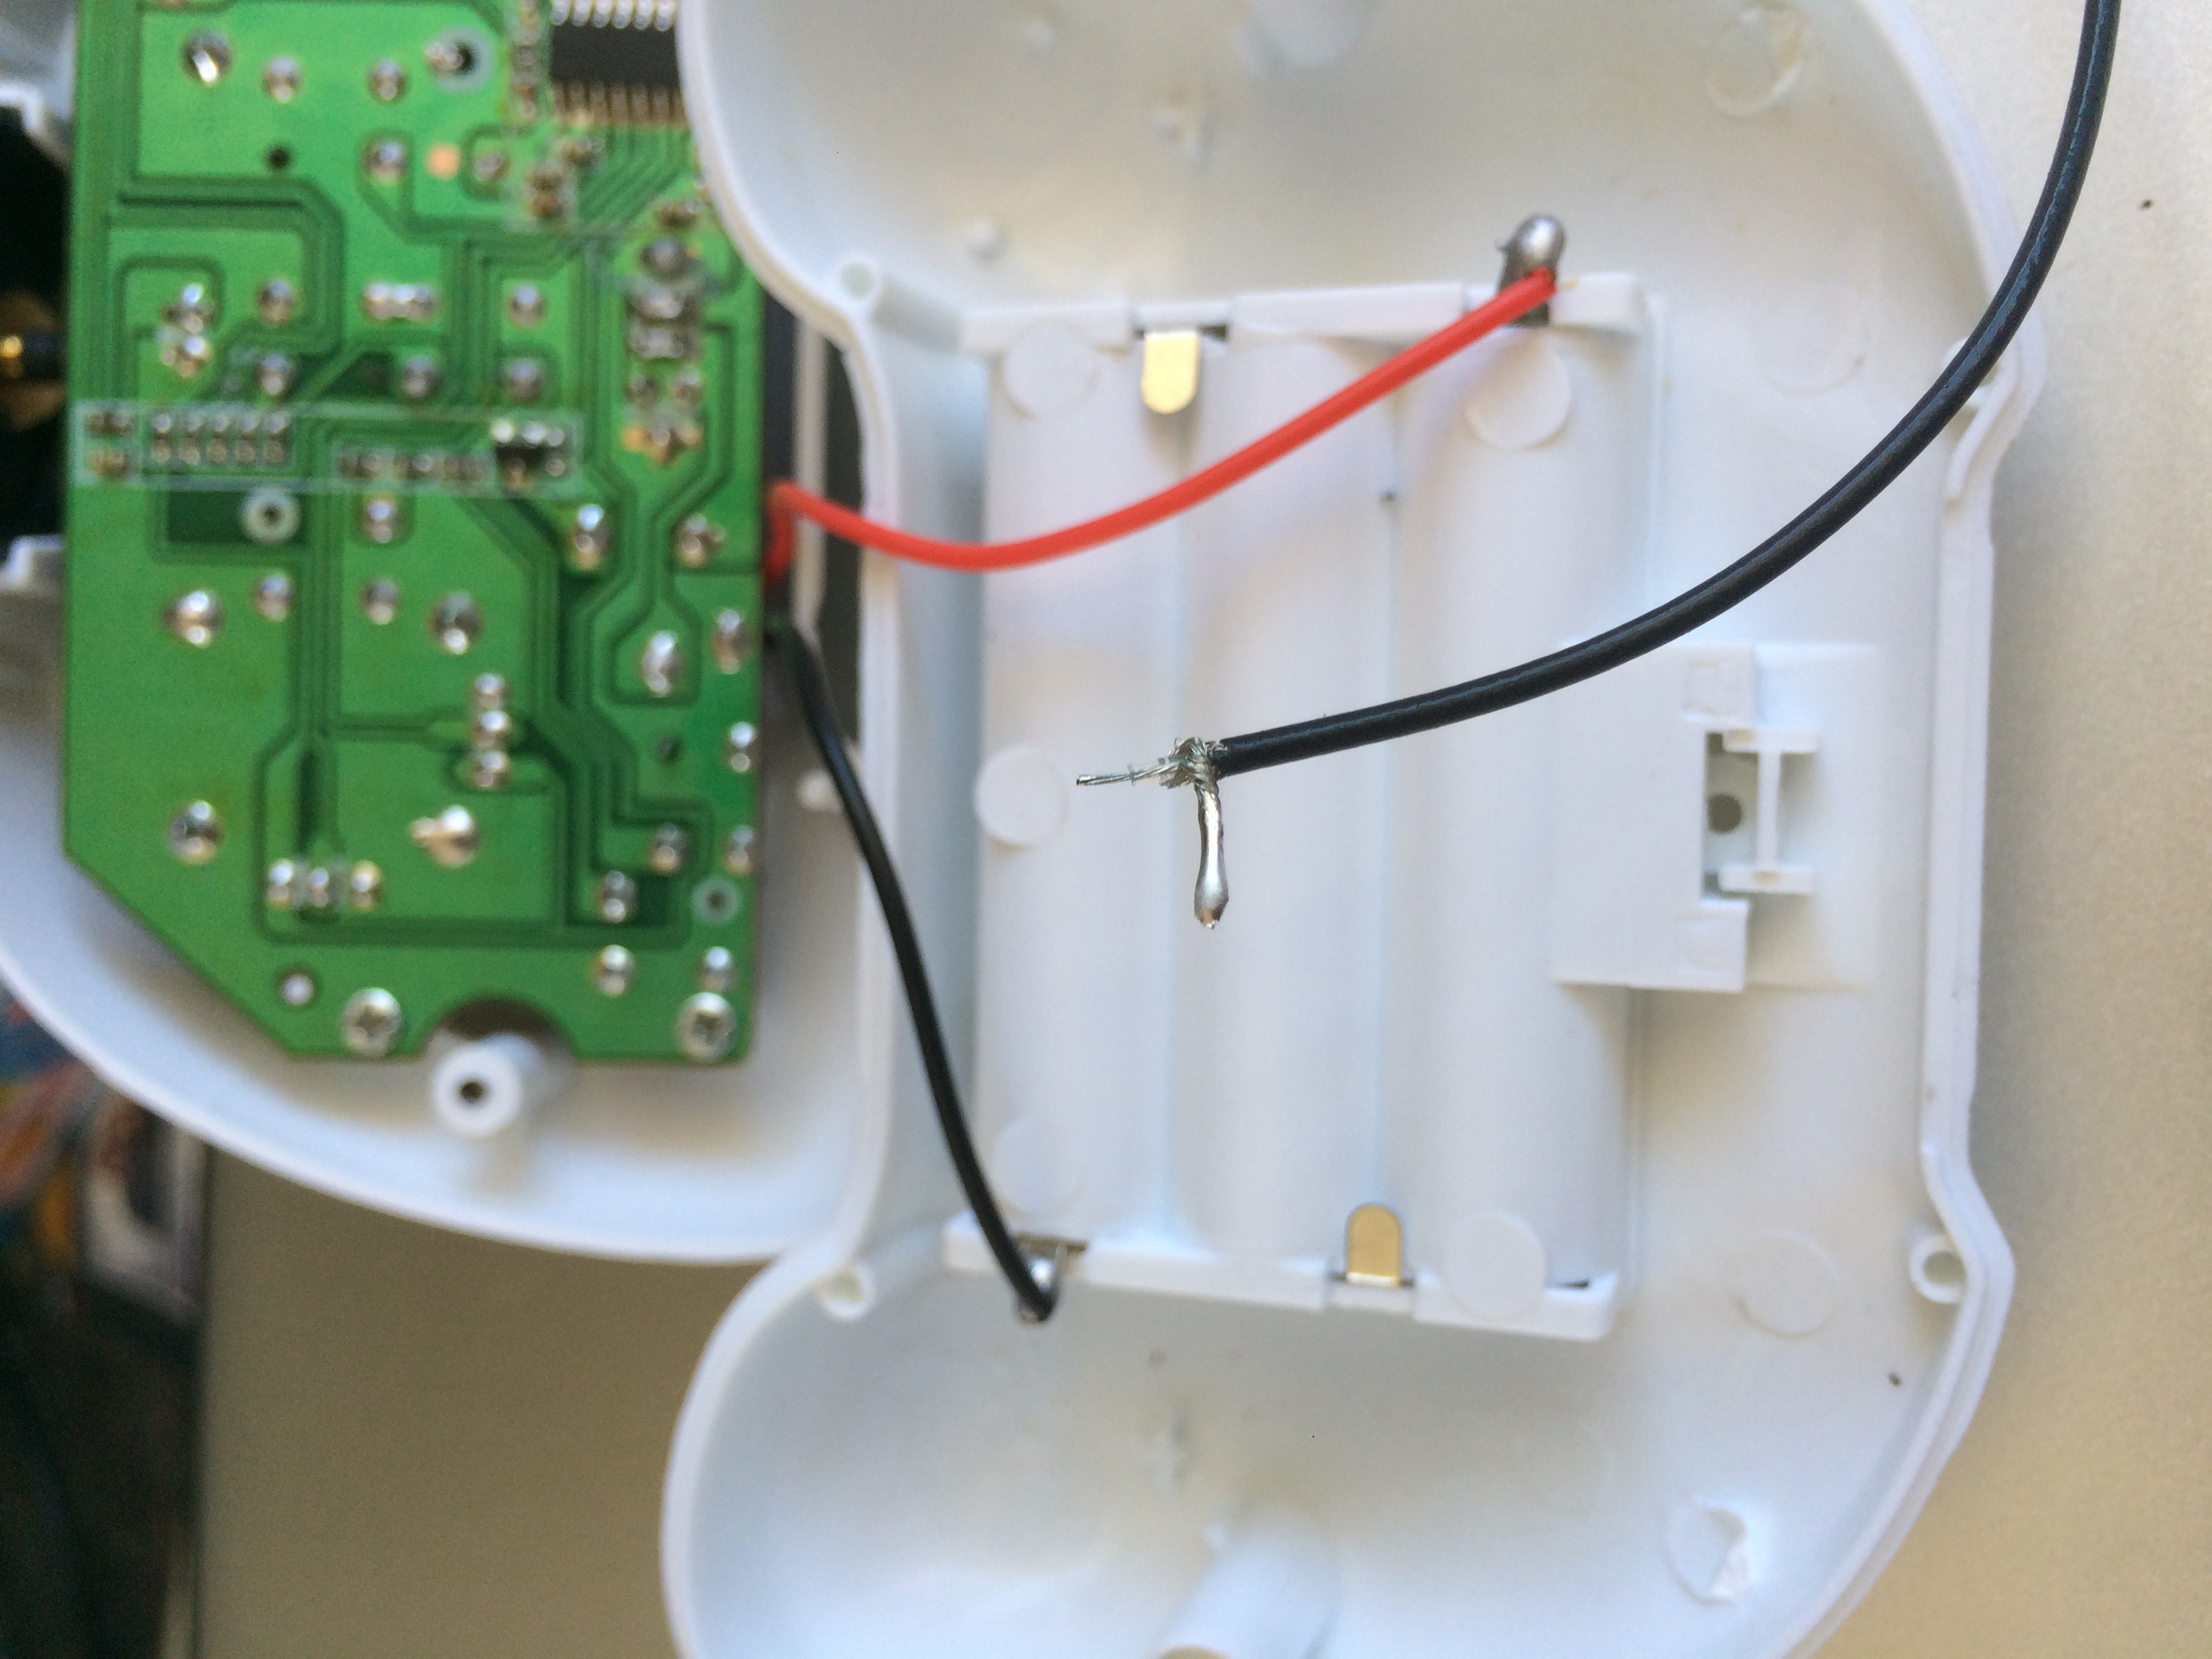
- Unsolder the old antenna wire
- Reinstall the board to the transmitter casing.
- Cut off the IPX/U.FL connector.
- Strip about 1cm of the black outer jacket to expose the shielding.
- Pull down the shielding and twist it to expose the clear inner jacket
- Strip about 0.5cm of the clear inner jacket to expose the antenna wire
- Tin the shielding and the antenna wire
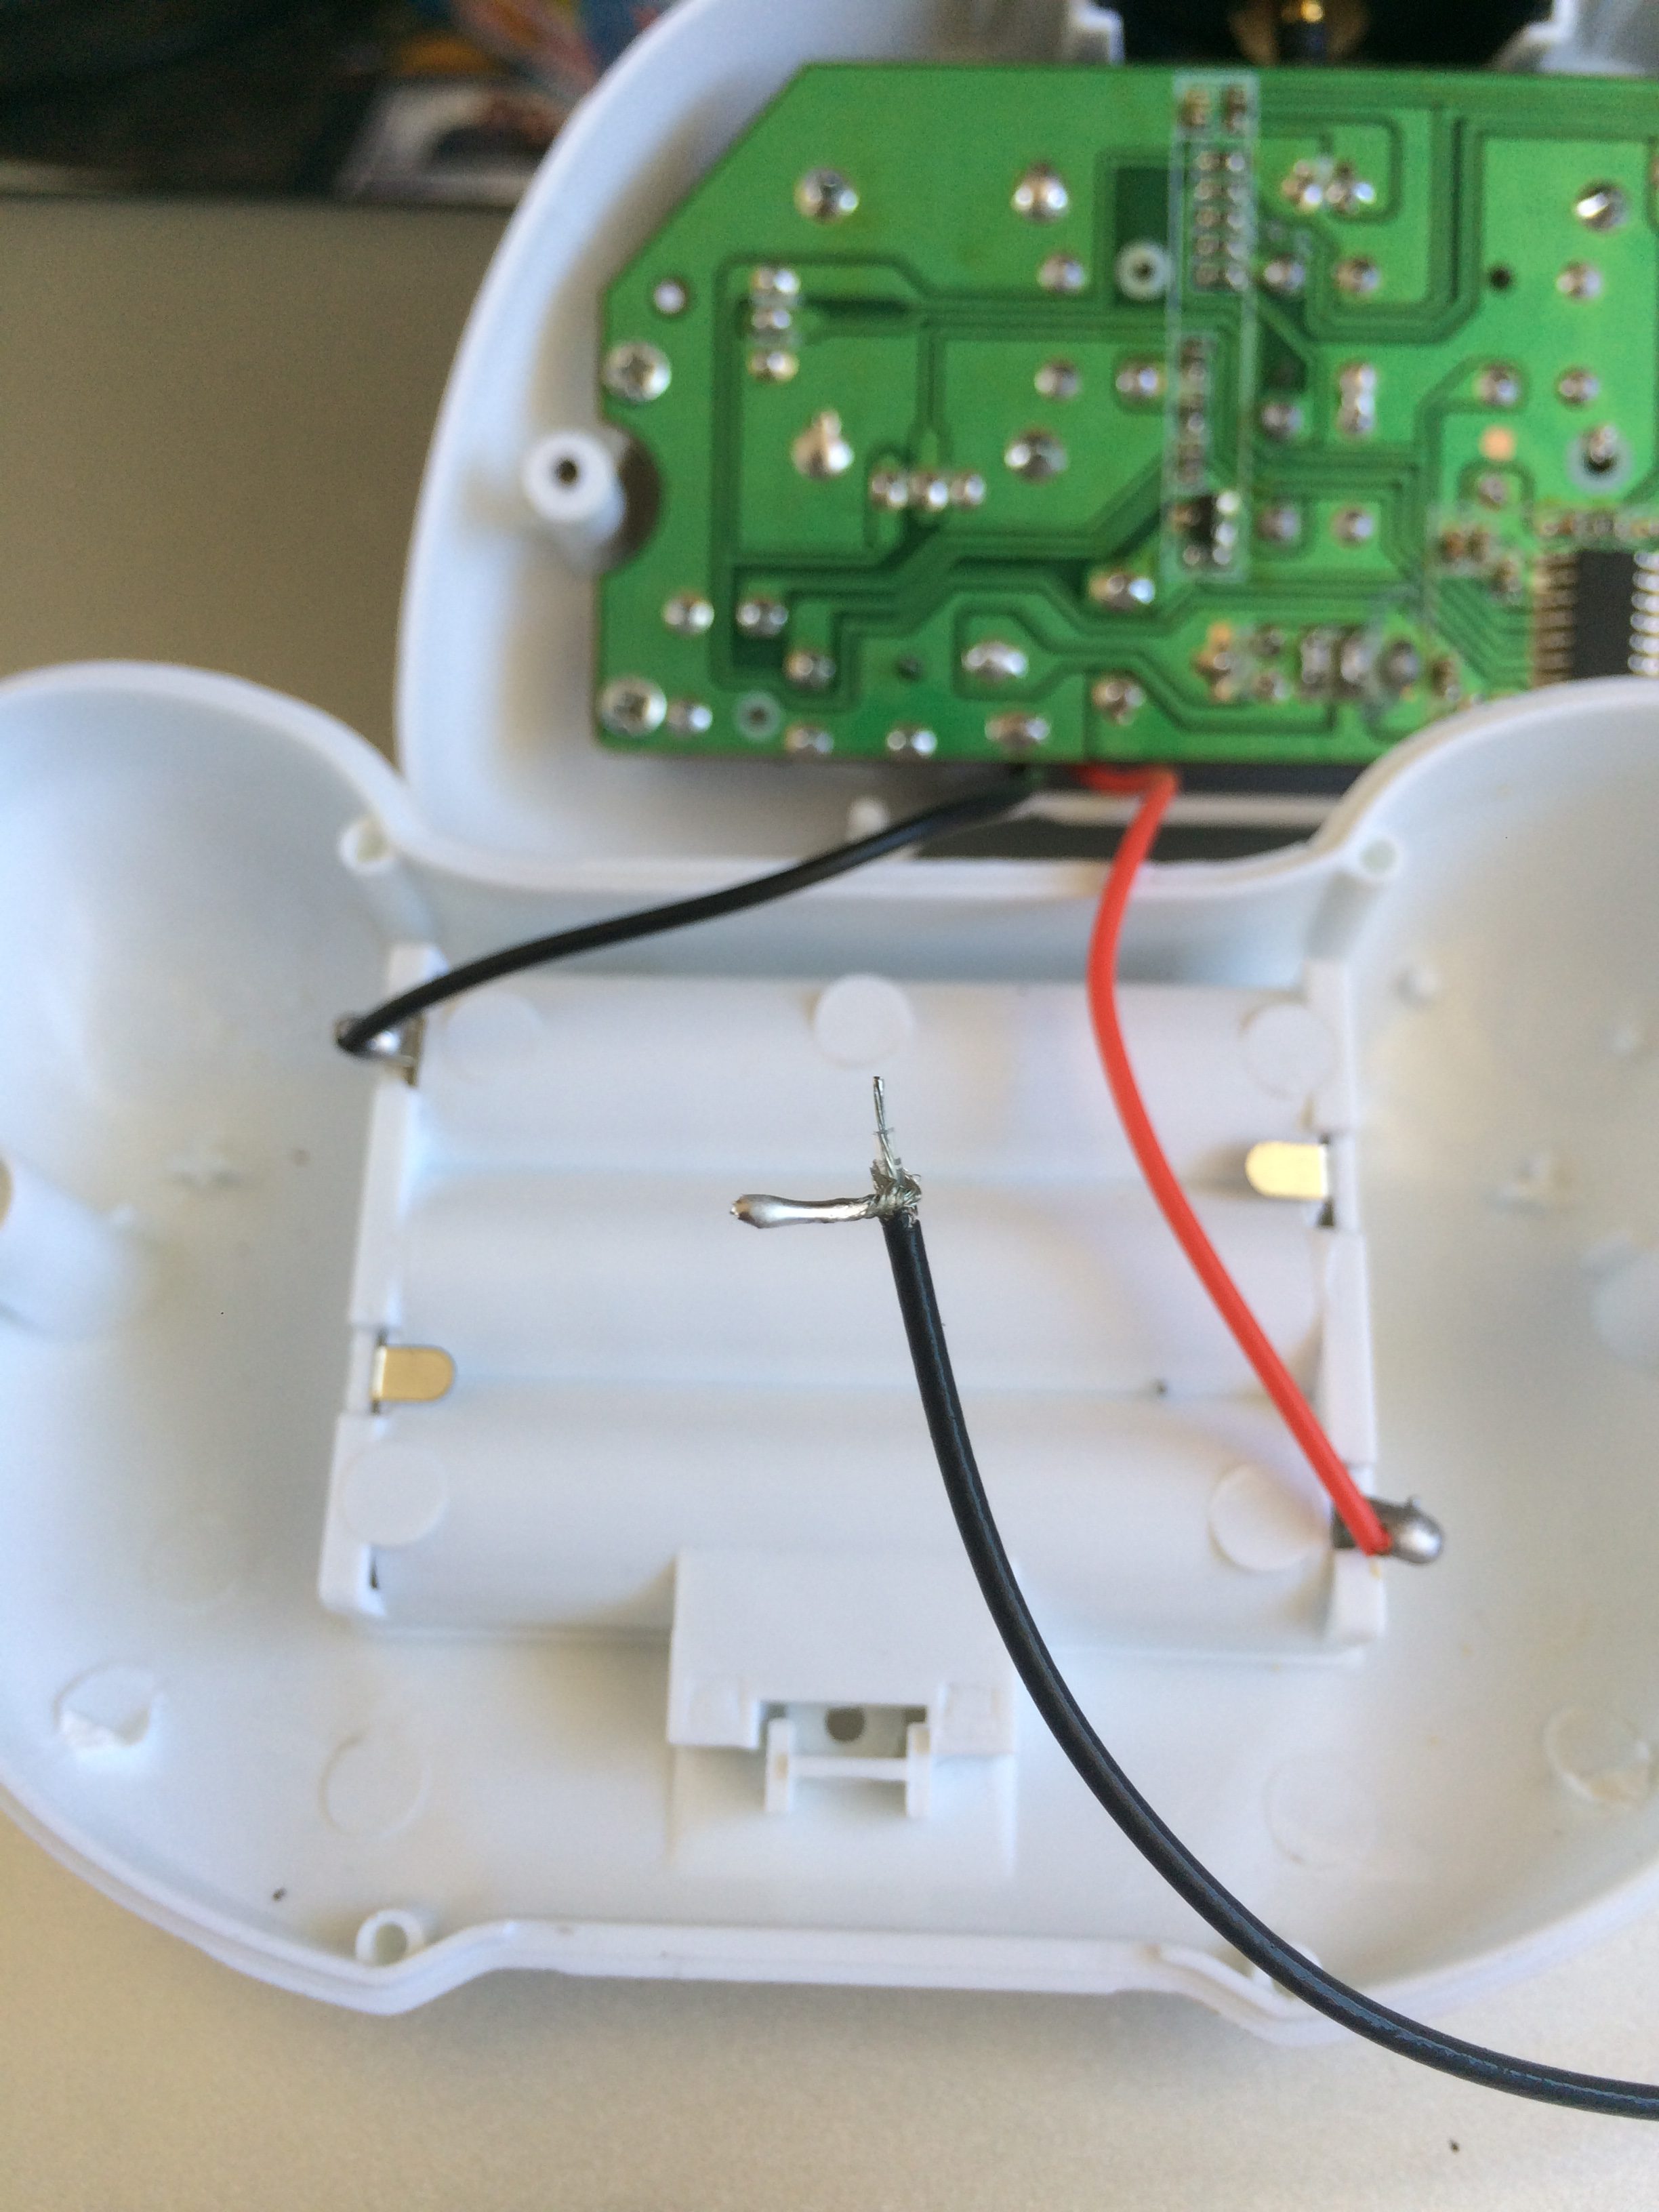
- Solder in the new antenna wire
- Solder in the shielding to GND pad

- Reinstall the bottom panel.