 A LED strip and a buzzer are useful in providing visual and audible cues to what’s happening with your quad and also help in locating it. We’ll add a LED strip and a buzzer to my brushless whoop build. I used a 2-in-1 LED and buzzer module for this modification.
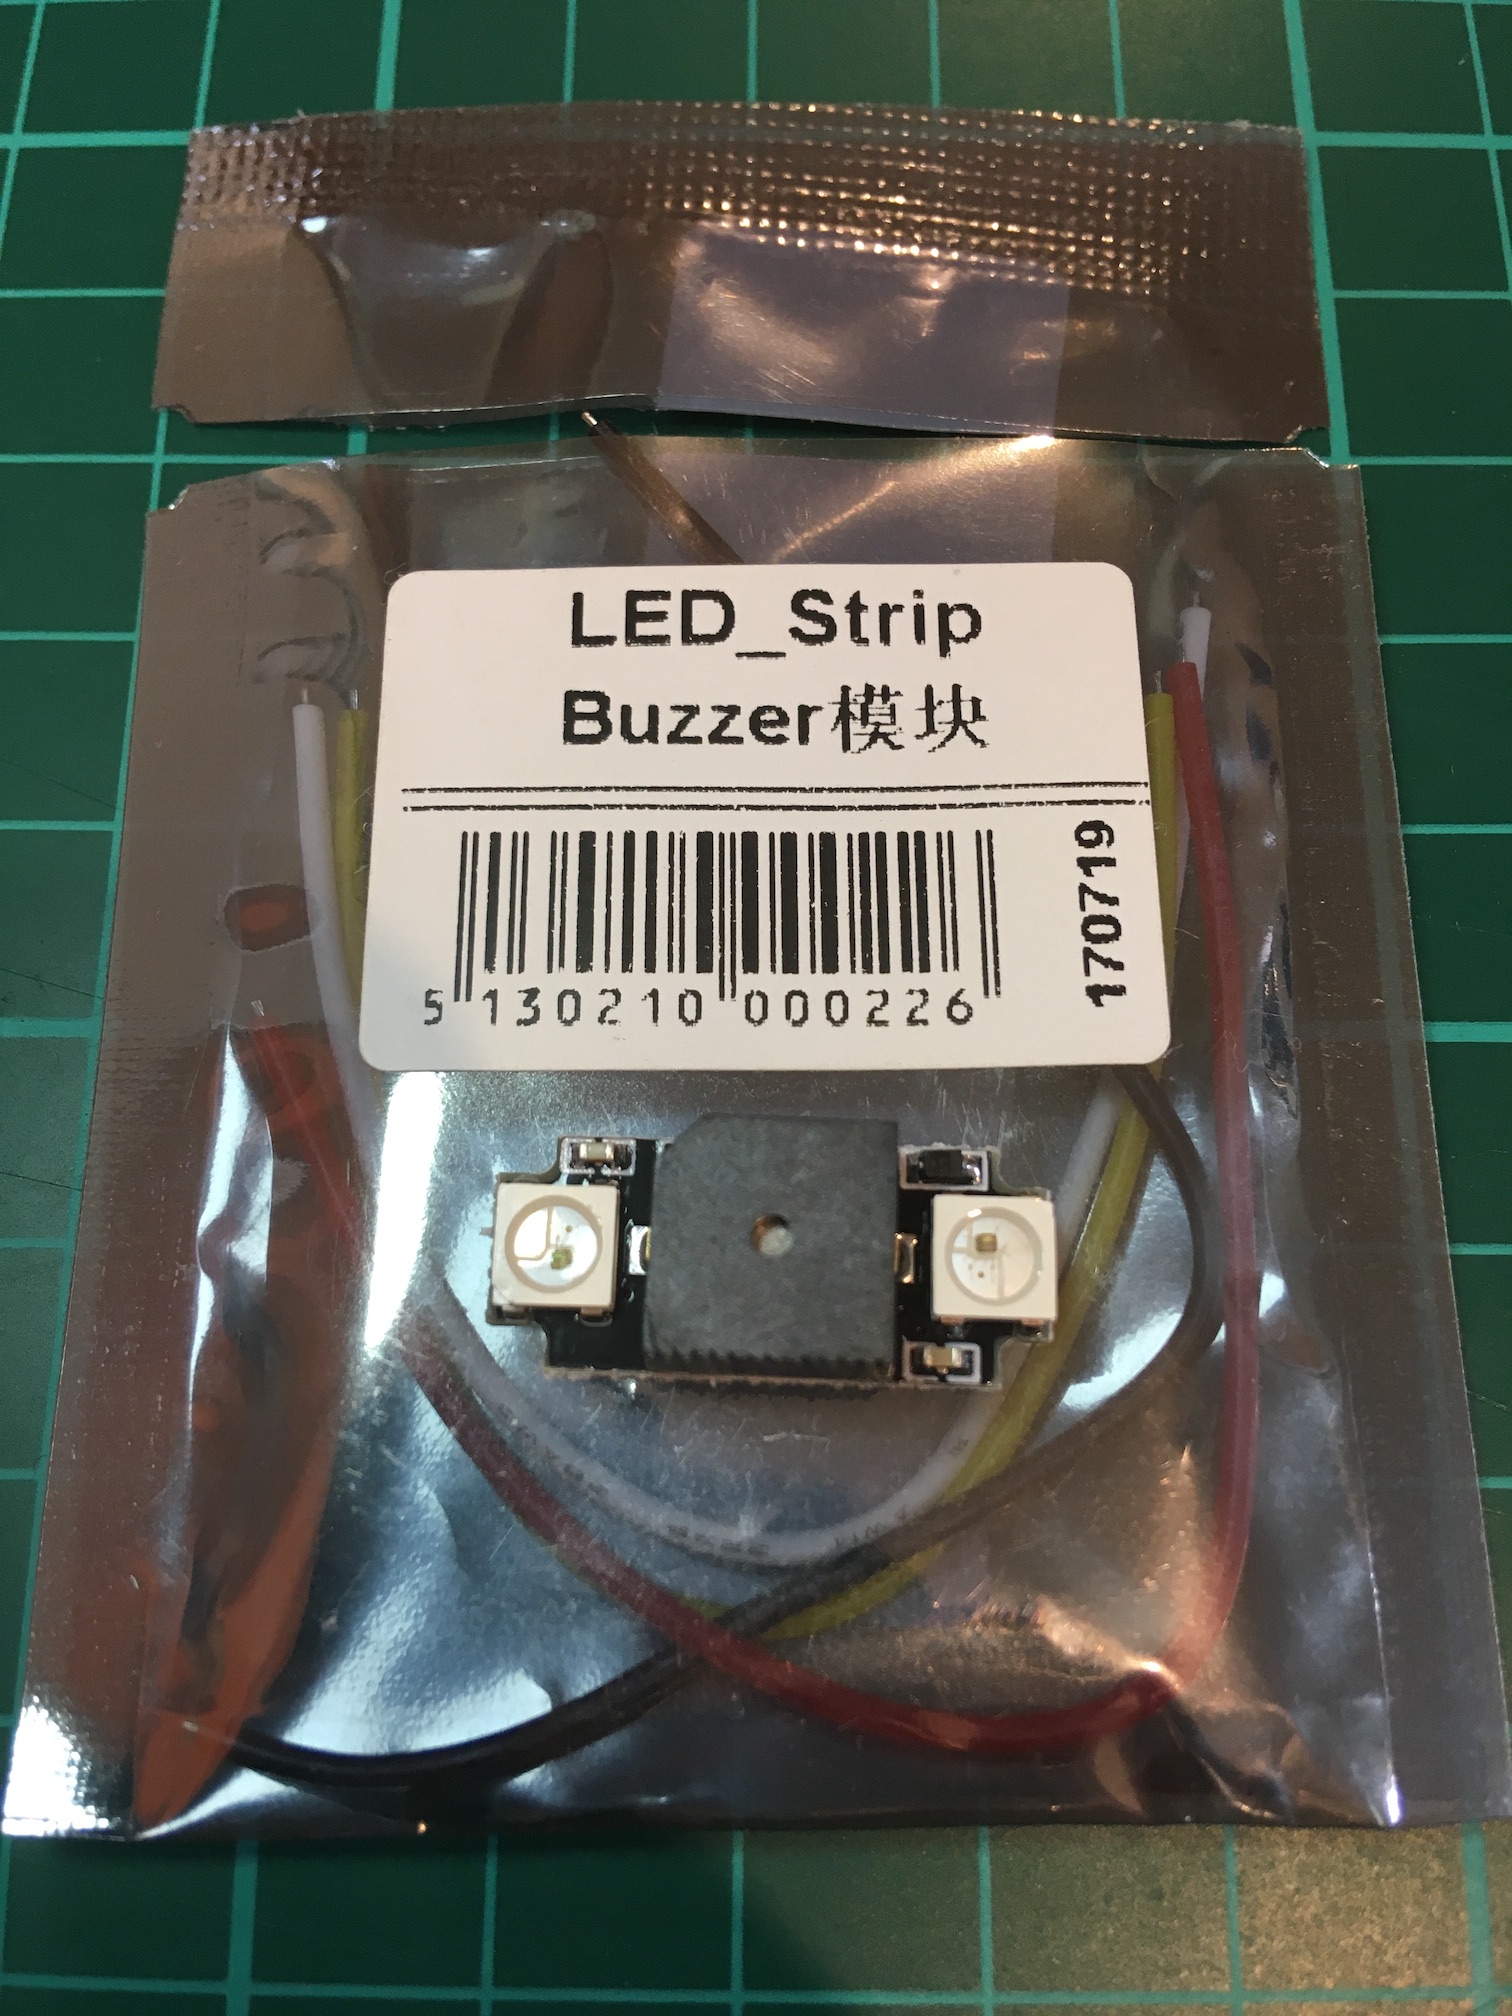
- Unpack the LED strip and buzzer module
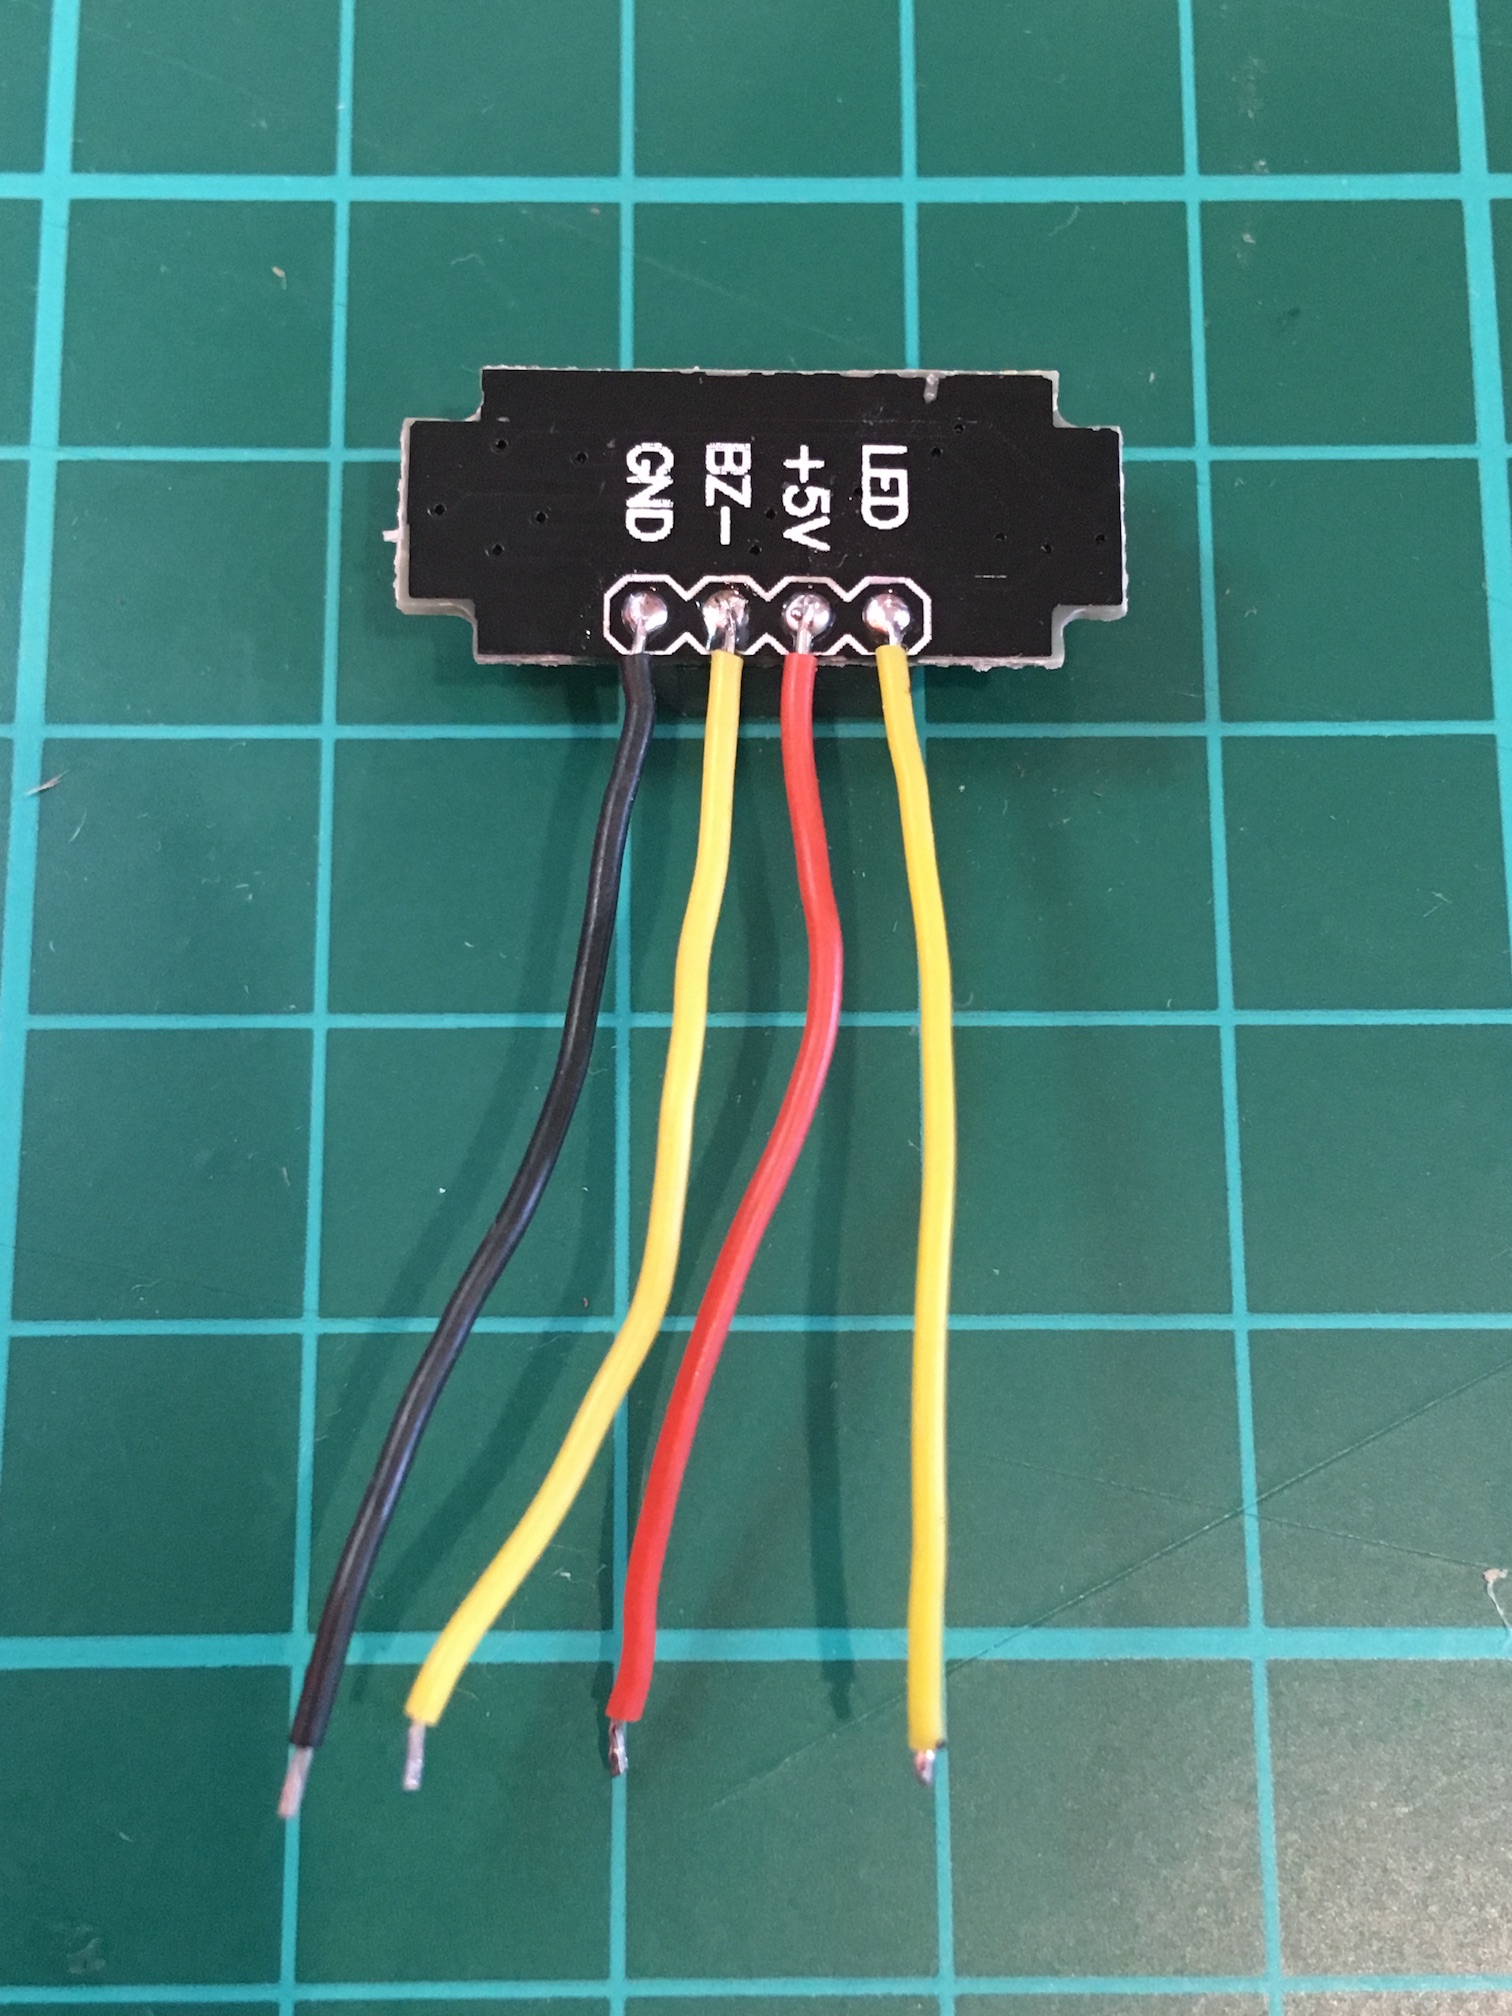
- Pre-tin pads and solder wires
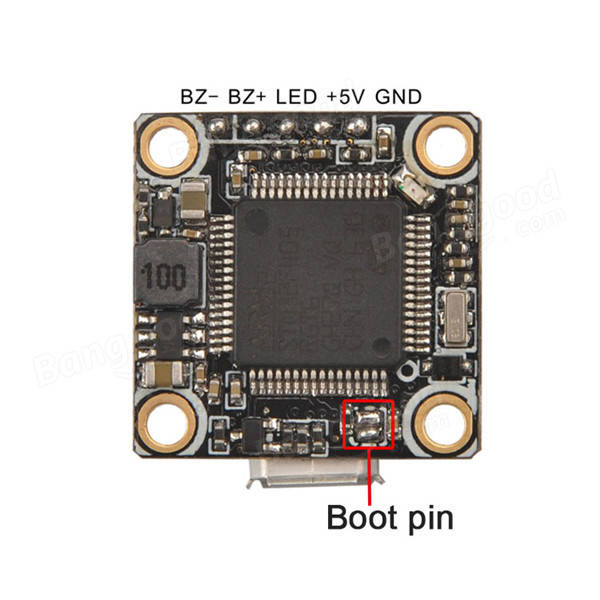
- Pre-tin pads on the FC and solder wires. On the Teeny1S and Super_S FCs, the pads are on the underside. You will need to unmount from your stack for existing builds.
- Install on the quad

- Fire up Betaflight and switch on LED_STRIP on Betaflight

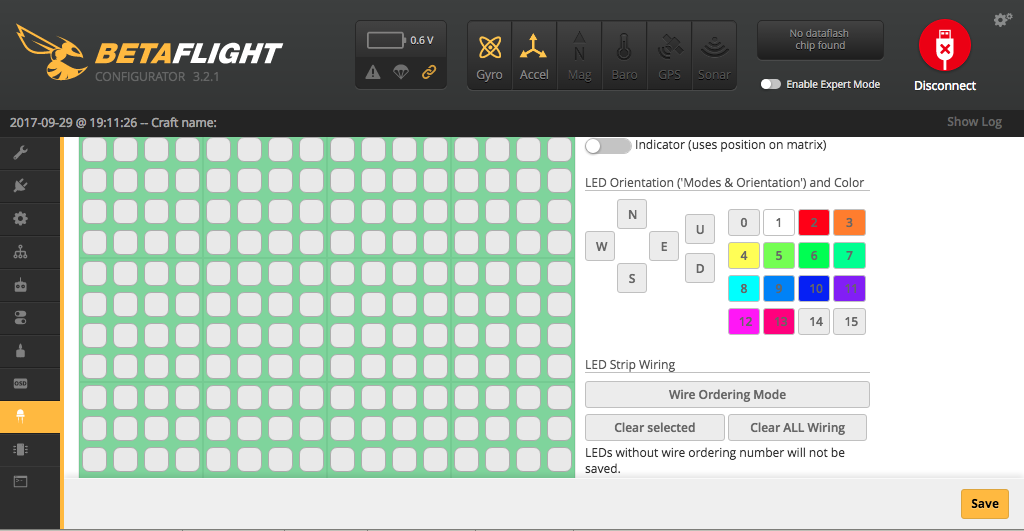
- Go to the LED tab
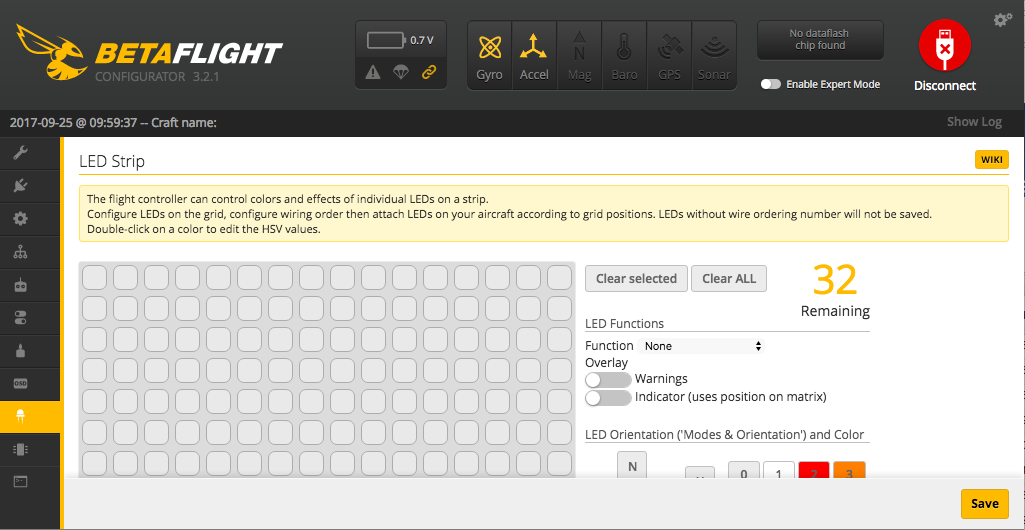
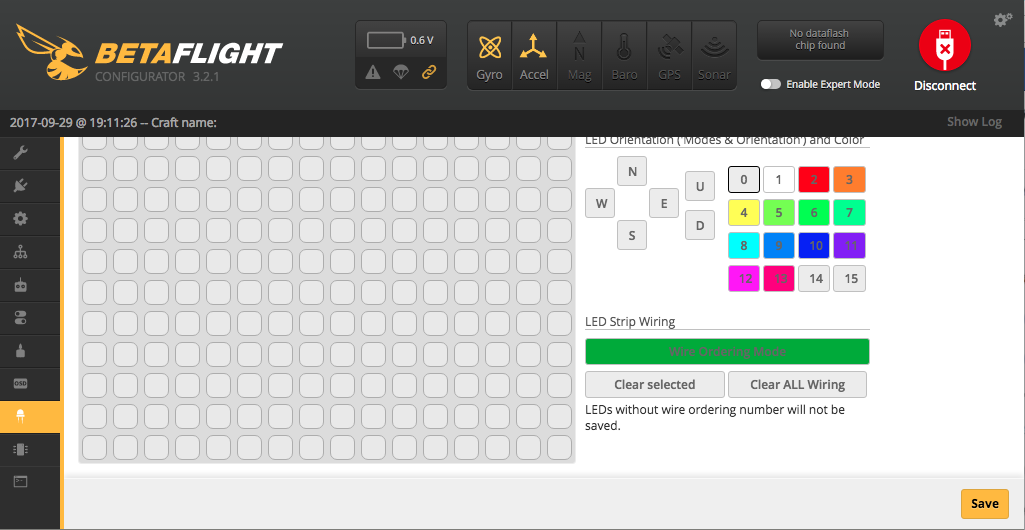
- Scroll down and switch on Wire Ordering Mode. This will allow you to visually map out the layout of your LEDs.
- Click the cells corresponding to the layout of your LEDs. Since there’s only 2 LEDs we’ll just click the first two cells.

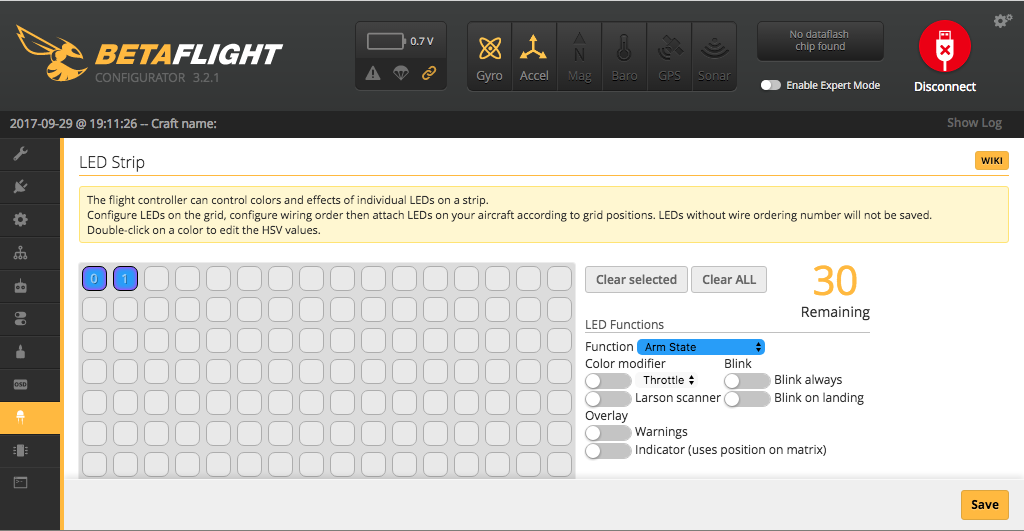
- Switch off Wire Ordering Mode
- Now we’ll set the LED function. In my, case I’ll use them to indicate arm state. Select the two cells and set Function to Arm State
- Change the colors for the Disarmed and Armed states (optional)
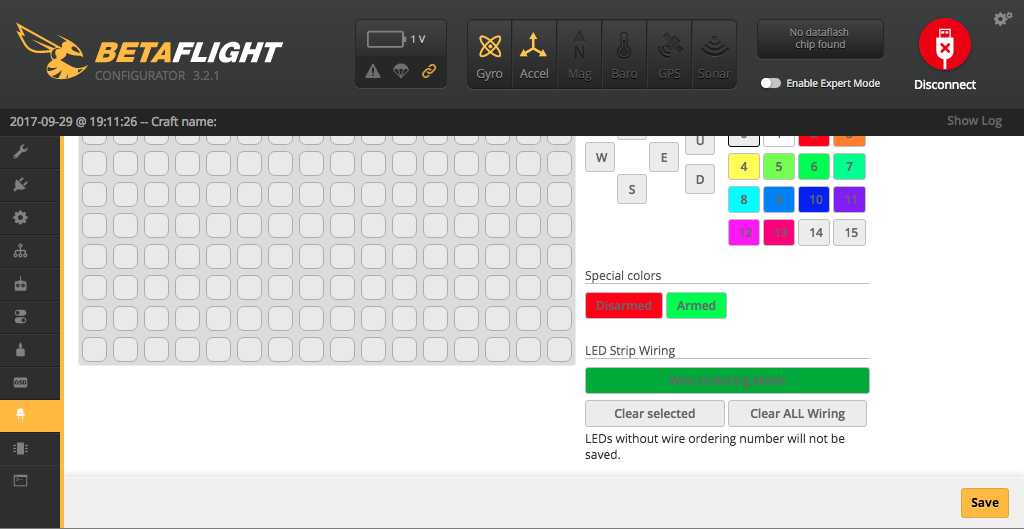
- Click Save
- You LEDs are configured and now indicate your arming state.