 Maybe you’ve seen some people, actual or in videos, flying or even racing these tiny little drones called whoops. It looked like fun and you want to get into it. So how do you get started? I will show you my approach to get into whooping that will ease you into the hobby and not break the bank.
Let’s start by first defining what exactly is a Tiny Whoop. Jesse Perkins, the man credited with starting it all, describes it perfectly:
“Tiny Whoop is a small first-person-view aircraft that truly allows you to feel the gift of flight and the feeling of being tiny. A small apartment becomes a vast terrain worthy of taming. The small tree in your front yard is a deep and engaging forest. With shrouded propellers we can now fly FPV around people and kids safely. It’s more fun than I’ve ever had.”
Strictly speaking a Tiny Whoop is a 65mm-sized quadcopter with ducts and a camera from the Tiny Whoop company. But the Tiny Whoop has become so successful that the term has become genericized. Today, a whoop is any nano or micro-sized quadcopter with ducts and a camera. And whooping is having fun flying around everyday places and people.
Step 1: LOS
So you want to whoop. I think, the easiest, least-expensive, and in my opinion, the best way to start is to get a toy quadcopter (quad) as the platform on which to build on.
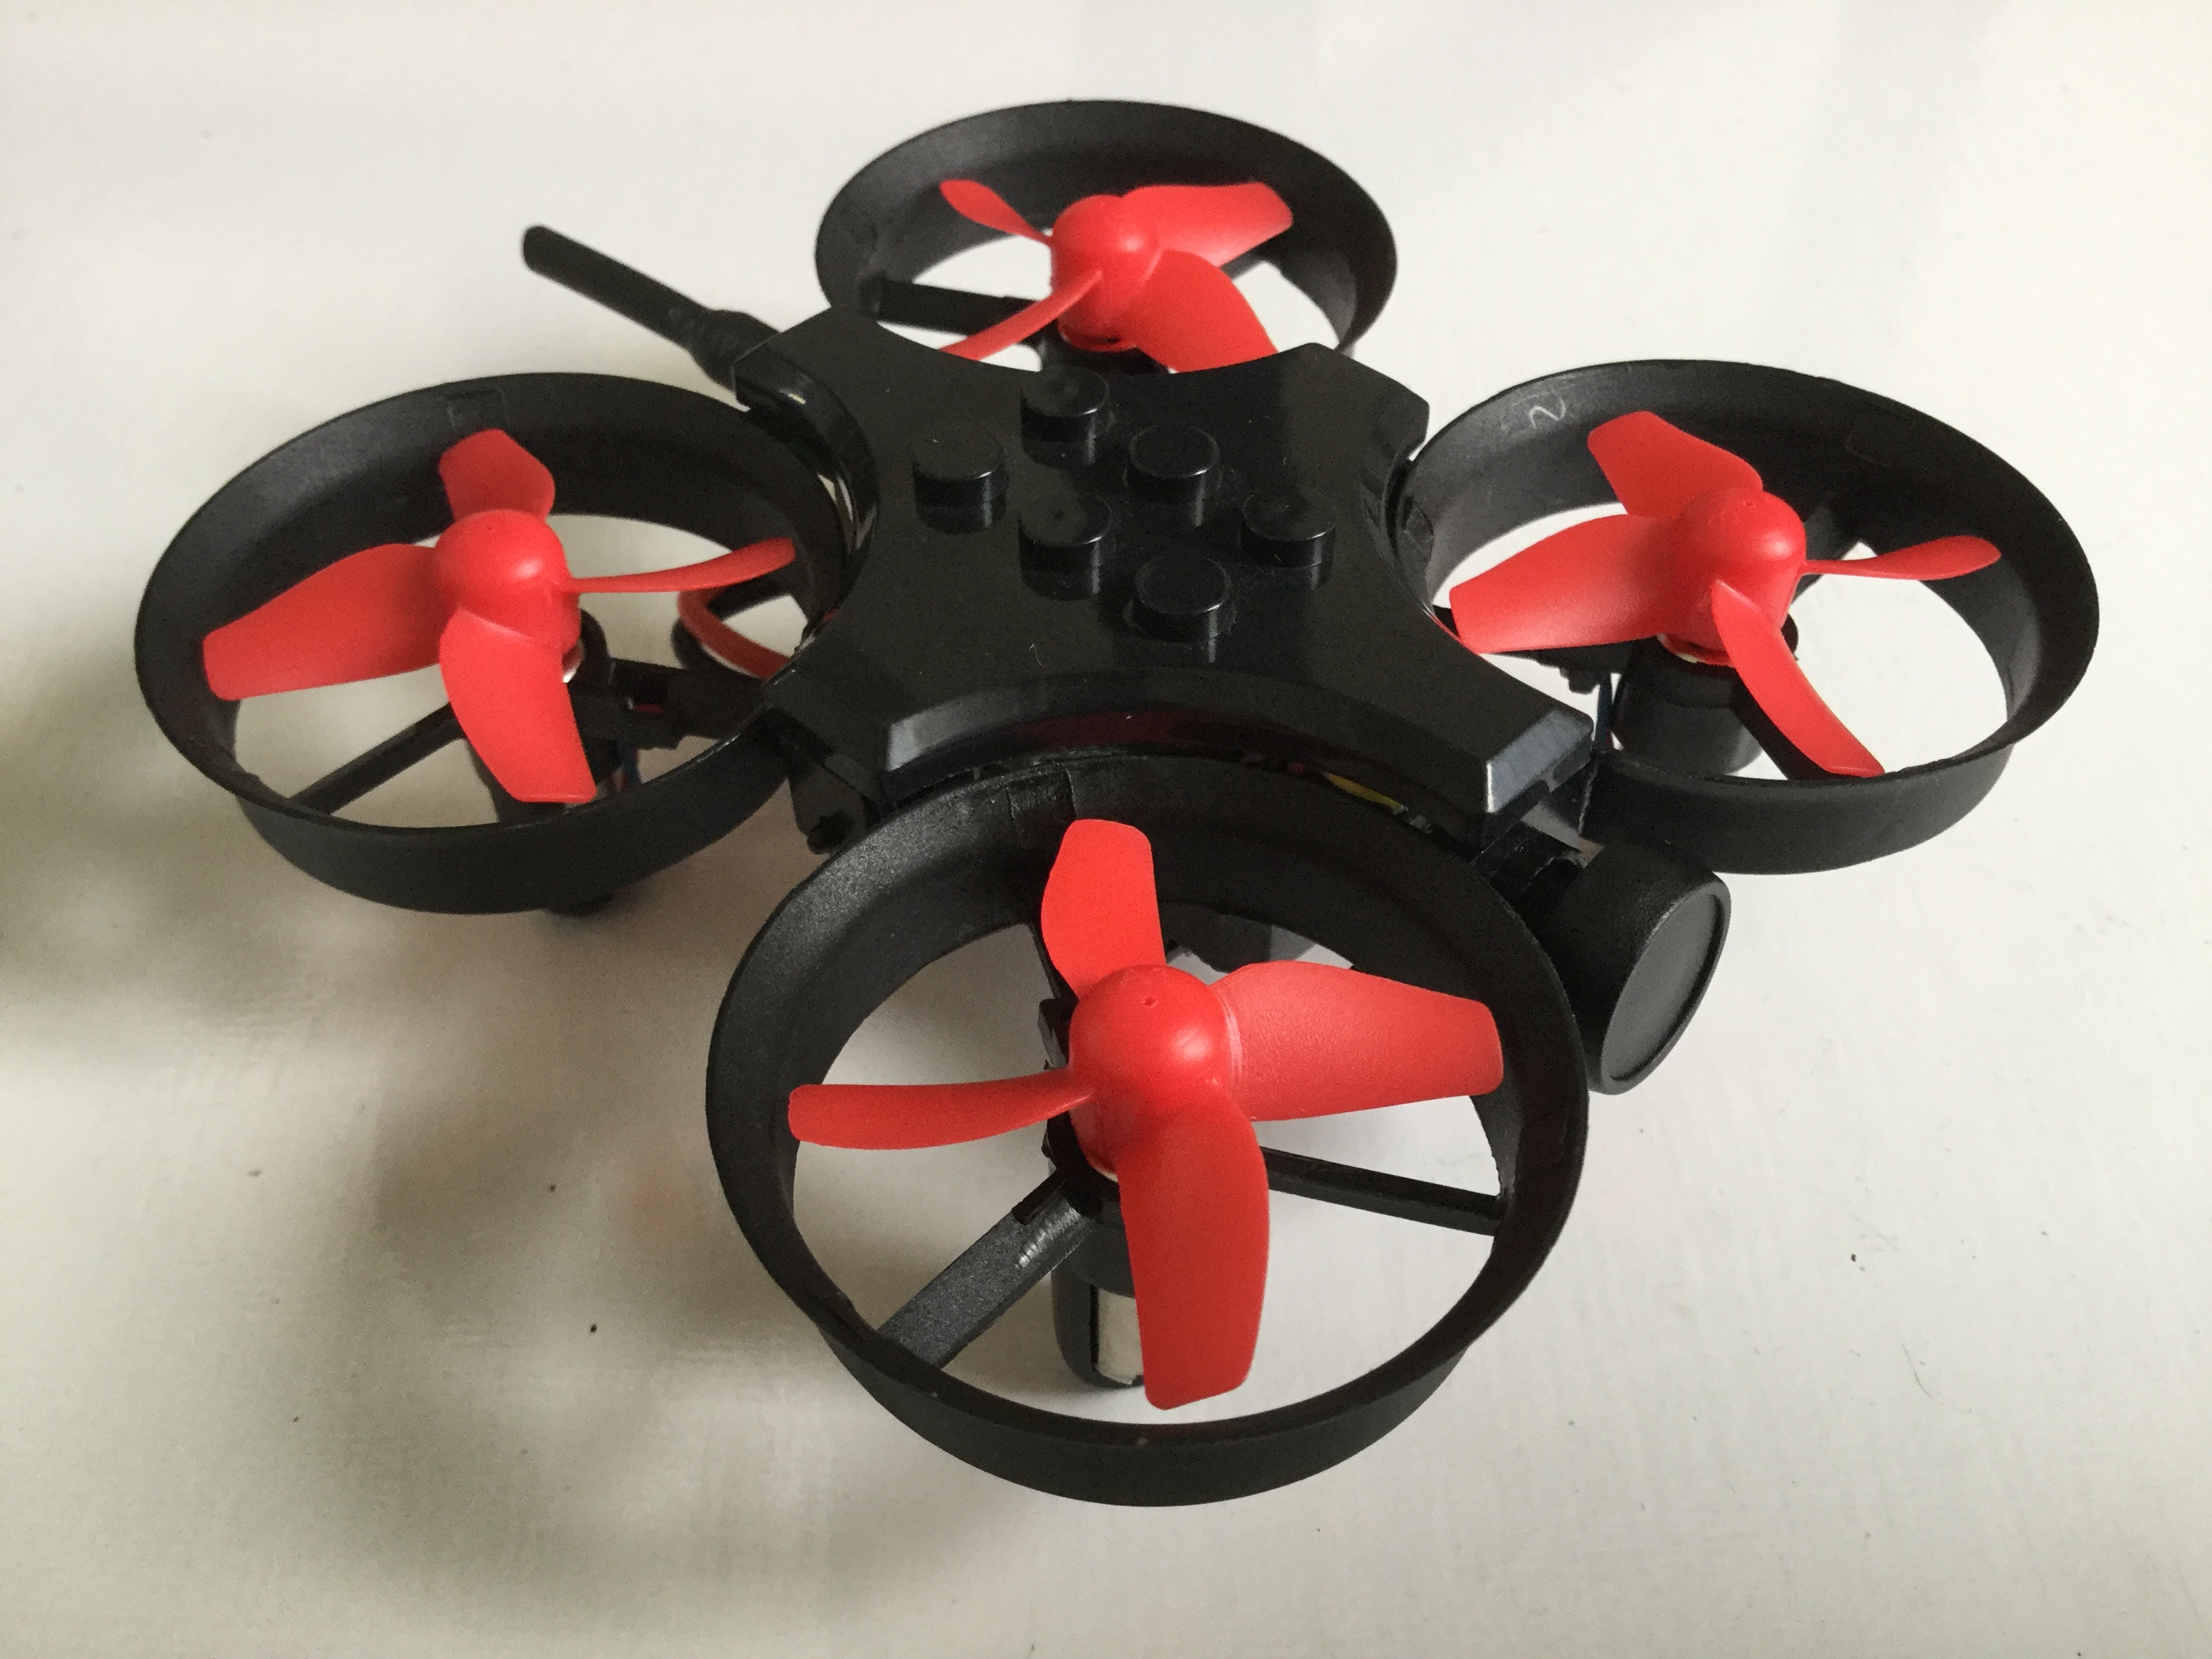
 The toy quadcopter I recommend is the Eachine E010 or E011 toy quad. It is inexpensive that you’re not out too much if you decide the hobby is not for you. Its motors are powerful enough that you don’t need to upgrade it immediately. It also comes in a complete ready-to-fly (RTF) package which includes the transmitter (TX), a charger, and a lithium-polymer (LiPo) battery.
Most importantly, by simply adding parts, these toy quads provides a continuous upgrade path for beginners all the way to advanced fliers. Get one, get lots of spare batteries, and fly as much as you can by line-of-sight (LOS). LOS simply means keeping your quad in sight while flying it.
Step 2: FPV
When you can fly well by LOS and you’ve decided to see what first person view (FPV) flying and whooping is all about, it is time to get your FPV gear.
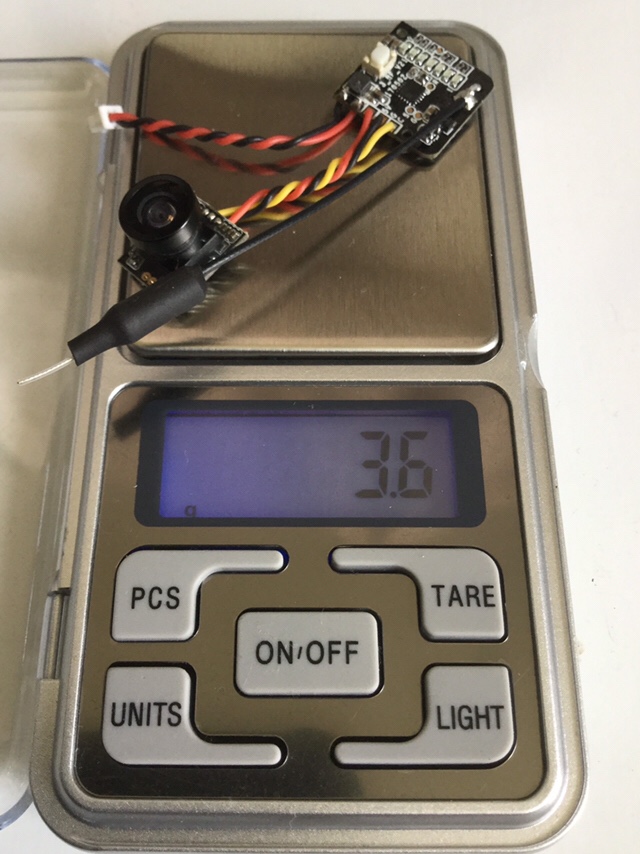
 You need an FPV camera. The FPV camera captures the view from the whoop as it flies around giving you the impression that you are there flying it, thus first person view. There are two general types: all-in-one (AIO) and split-type.
AIO means the camera and the VTX (video transmitter) are in one unit. This results in a slightly lighter weight but is less flexible in terms of mounting. It is usually just mounted on top of the whoop.
For an AIO camera, I recommend the Turbowing Cyclops. The Cyclops is similar in form and function to the popular CM275T camera but dispenses of the button for flipping the picture.

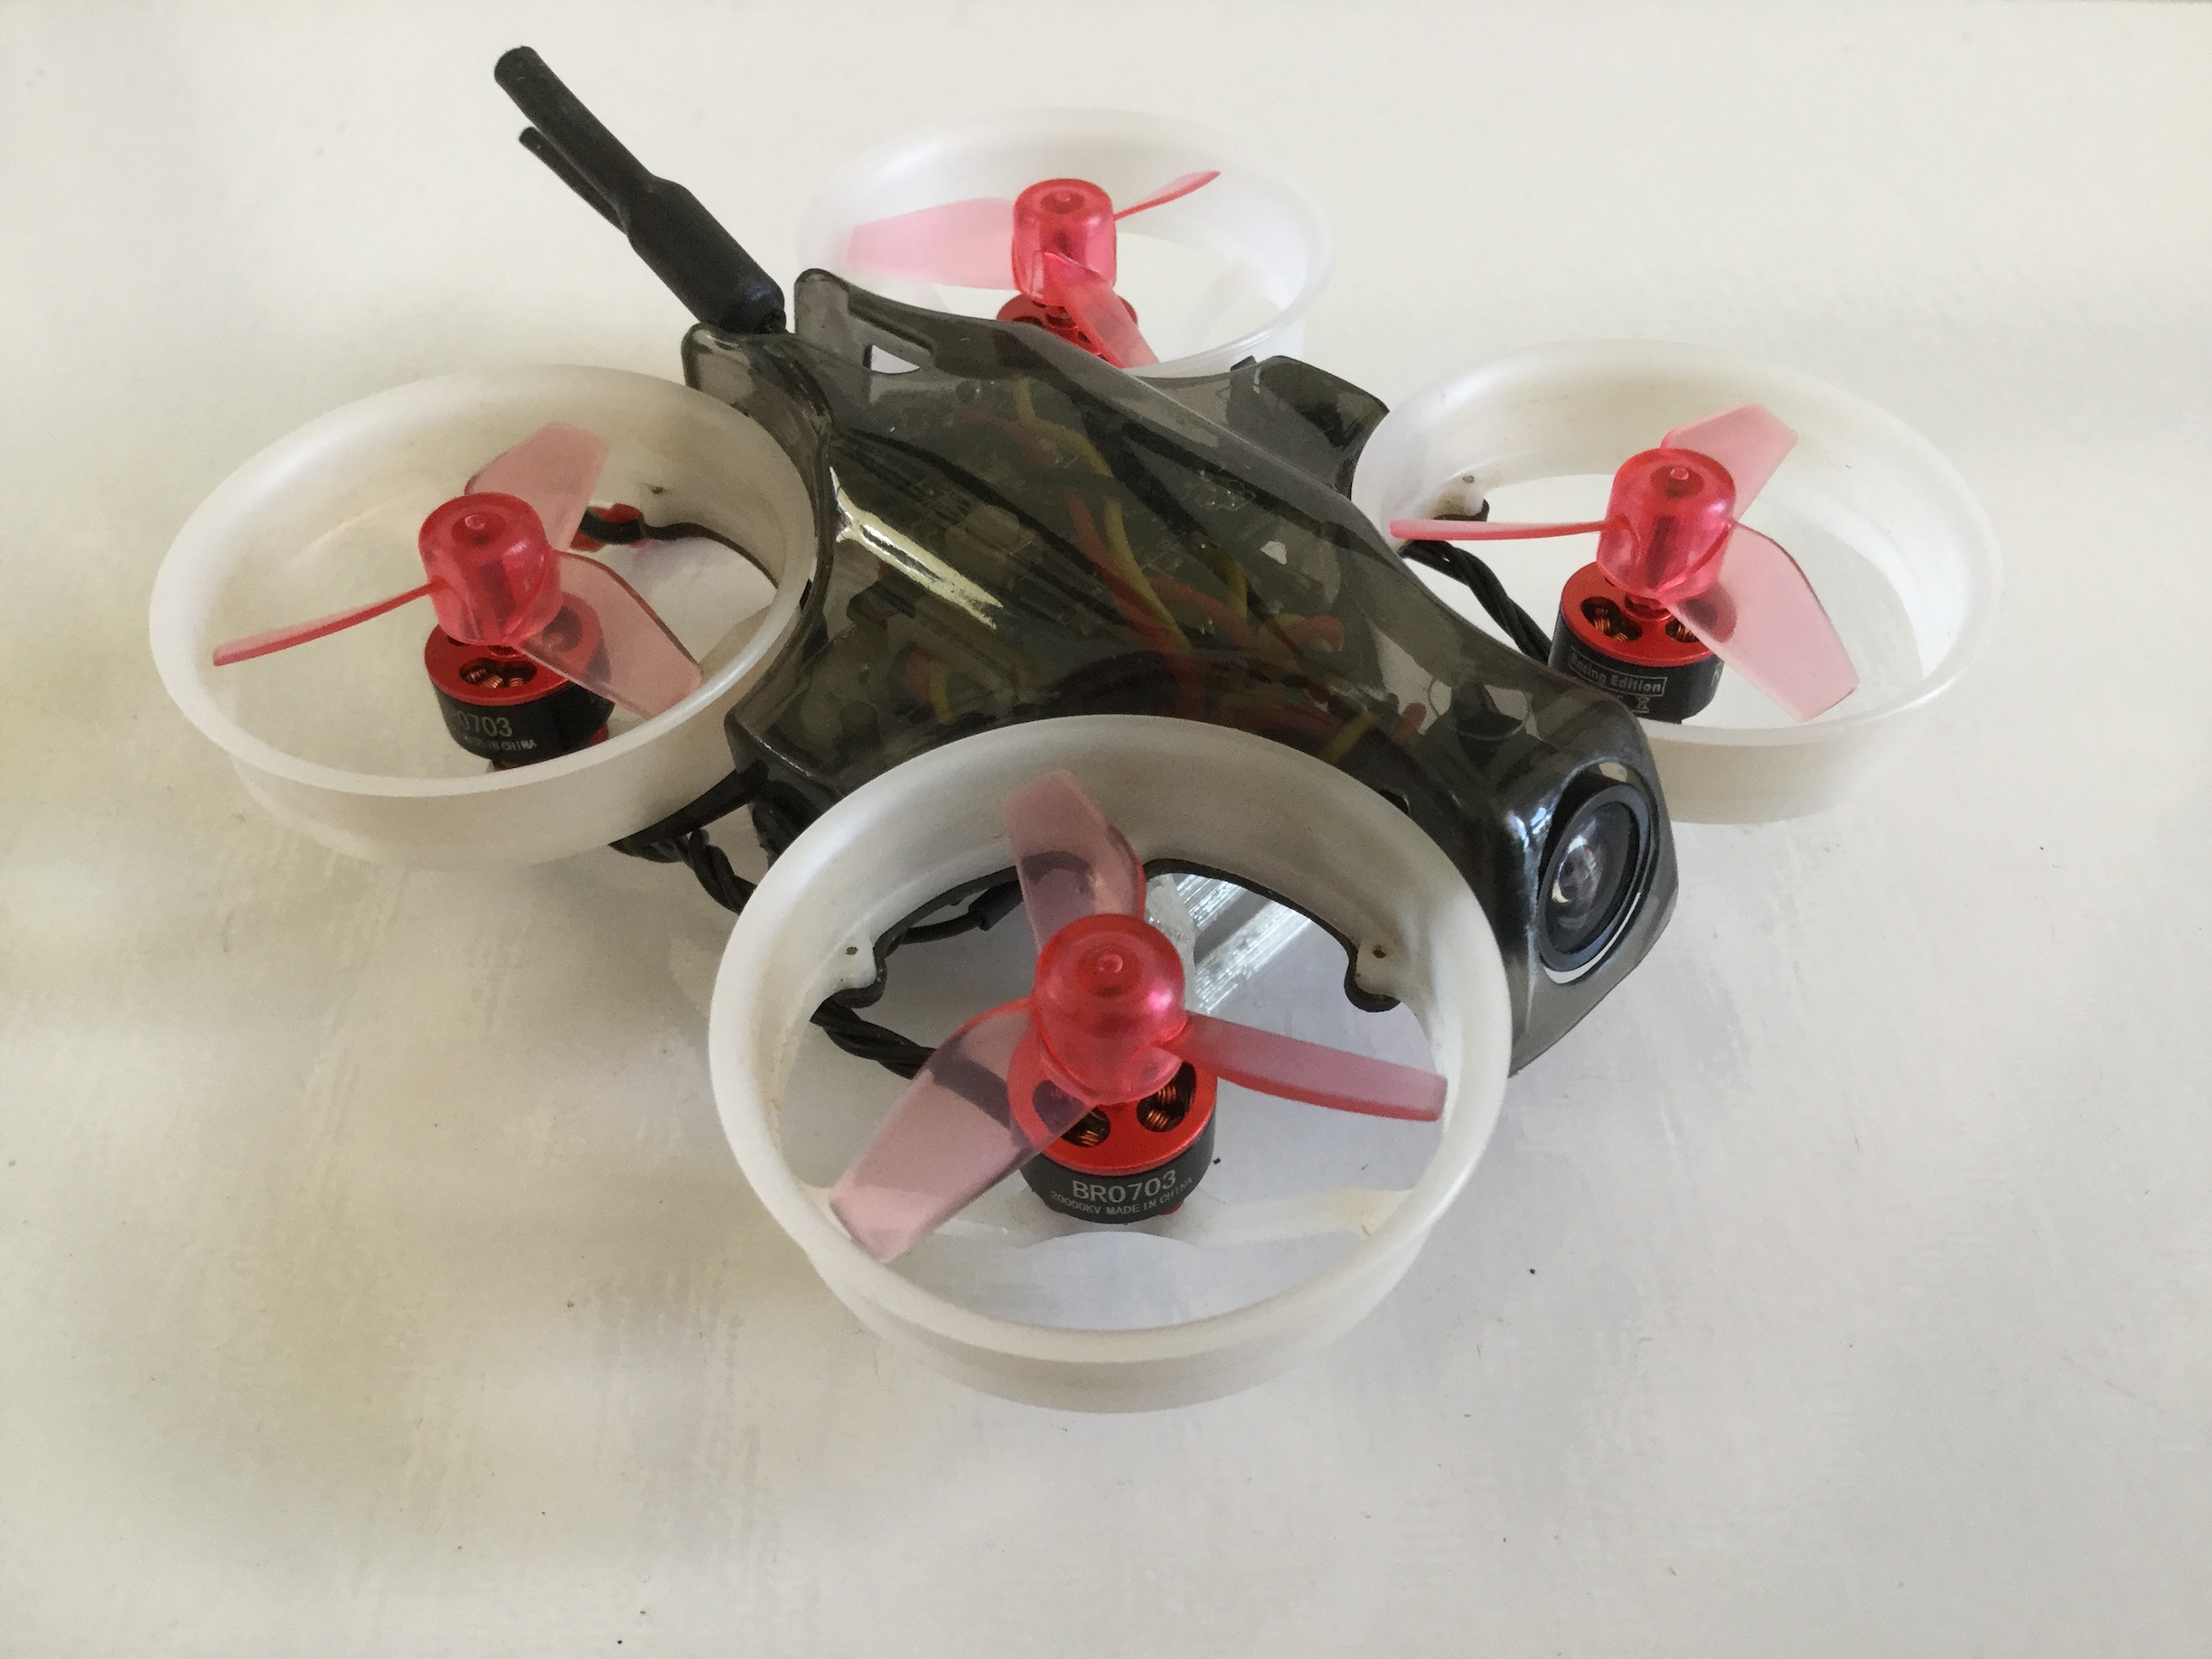
Split-type means the camera and the VTX are separate. This allows for more flexibility in positioning. Personally, I like split-type better since it allows for a low profile build which minimizes possible damage to the camera. For split-type, I recommend the Cyclops 2. For even better picture, you can use the Cyclops 2 VTX paired with the Kingkong 800TVL camera.
You also need a video receiver. The least expensive way is to get an OTG receiver which connects to your OTG and UVC-compatible Android phone/tablet and use it as a monitor. You can even put it inside on of those VR headsets and you have a good pair of inexpensive FPV goggles.
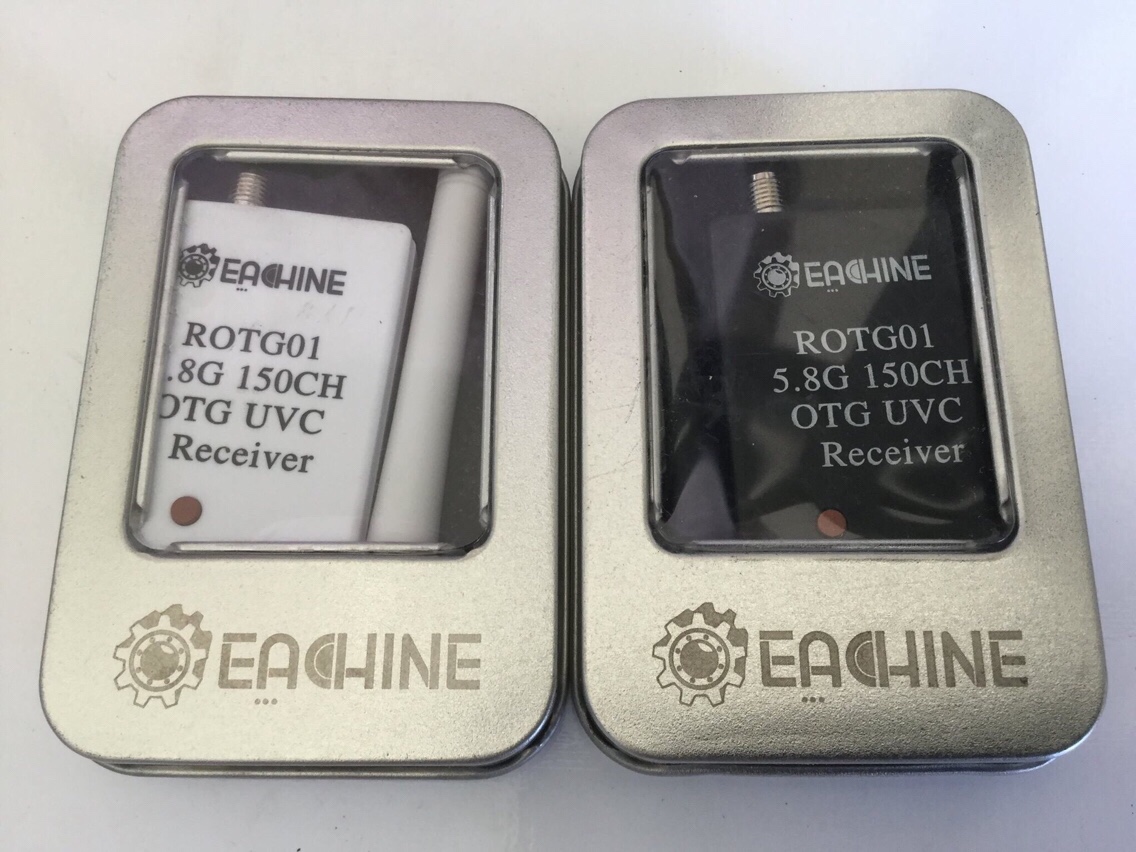
[Get the Eachine ROTG02 OTG Receiver]
The primary concern with OTG receivers is the latency. I used to do all my FPV flying using OTG receiver and, honestly, I didn’t have problems. The latency difference between OTG receivers and FPV goggles only becomes an issue at high speeds and acrobatic maneuvers. Otherwise, it’s probably not a problem for most fliers.
However, if you have the budget, my recommendation would be to get FPV goggles. If you find that the hobby is for you, you’re getting one eventually. If not, you can always sell it.
There are two general types of goggles, box-type and binocular-type. Box-type goggles are so called because it looks like a box inside which there is a monitor. Some are even big enough that it allows you to wear your glasses. Needless to say, they’re quite bulky. For a little bit more over the cost of an OTG receiver, you can get the VR006, a very good but inexpensive box-type set.
Binocular-type goggles provide two smaller monitors, one for each eye. Hence binocular. They are more compact than box-type goggles. However, you can’t use glasses with them and you have to rely on corrective inserts call diopters. If you are willing to spend more, you can get the Eachine EV100, a very good entry-level binocular-type set.
Due to the very unique nature of our eyes, make sure to try each type of goggles and even different models of each type before committing your money to a set of goggles.
Step 3: Acro
When you can fly well in FPV with angle mode, it is time to go full acro. Acro is an abbreviation of acrobatic. This means your whoop is not limited to a specific angle but can go beyond and to 360 degrees. Flips, rolls, and spins are all in your hands. Just try not to crash.
Used to be that if you have a JJRC H67, and Eachine E011C or an older Eachine E011, you can flash it with Silverware. Silverware is an open-source flight controller firmware developed by GitHub user silver13 for the H8 mini, BWhoop B03, and Eachine E011/E011C FCs. It was forked and further refined by GitHub user NotFastEnuf. It gives you acro mode, is optimized for the STM32F0 processor and is very well-tuned for brushed motors (especially the NotFastEnuf fork). More information here.
Unfortunately, the E010 cannot be flashed with Silverware. Also, newer E011 FCs can no longer be flashed with Silverware. Besides, the JJRC H67, the E011C, or older E011 are no longer easily-available.
At this time, it’s better to just leave your old toy whoop behind and get a complete acro-capable 65mm brushed whoop like the X36s.
Finally, if you have basic electronics and soldering skills, you can also do a custom or do-it-yourself (DIY) build by selecting and putting together parts by yourself. This means that you can have the whoop with the look you want. As well as the performance you want… hopefully.
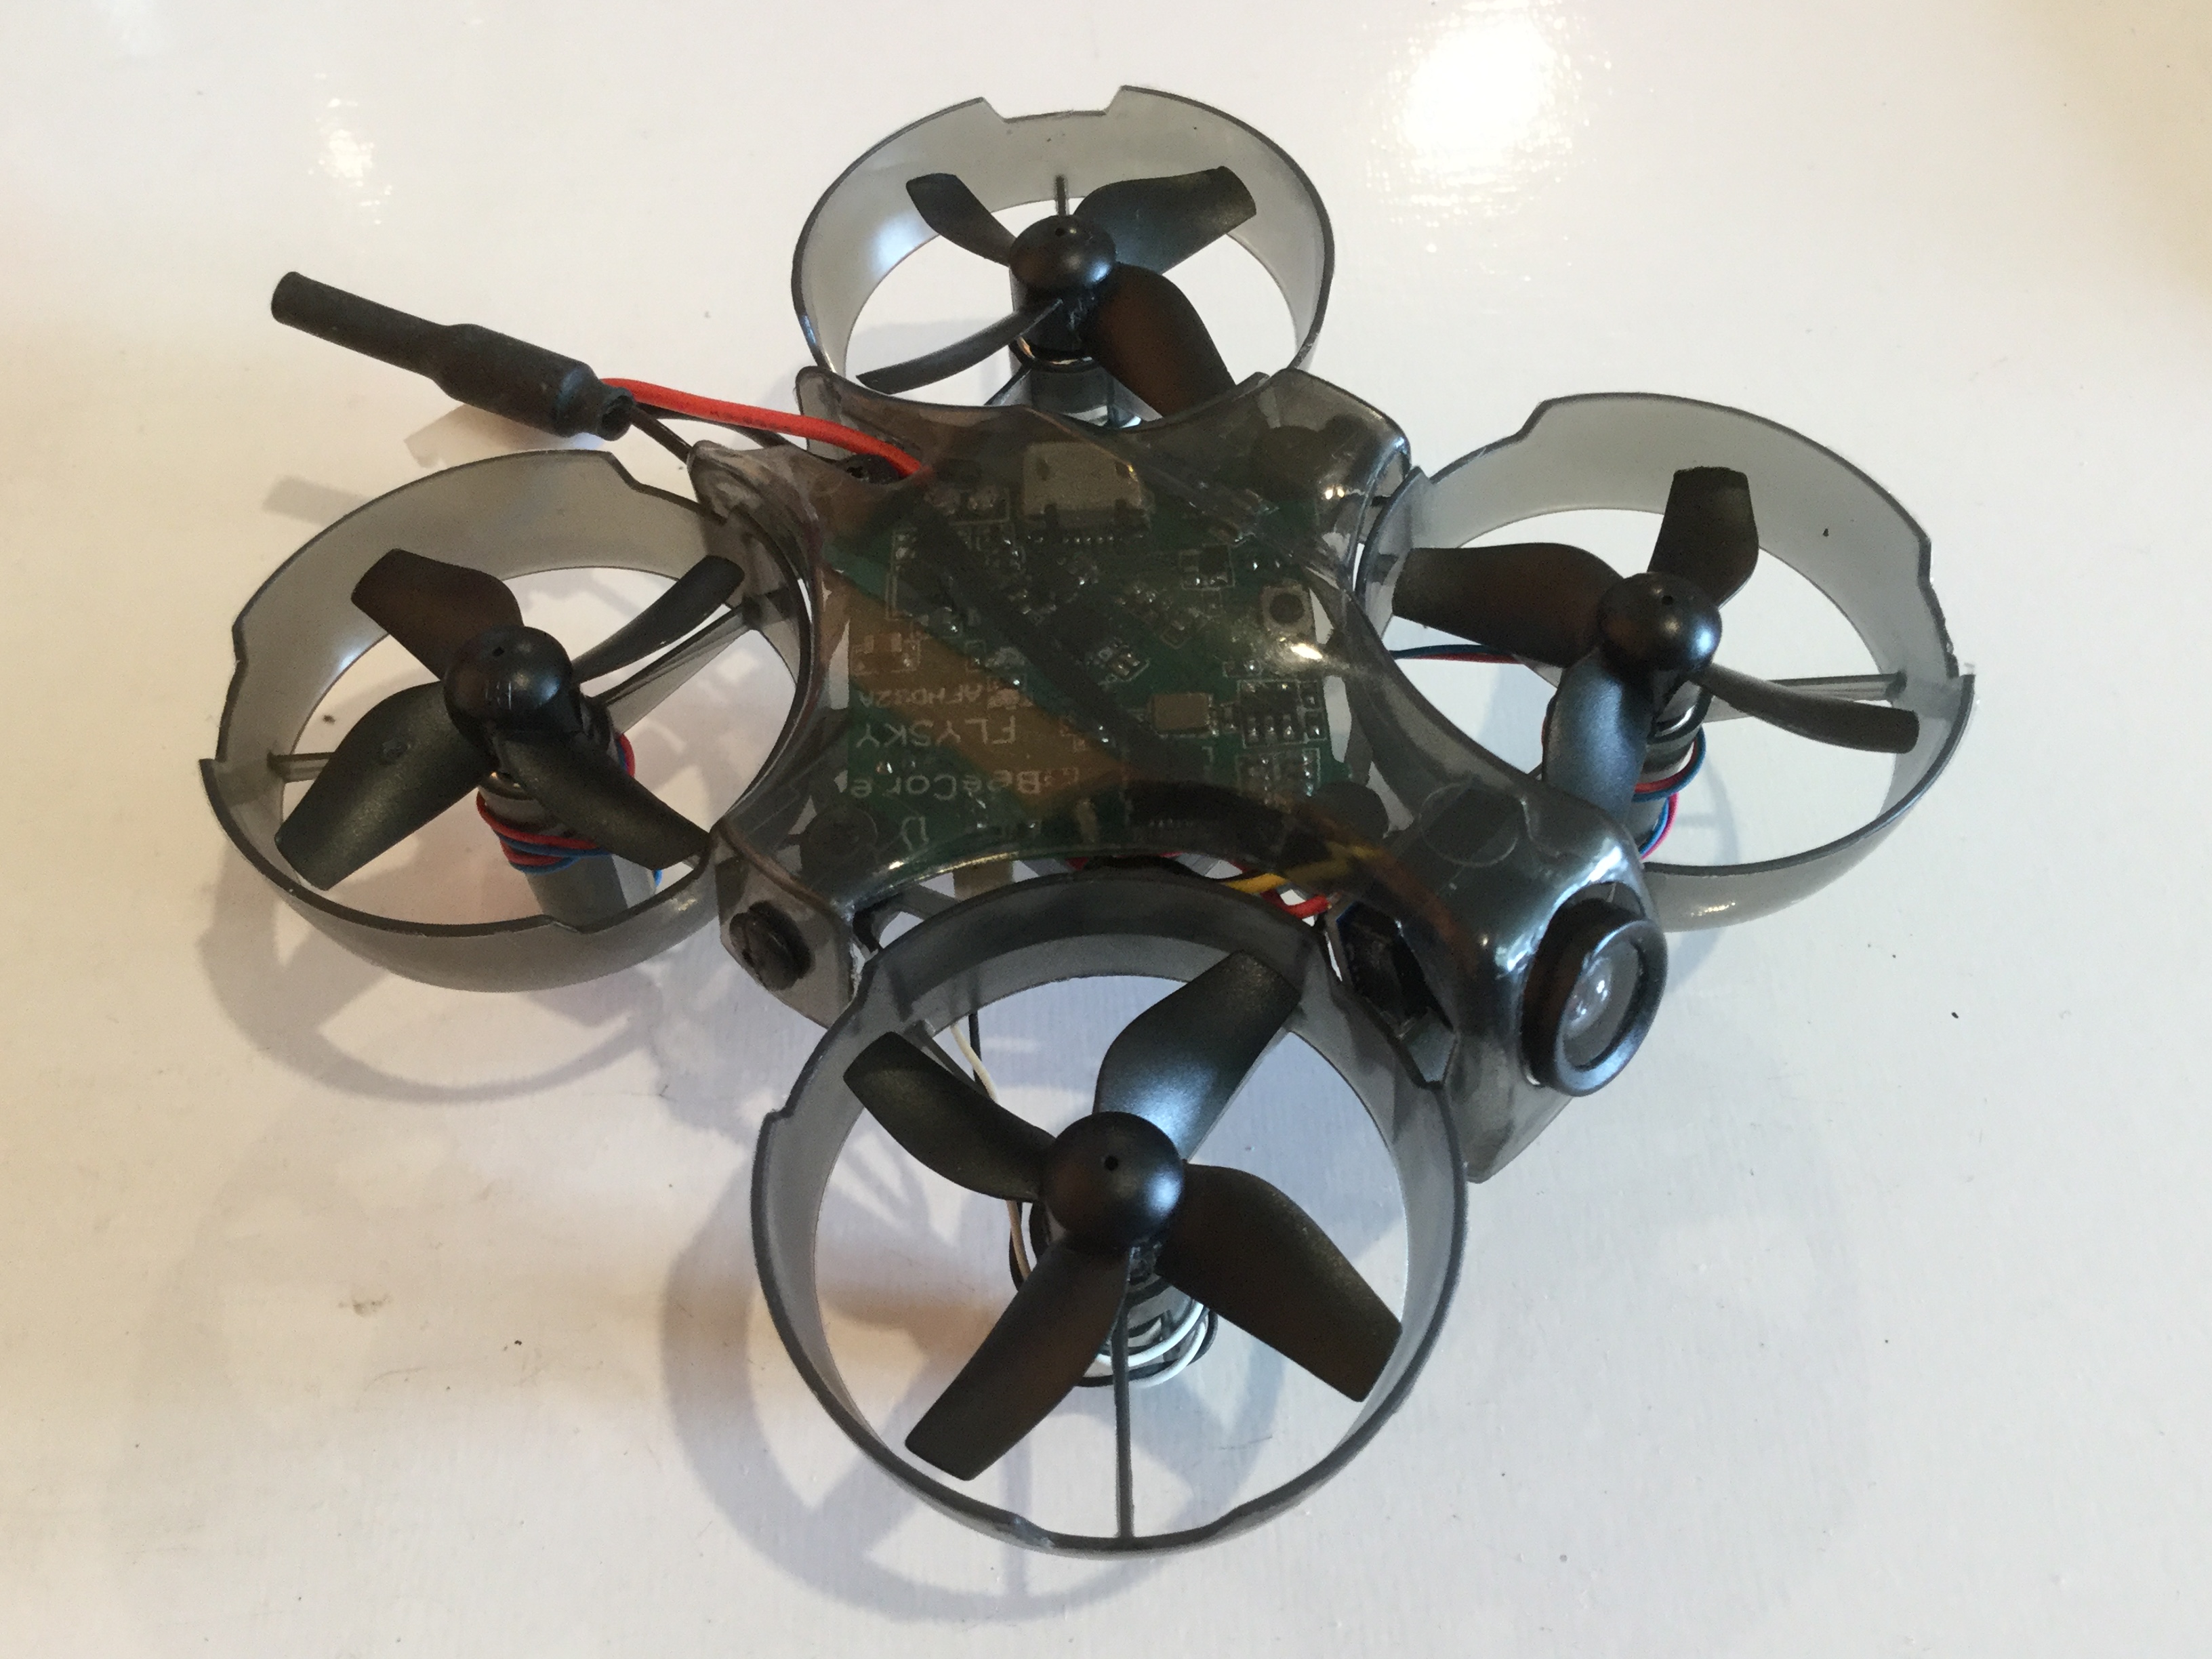
The main component you’ll need will be your flight controller (FC), one with the open source Betaflight firmware which has acro mode. The FC I recommend is the Eachine Beecore V2 Flysky AFHDS 2A FC. FCs with Betaflight allows you to configure and tune your whoop using Betaflight Configurator.
[Get the Beecore V2 Flysky AFHDS 2A FC]
You also need a hobby-grade TX. I recommend the Flysky i6. It is a basic transmitter but it has 6 channels and can store multiple models. It can even be upgraded via firmware mod to 14 channels.
Many, especially the advanced fliers, would recommend Frsky/Taranis but the cost of entry is a bit steeper.
Step 4: Brushless
When you can fly well in FPV with acro mode, it is time to unleash the beast in your Tiny Whoop. You do this by going brushless motors which are not only more powerful but also more reliable. Of course, they’re also more power-hungry.
This is a MAJOR evolution. You will need to replace nearly everything: the motors, the FC, and the frame. In their place you are getting brushless (BL) motors, FC, electronic speed controllers (ESC), a receiver (RX), and a frame. It is going to be EXPENSIVE. But you are committed to this (or perhaps hooked already), right? Right?
Note that while you certainly can jump straight to brushless, I’m saving this step for last because normally beginners tend to crash a lot and it can get expensive replacing brushless whoop parts due to crash damage.
For a custom build, the frame I recommend is the Happymodel BWhoop65 frame. It is the same size as the standard 65mm whoop. And you get to keep your canopy and camera. For the motors I recommend Happymodel 0802 19000KV motors. Not too fast that you drain your batteries too fast and not too slow that you wonder why you ever went brushless. For the FC I recommend the tried and proven Happymodel Crazybee F4 Lite Flysky AIO FC (FC+ESC+VTX+RX).
[Get the Happymodel BWhoop65 Frame]
[Get the Happymodel 0802 Motors]
[Get the Crazybee F4 Lite Flysky]
Alternatively, you can just leave your old brushed whoop alone and get a complete bind-and-fly (BNF) 65mm brushless whoop like the Mobula6.
Have fun whooping!