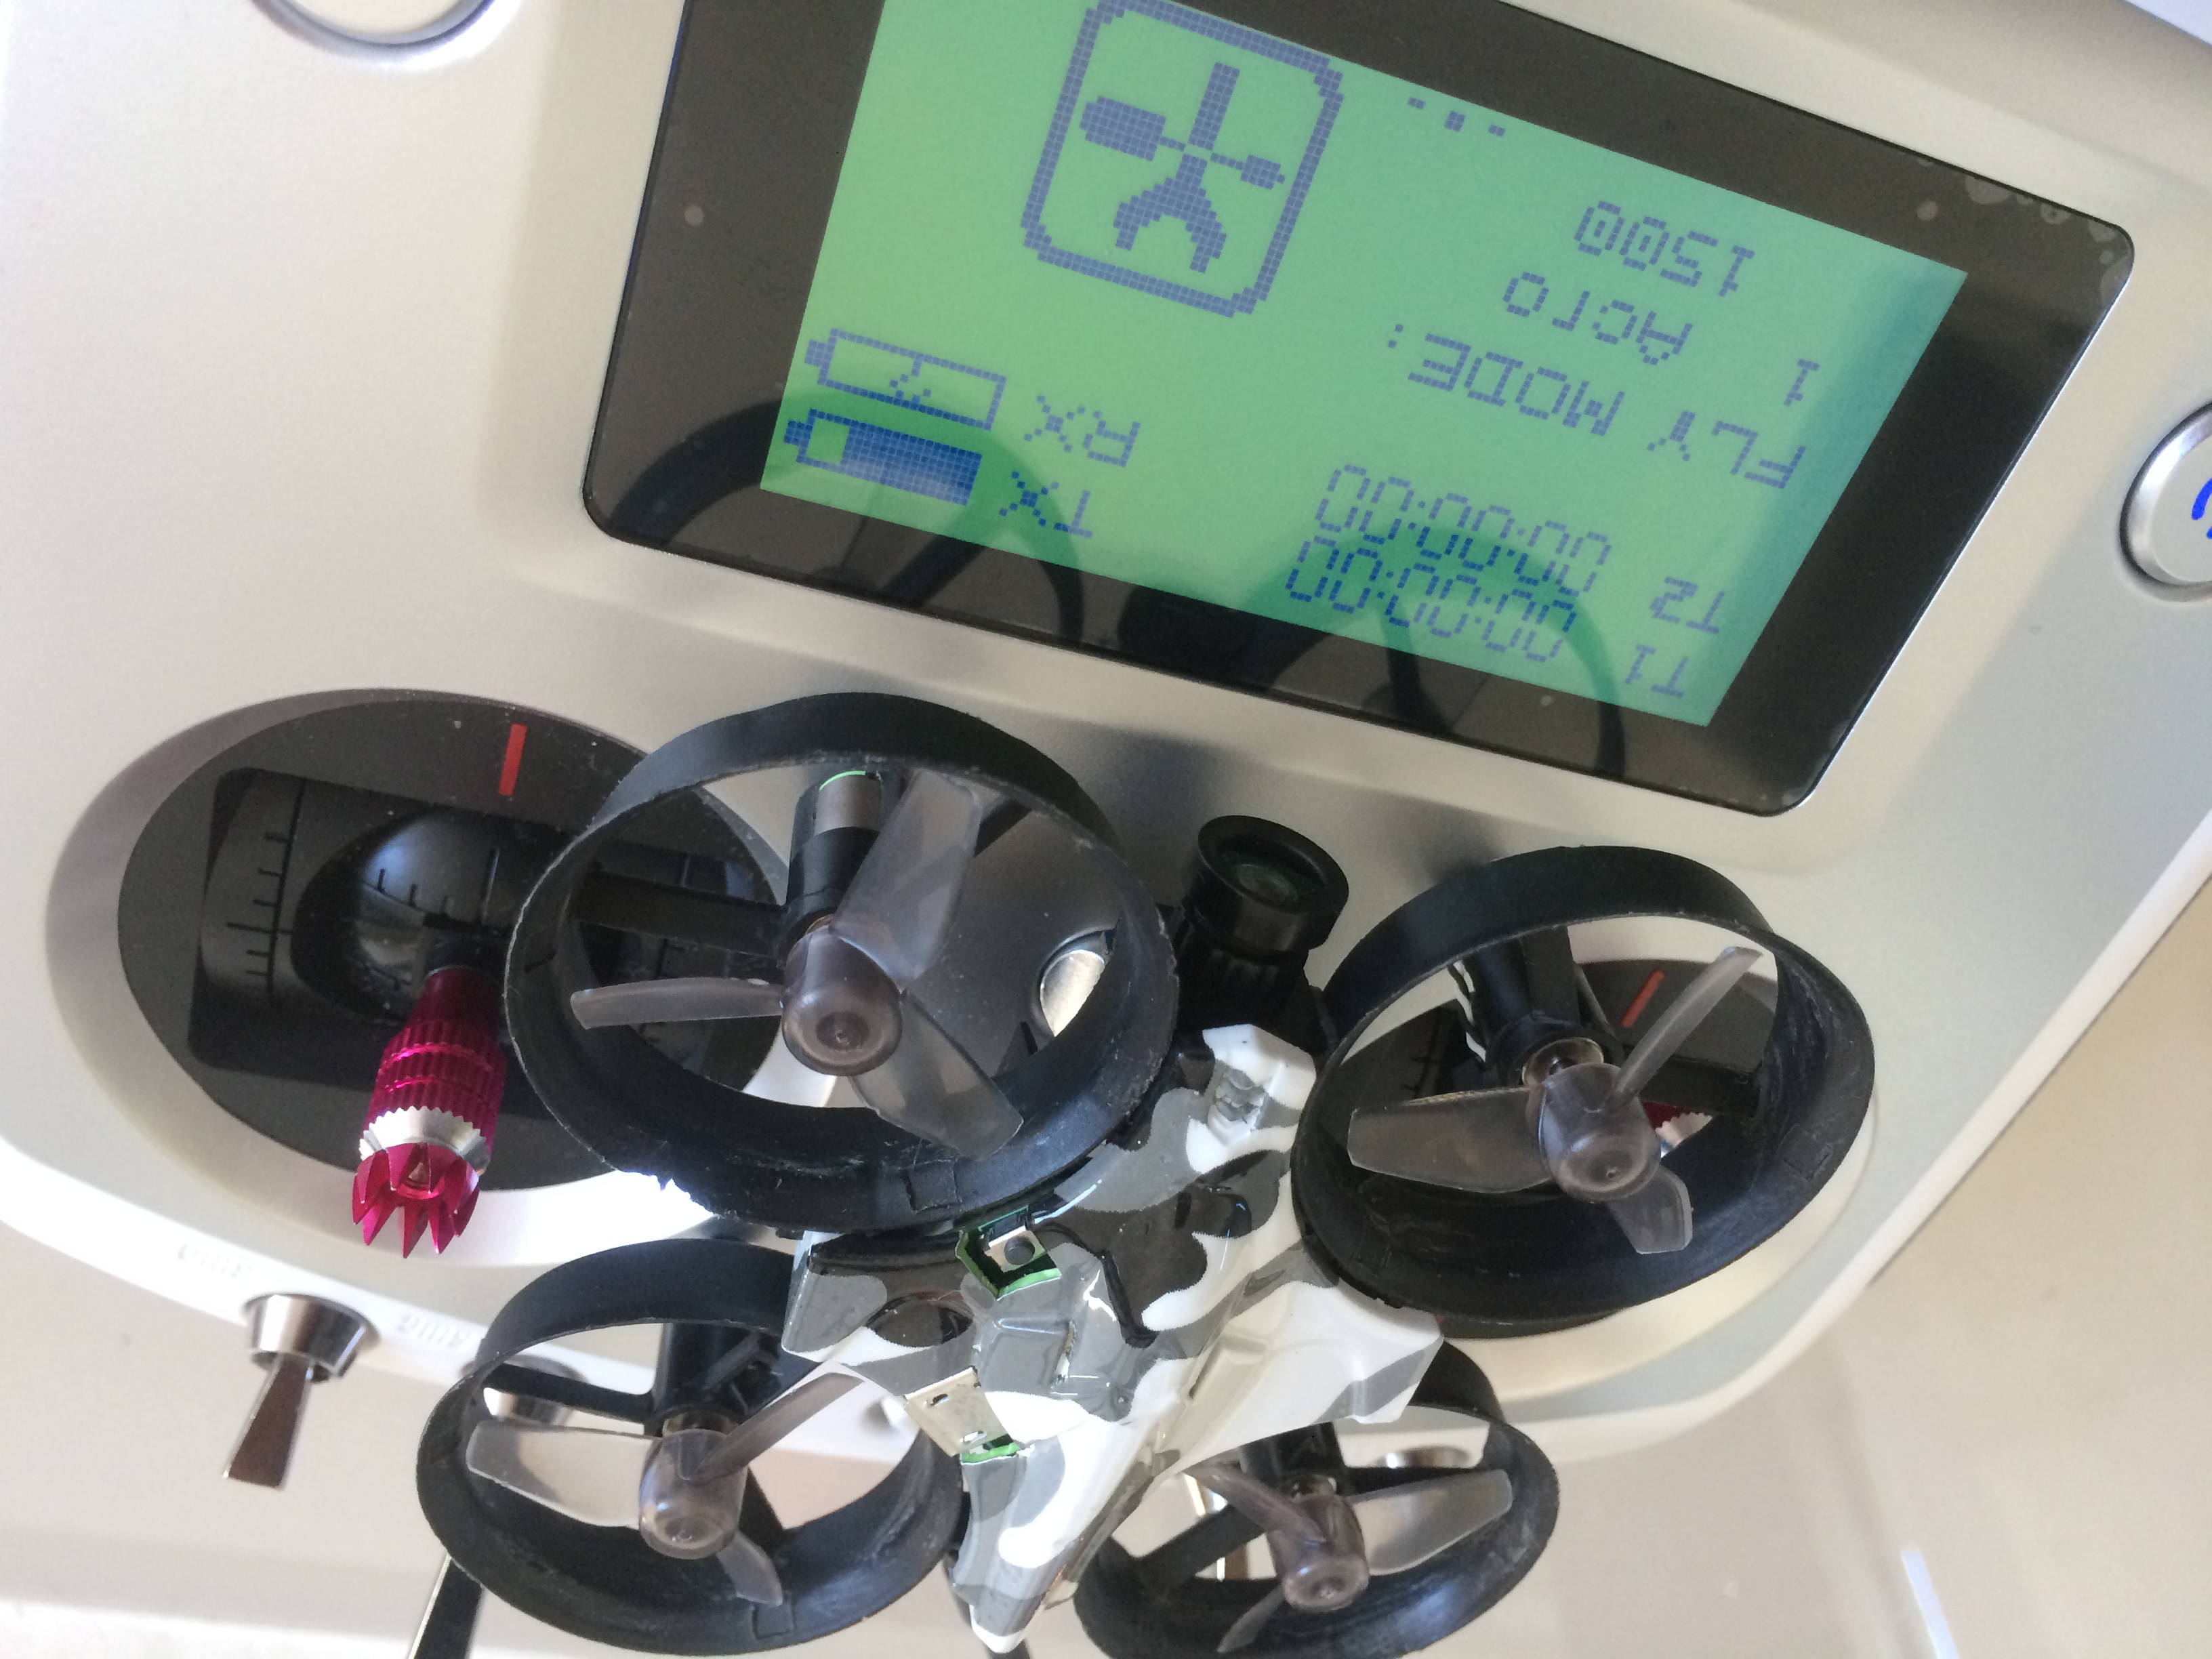
I wanted to practice acro mode flying so I did a rebuild of my Furibee F36-based low-profile tiny whoop.
Parts and Equipment
For this build, I used the following:
- Beecore Flysky AFHDS 2A flight controller
- Eachine VTX01 5.8GHz video transmitter
- Generic 600TVL 100 degree field of view camera
- Chaoli CL-615 59000rpm motors
- Rakonheli hydrographics canopy
- Rakonheli 31mm 3-blade clear propellers
- Soldering iron
- Soldering wire
- Wire snips
- Double-sided tape
Build Procedure
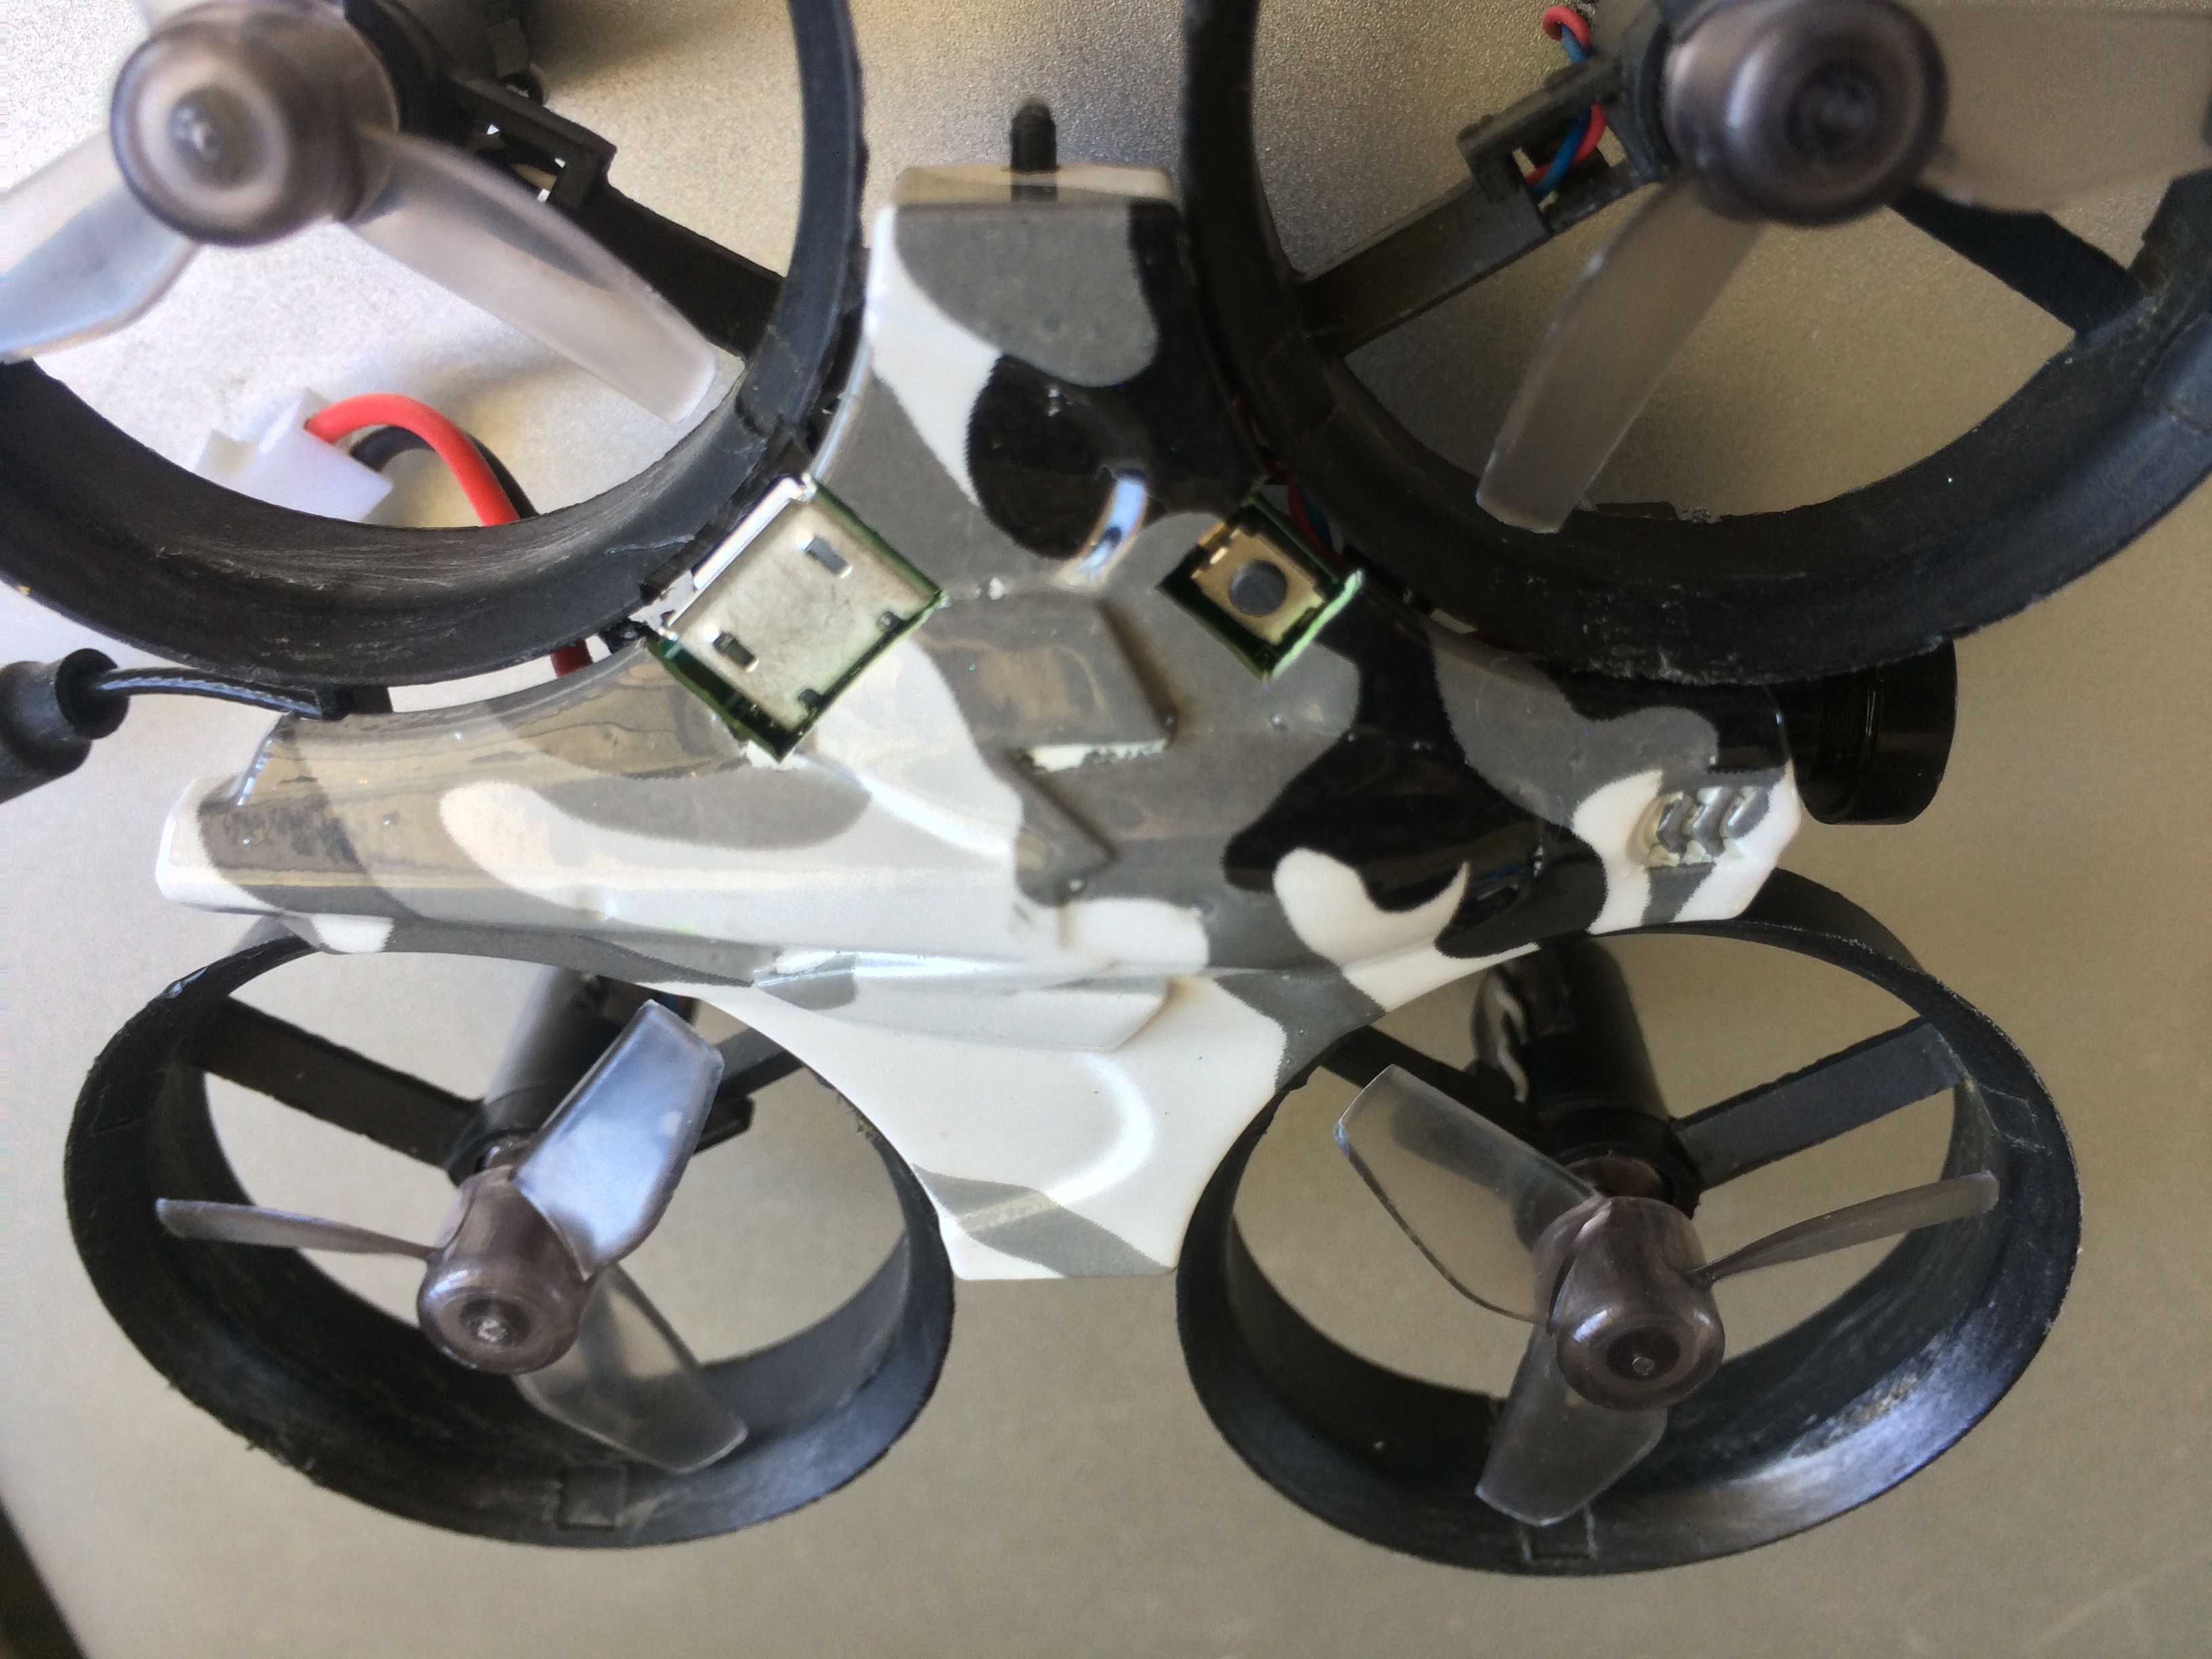
- First, I had to remove everything from the frame. This also required unsoldering the camera. After taking note of the contact points, I unsoldered all the wires from the camera.
- I installed the motors.
- I test-mounted the video transmitter on the new flight controller. I tried to put the video transmitter under the flight controller. It’s a tight fit between the motor connector but it fit!
- I mounted video transmitter to the flight controller using 3M double-sided tape. It also acts to insulate the two boards.
- With the video transmitter firmly in place, I soldered the wires for the power (thicker red and black wires) to the VCC and GND pads of the flight controller.
- I also soldered the wires for the micro losi pigtail direct to VCC and GND pads of the flight controller.
- I mounted the flight controller and video transmitter assembly into the frame.
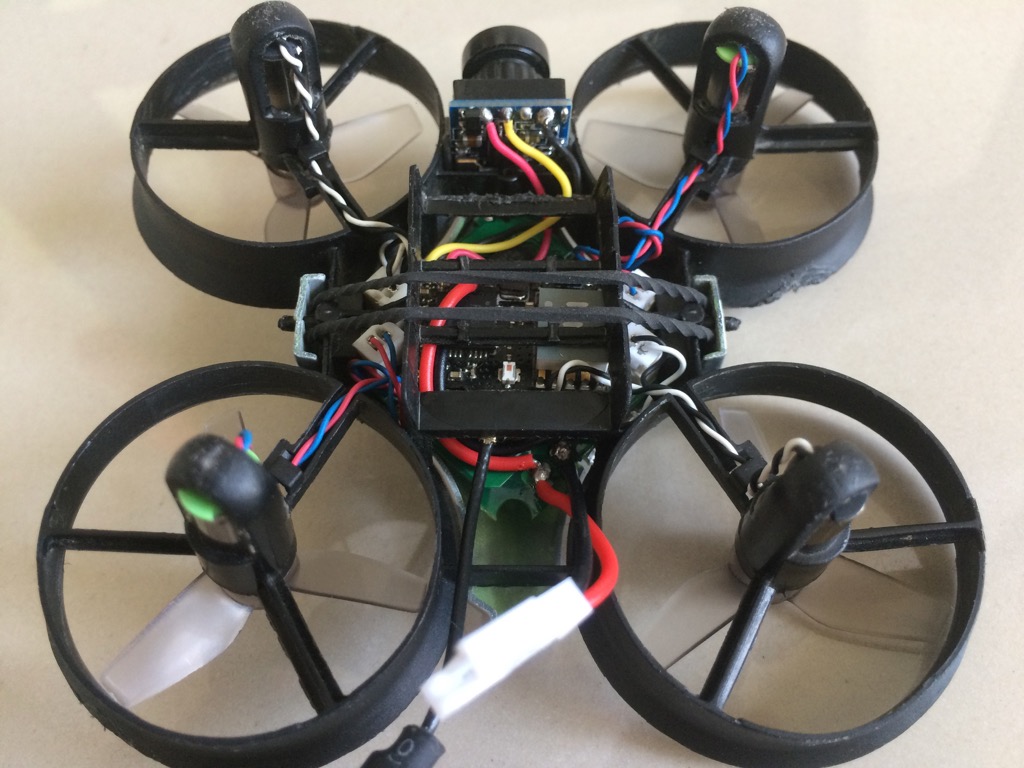
- I soldered the wires from the video transmitter into their corresponding contact points on the camera. It’s just color matching: black to black, yellow to yellow, and finally red to red.
- I used 3M double-sided tape to mount the camera.
- I installed the canopy. It didn’t fit well. The bind button was being pushed and the micro USB port was blocking the way. I had to make cutouts on the canopy.
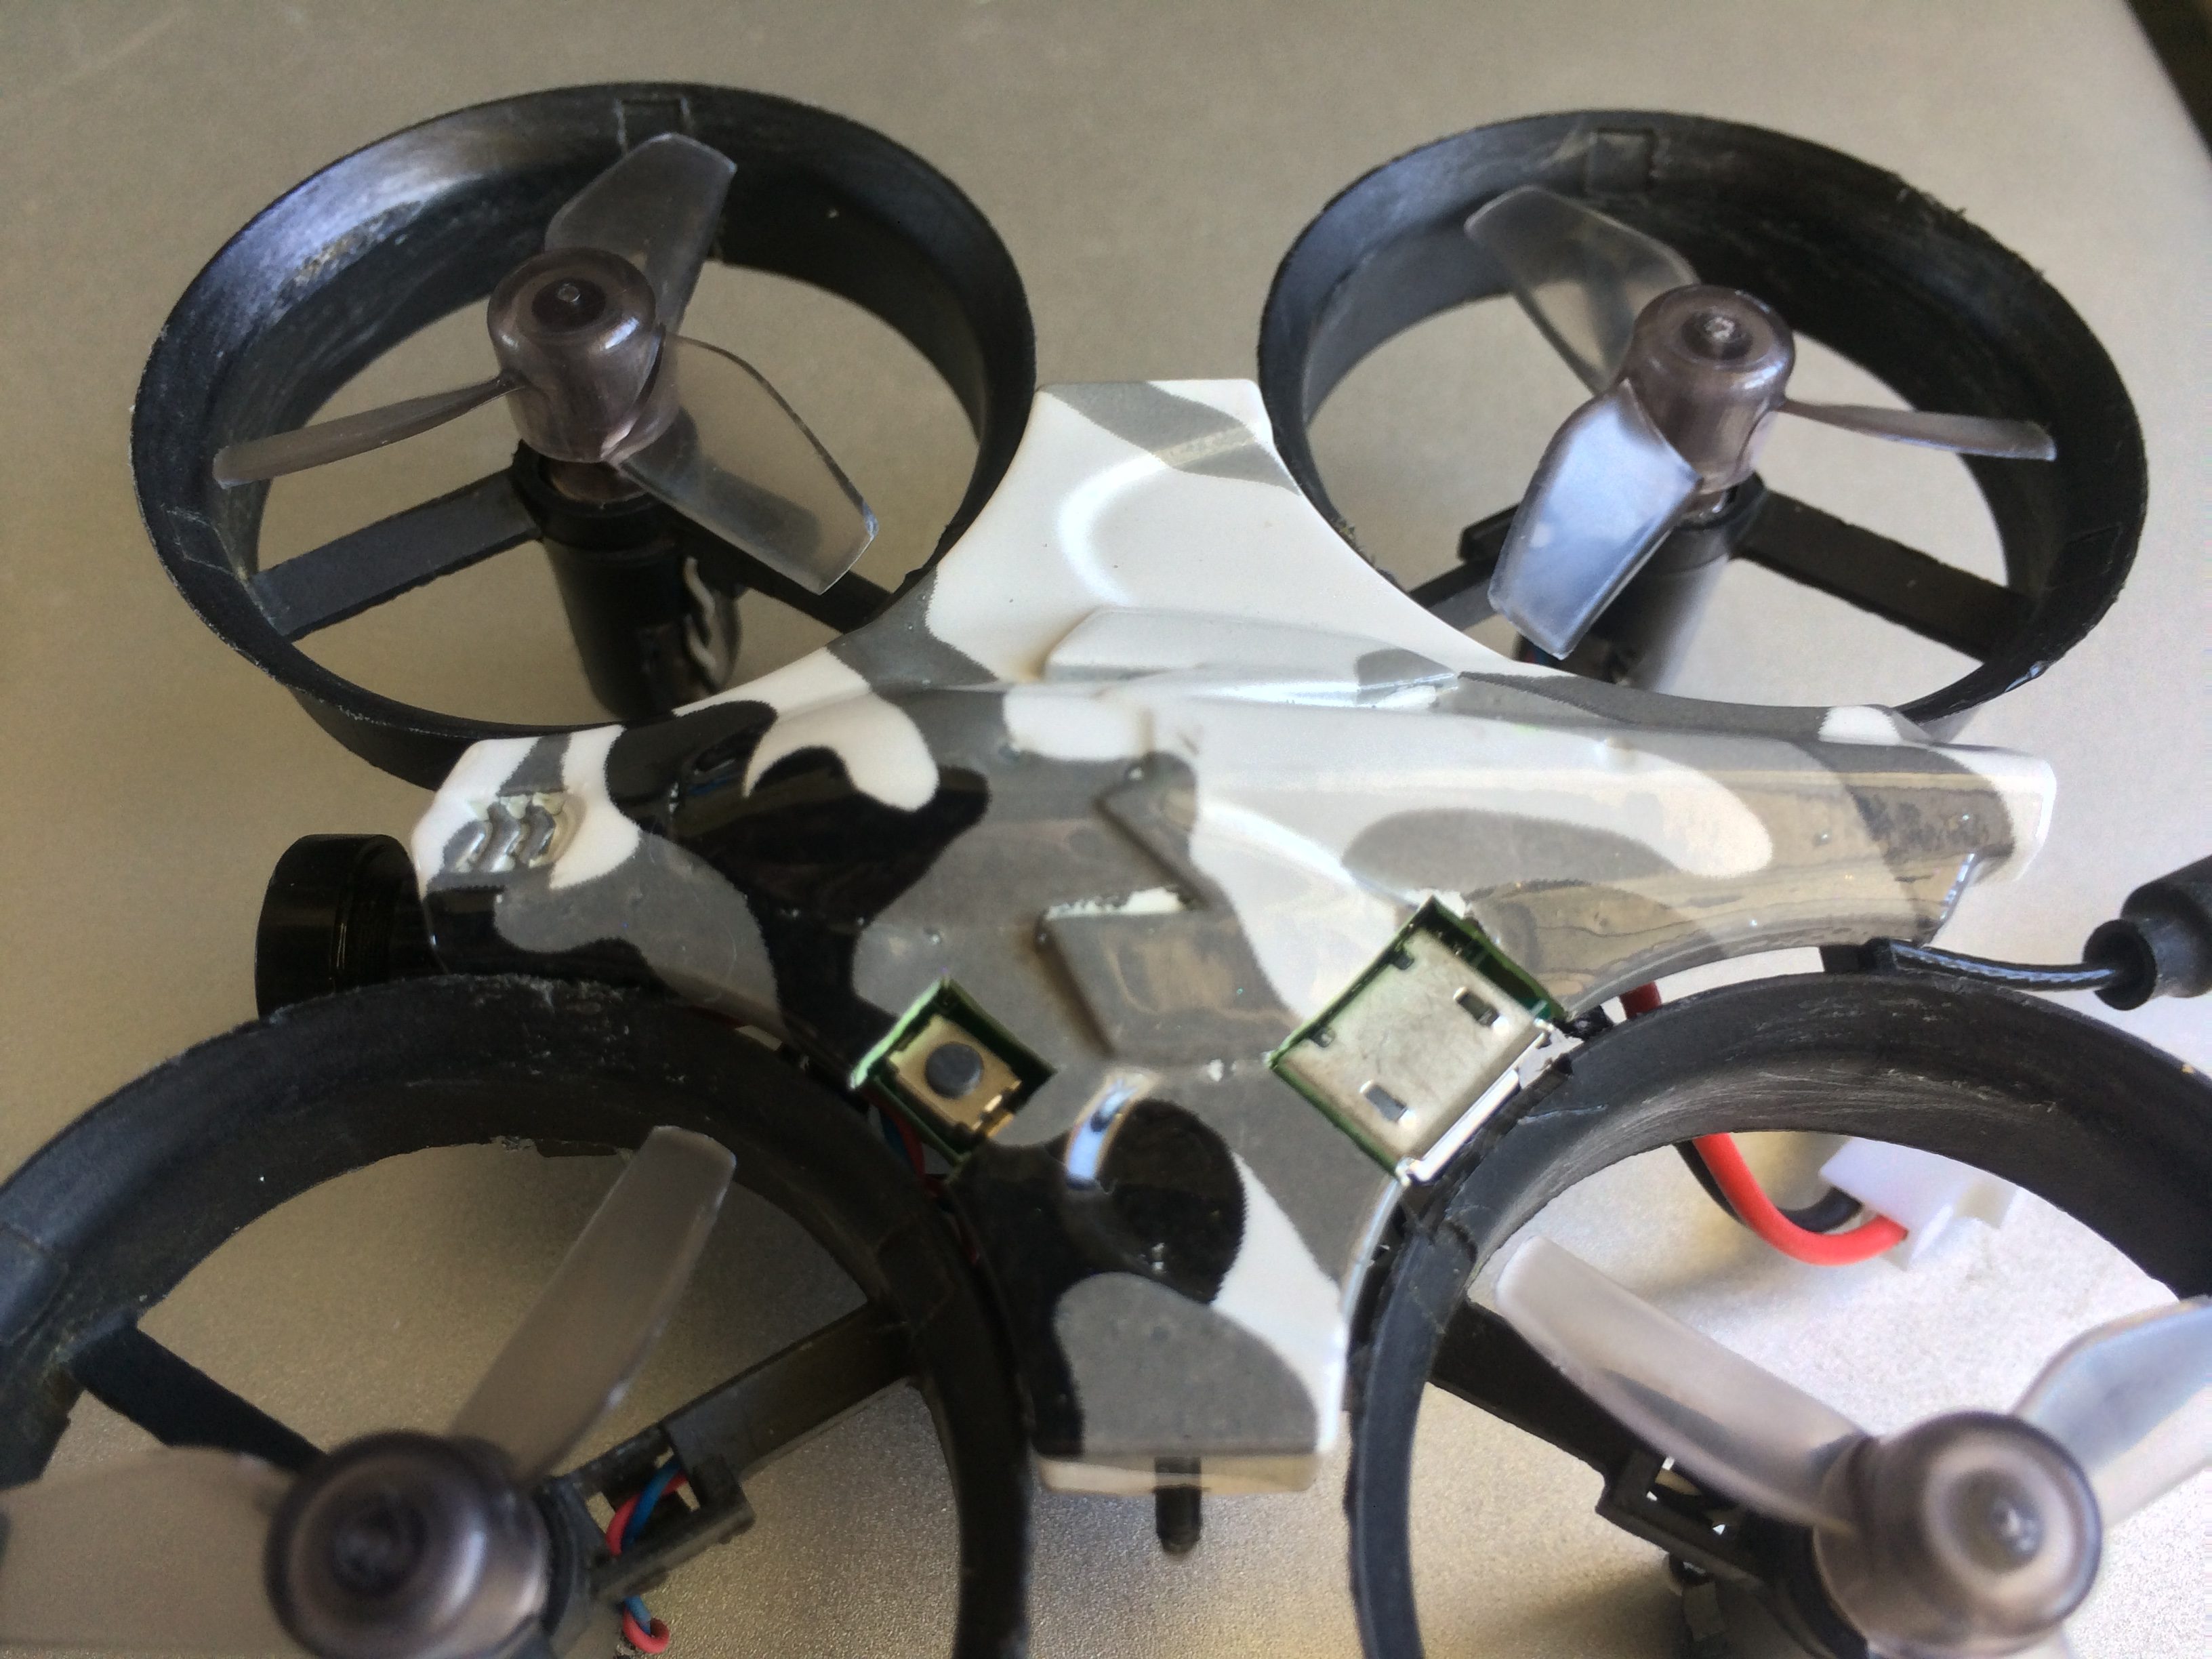
- Finally, I installed the canopy.
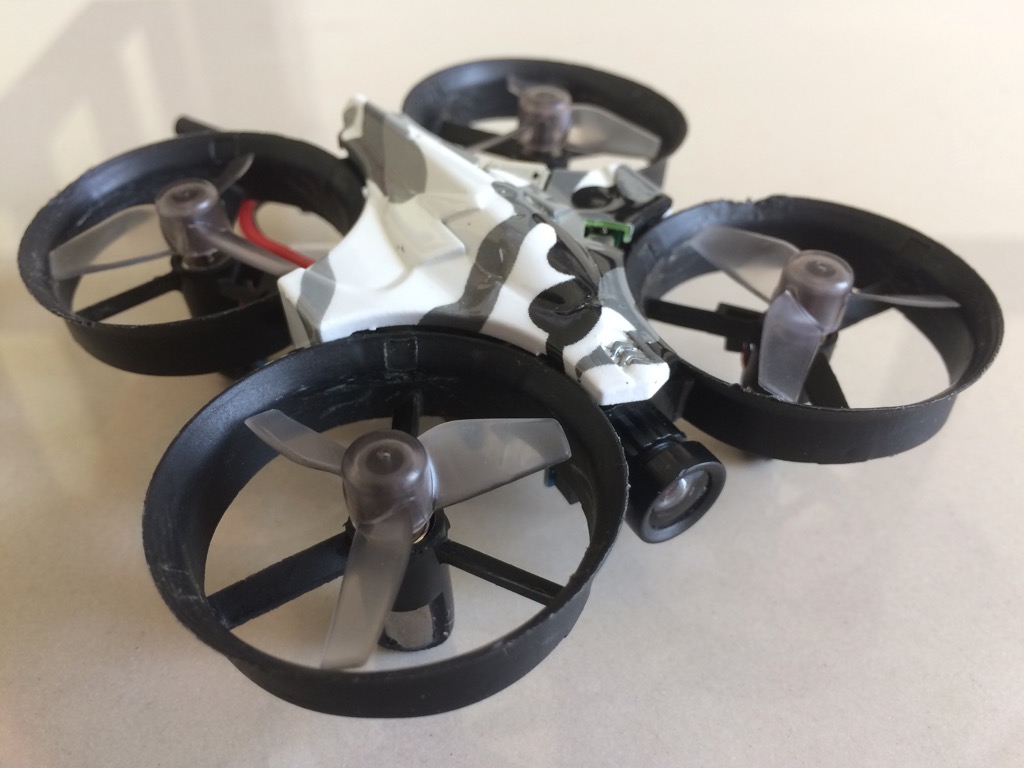
And that’s it. I now have a low-profile, low-key (hence Loki), Tiny Whoop.