I’ve previously written on enabling HTTPS on your website using Let’s Encrypt. I showed that, with Let’s Encrypt, it’s quite easy to secure your Apache web server and, as a bonus, also showed how to secure your Dovecot mail server. But what if you are using Apache Tomcat? That’s quite easy, too!
There’s no question that secure communications is critical. On the web, this is done using HTTPS. HTTPS is secure extension of the HTTP. In HTTPS, communications is encrypted using Transport Layer Security (TLS), or its deprecated predecessor, Secure Sockets Layer (SSL).
TLS uses a public key encryption scheme where you have a public and private key pair. The web server provides they public key which the web browser can use to encrypt communications with. The public key is signed to certify the identity of the web server owning the key. This gives you the public key certificate or just simply certificate.
You can self-sign (or self-certify) just so you can encrypt communications and that’s fine if your dealing with yourself or parties who trust you and your self-signed certificate (e.g. your own systems or employees). But if you deal with other parties (e.g. other systems or customers) you need a certificate from a certificate authority (CA), a trusted entity that signs keys and issues certificates.
Let’s Encrypt is a free, automated, and open certificate authority brought to you by the non-profit Internet Security Research Group (ISRG). They provide certificates absolutely free. The certificates expire in 90 days, but they can be automatically renewed using Certbot. There’s simply no excuse not to have a secure site. And it’s so easy to boot. There are step-by-step instructions for almost every web server and operating system combination at the Certbot page.
Here are the steps for getting certificates using Ubuntu and Apache:
- Add the Certbot apt repository
- sudo add-apt-repository ppa:certbot/certbot
- Update the repository
- sudo apt-get update
- Install Certbot from the new repository with apt-get:
- sudo apt-get install python-certbot-apache
- Obtain a certificate for your domain
- sudo certbot –apache -d example.com
This give your certificates for your new files and configures Apache automatically. But you should be able to find the certificate files for other purposes (see below) at /etc/letsencrypt/live/example.com
The certificate only last for 90 days. However, Certbot takes care of this problem by running certbot renew twice a day via a systemd timer or cron. We can also manually test renewal:
- sudo certbot renew –dry-run
BONUS: If you’re using Dovecot https://www.dovecot.org/, you can also use the certificate:
- Edit /etc/dovecot/conf.d/10-ssl.conf:
- ssl_cert = /etc/letsencrypt/live/example.com/fullchain.pem
- ssl_key = /etc/letsencrypt/live/example.com/privkey.pem
- Restart dovecot:
- sudo service dovecot restart
That’s it! You now have a secure website and email server.
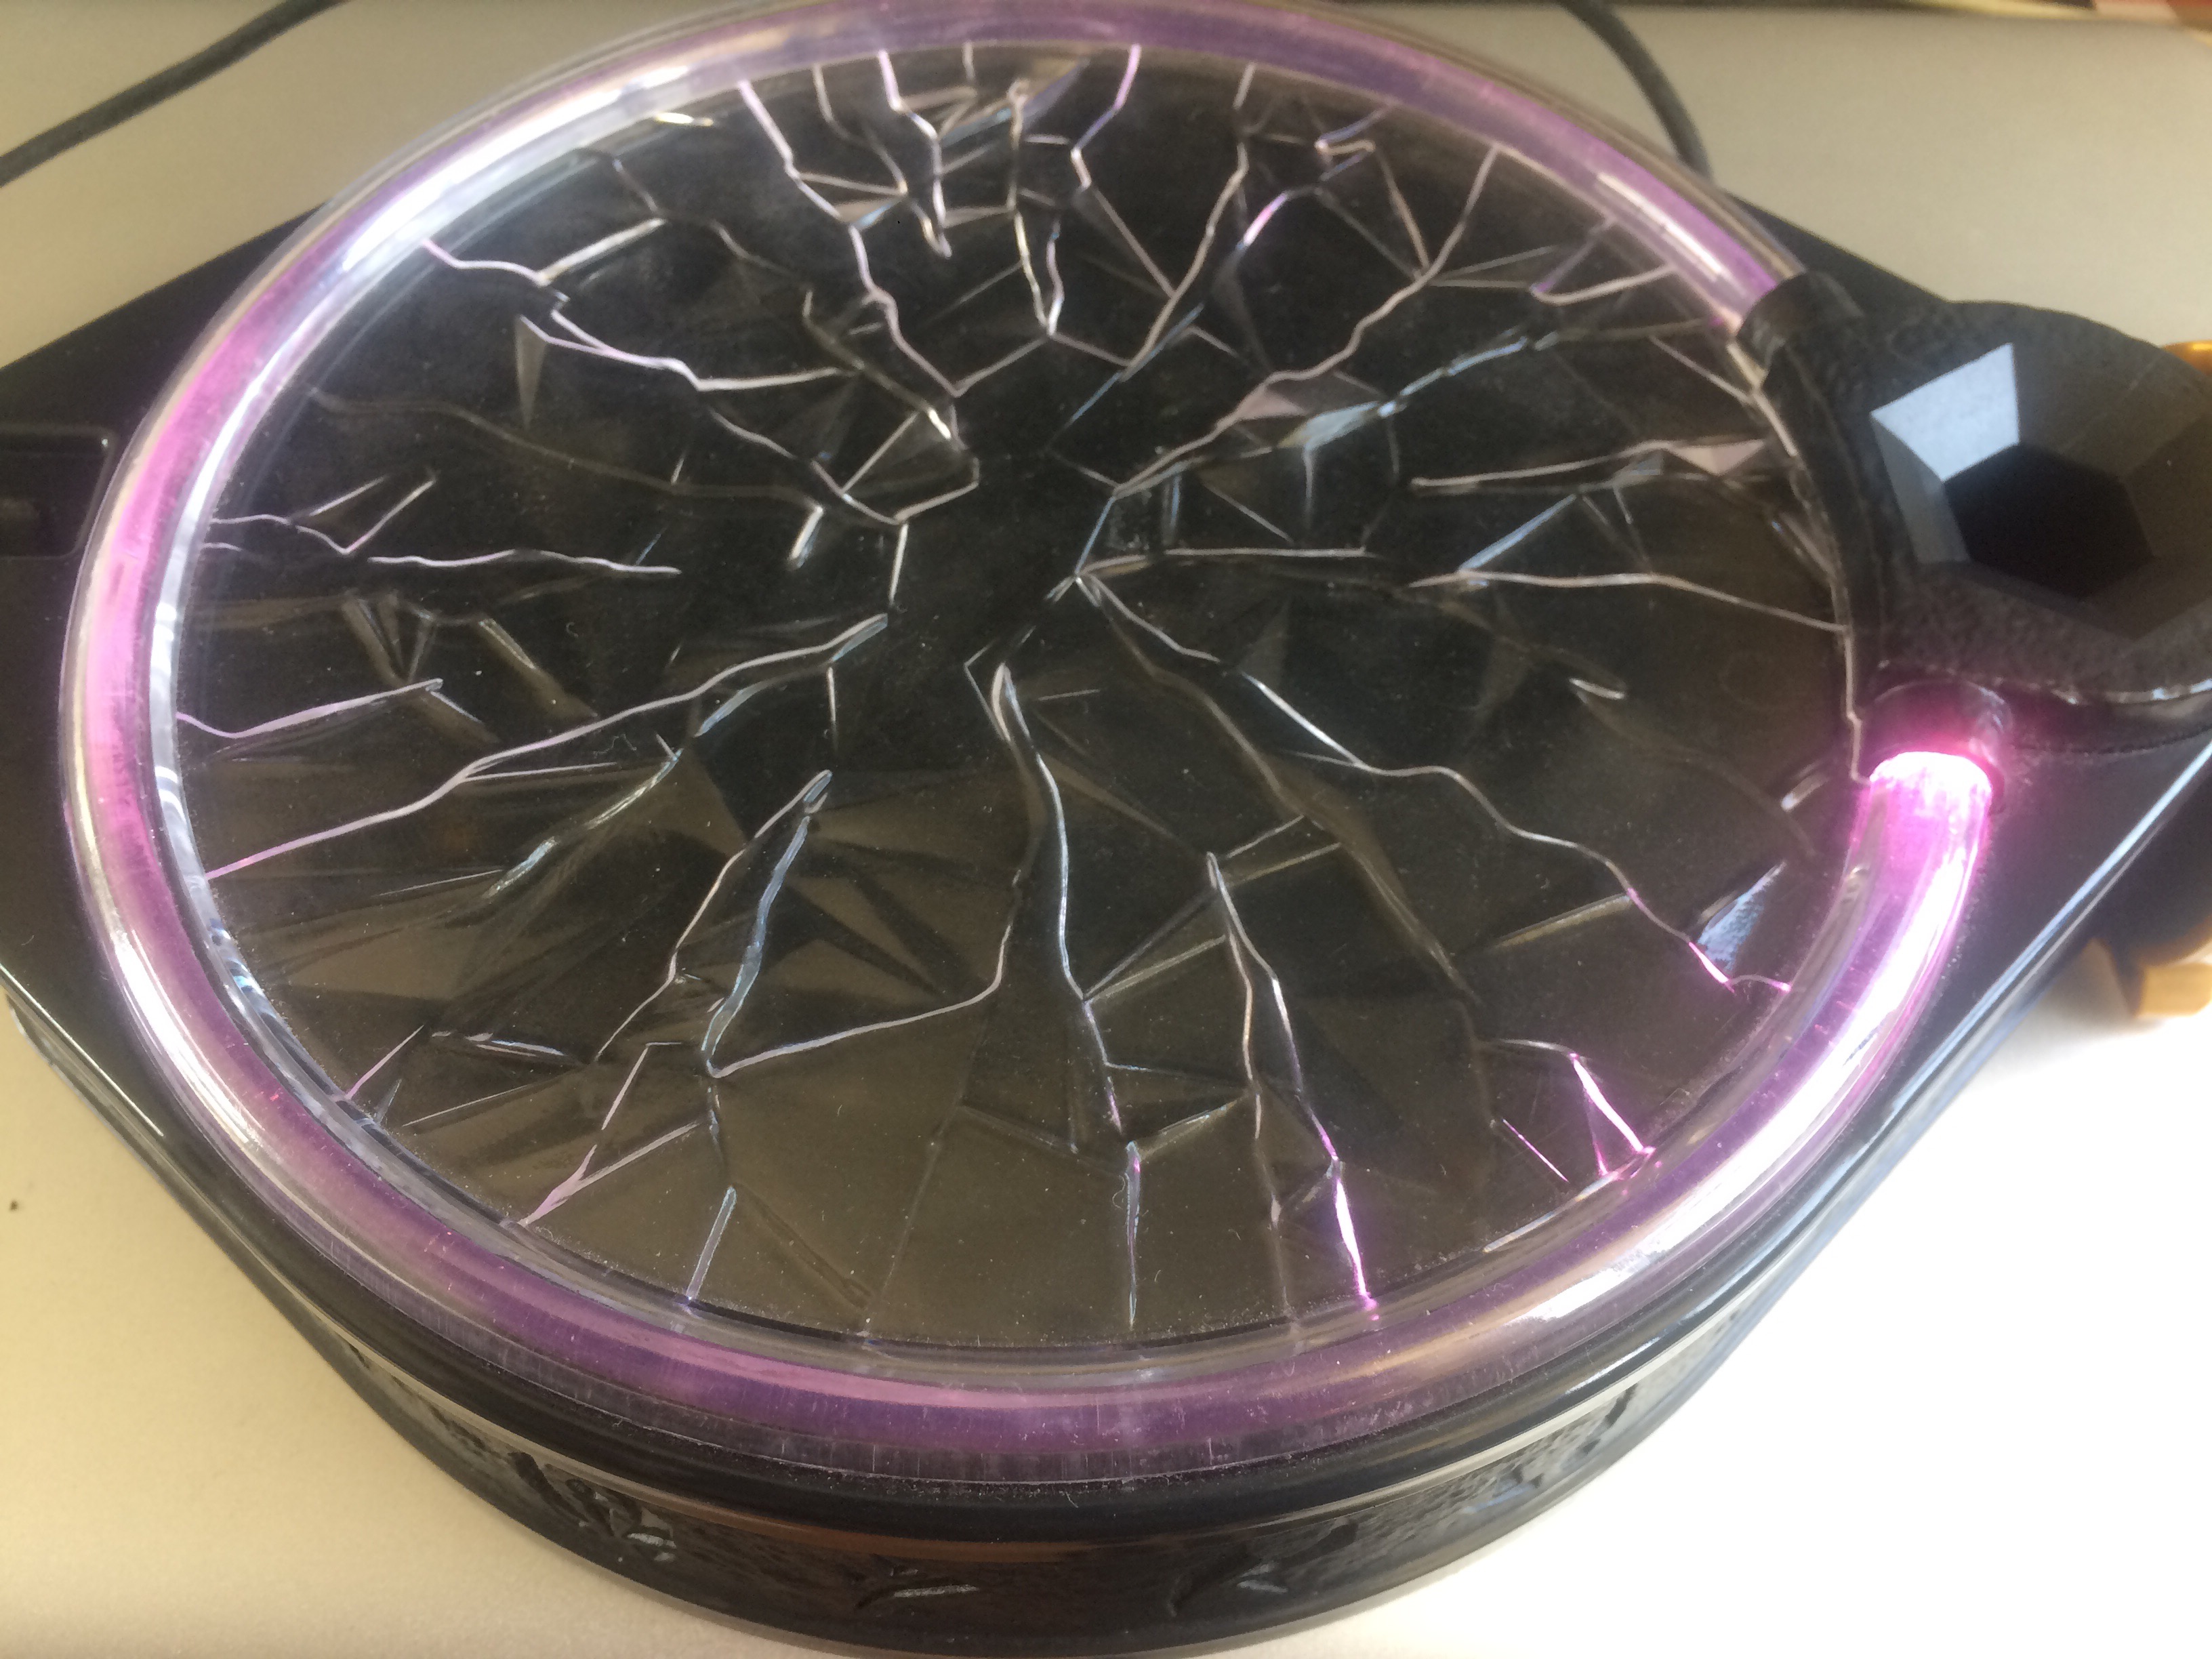
Jeanne has Skylanders Trap Team for the iPad. It’s a fun game. Precisely why it is always running out of batteries. Even Eneloops don’t last long enough. Fresh AA batteries have a voltage of about 1.7V. Three in series gives about 5.1V. That’s almost about what a USB port is giving. So I figured, why not mod the portal to get its power from a USB port?
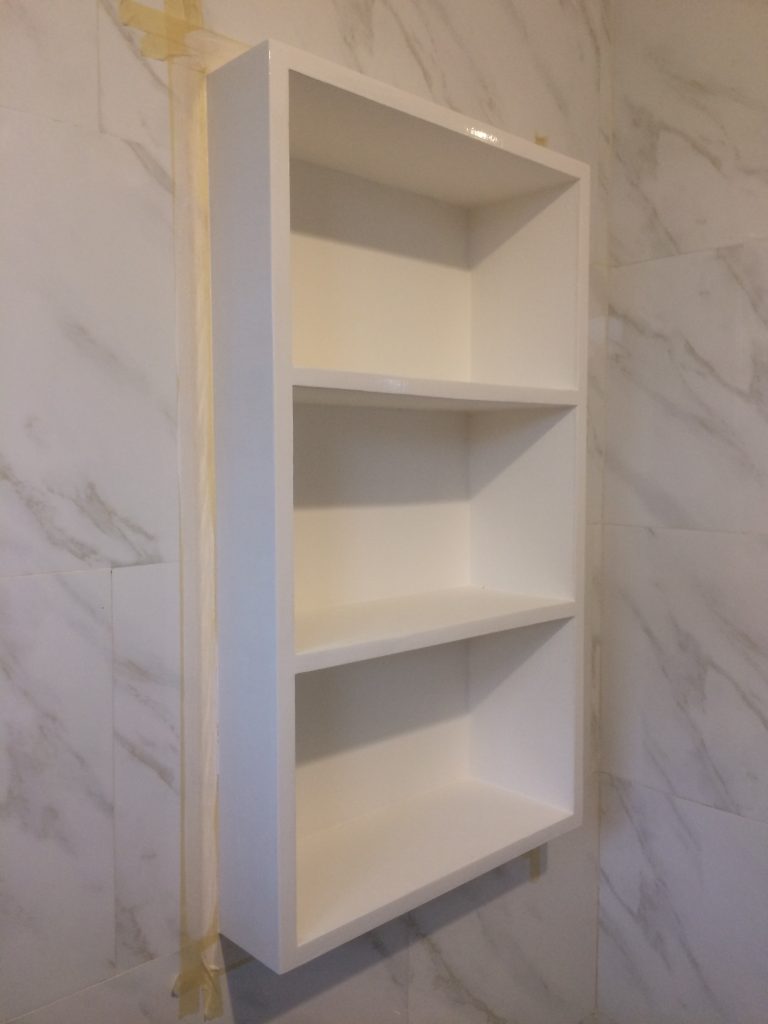
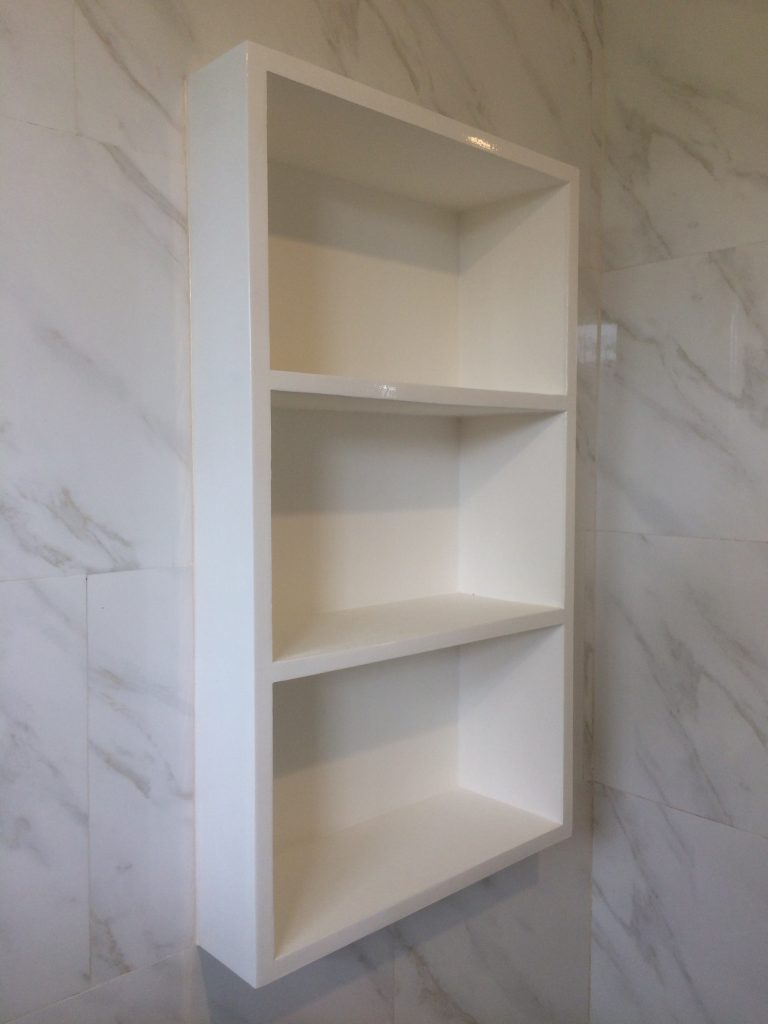 Michelle and I saw this nice-looking medicine cabinet so we had a recess built into the bathroom. Unfortunately, it turned out to be an quite expensive cabinet so I decided to build one instead.
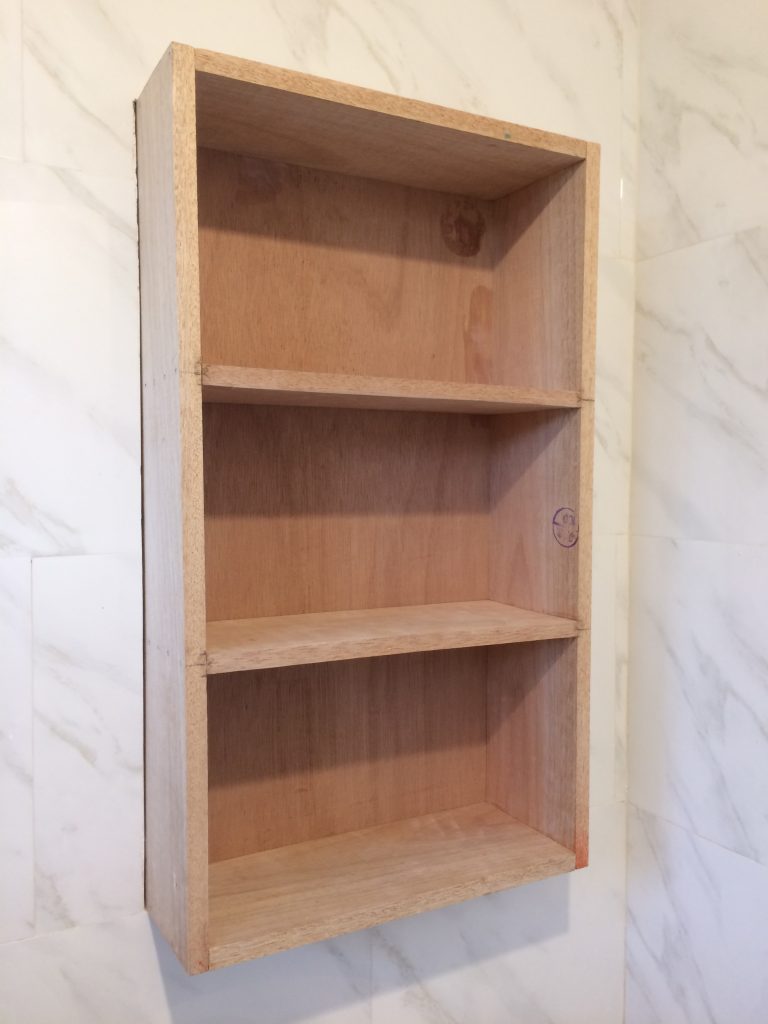
- Cutting I started with a 3/4″ plank which i sawed and sanded to size.
- Assembly I then glued and nailed the pieces together. I used nails because the plank was a bit warped so I had to force the pieces into position. I added a 1/4″ plywood as backing. Also to further help force the pieces into position.
- Filling I filled the seams, pits, and imperfections with 2-part polyester bodyfiller. This stuff is awesome! It’s firm and easy to work with and dries fast and hard.
- Sanding I then sanded everything with 240-grit sandpaper. I test-mounted the cabinet into the recess. It fit more or less.
- Priming I then primed the wood with Boysen Flat Wall Enamel. I searched high and low for something that actually says “primer” but I couldn’t find any. So I got the flat wall enamel. Luckily, it turned out to be what Boysen recommends for use as primer for quick dry enamel. I applied 3 coats of primer, sanding with 240-grit sandpaper between coats. I press-fitted the cabinet into the recess.
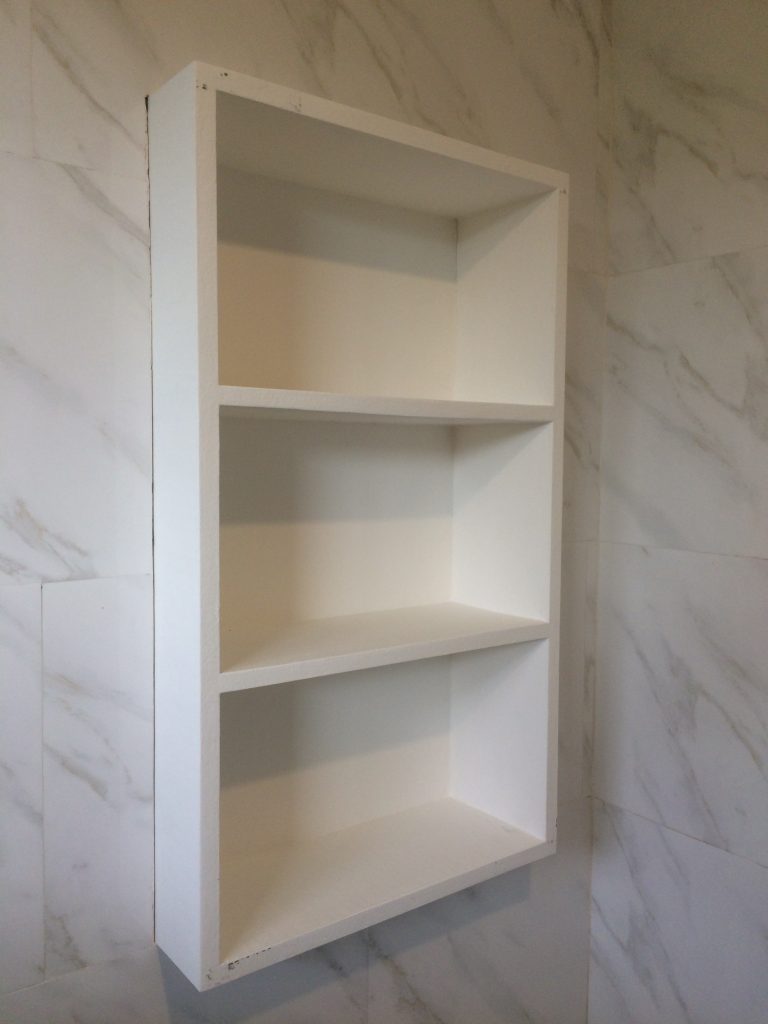
- Grouting When I was happy with the fit, I filled the seams between the tiles and the cabinet with pre-mixed grout.
- Painting I then painted the cabinet with 2 coats of Davies Gloss-It quick dry enamel, wet sanding with 600 grit sandpaper between coats. But I didn’t like the off-white shade of Davies so for the top/final coat, I used Boysen Quick Dry Enamel.
Next up, the mirrored door.